Configure Snowflake Integration without Snowflake Governance Features
This page details how to install the Snowflake integration for users on Snowflake Standard. If you currently use Snowflake Enterprise, please see the installation guide for that integration.
Snowflake resource names
Use uppercase for the names of the Snowflake resources you create below.
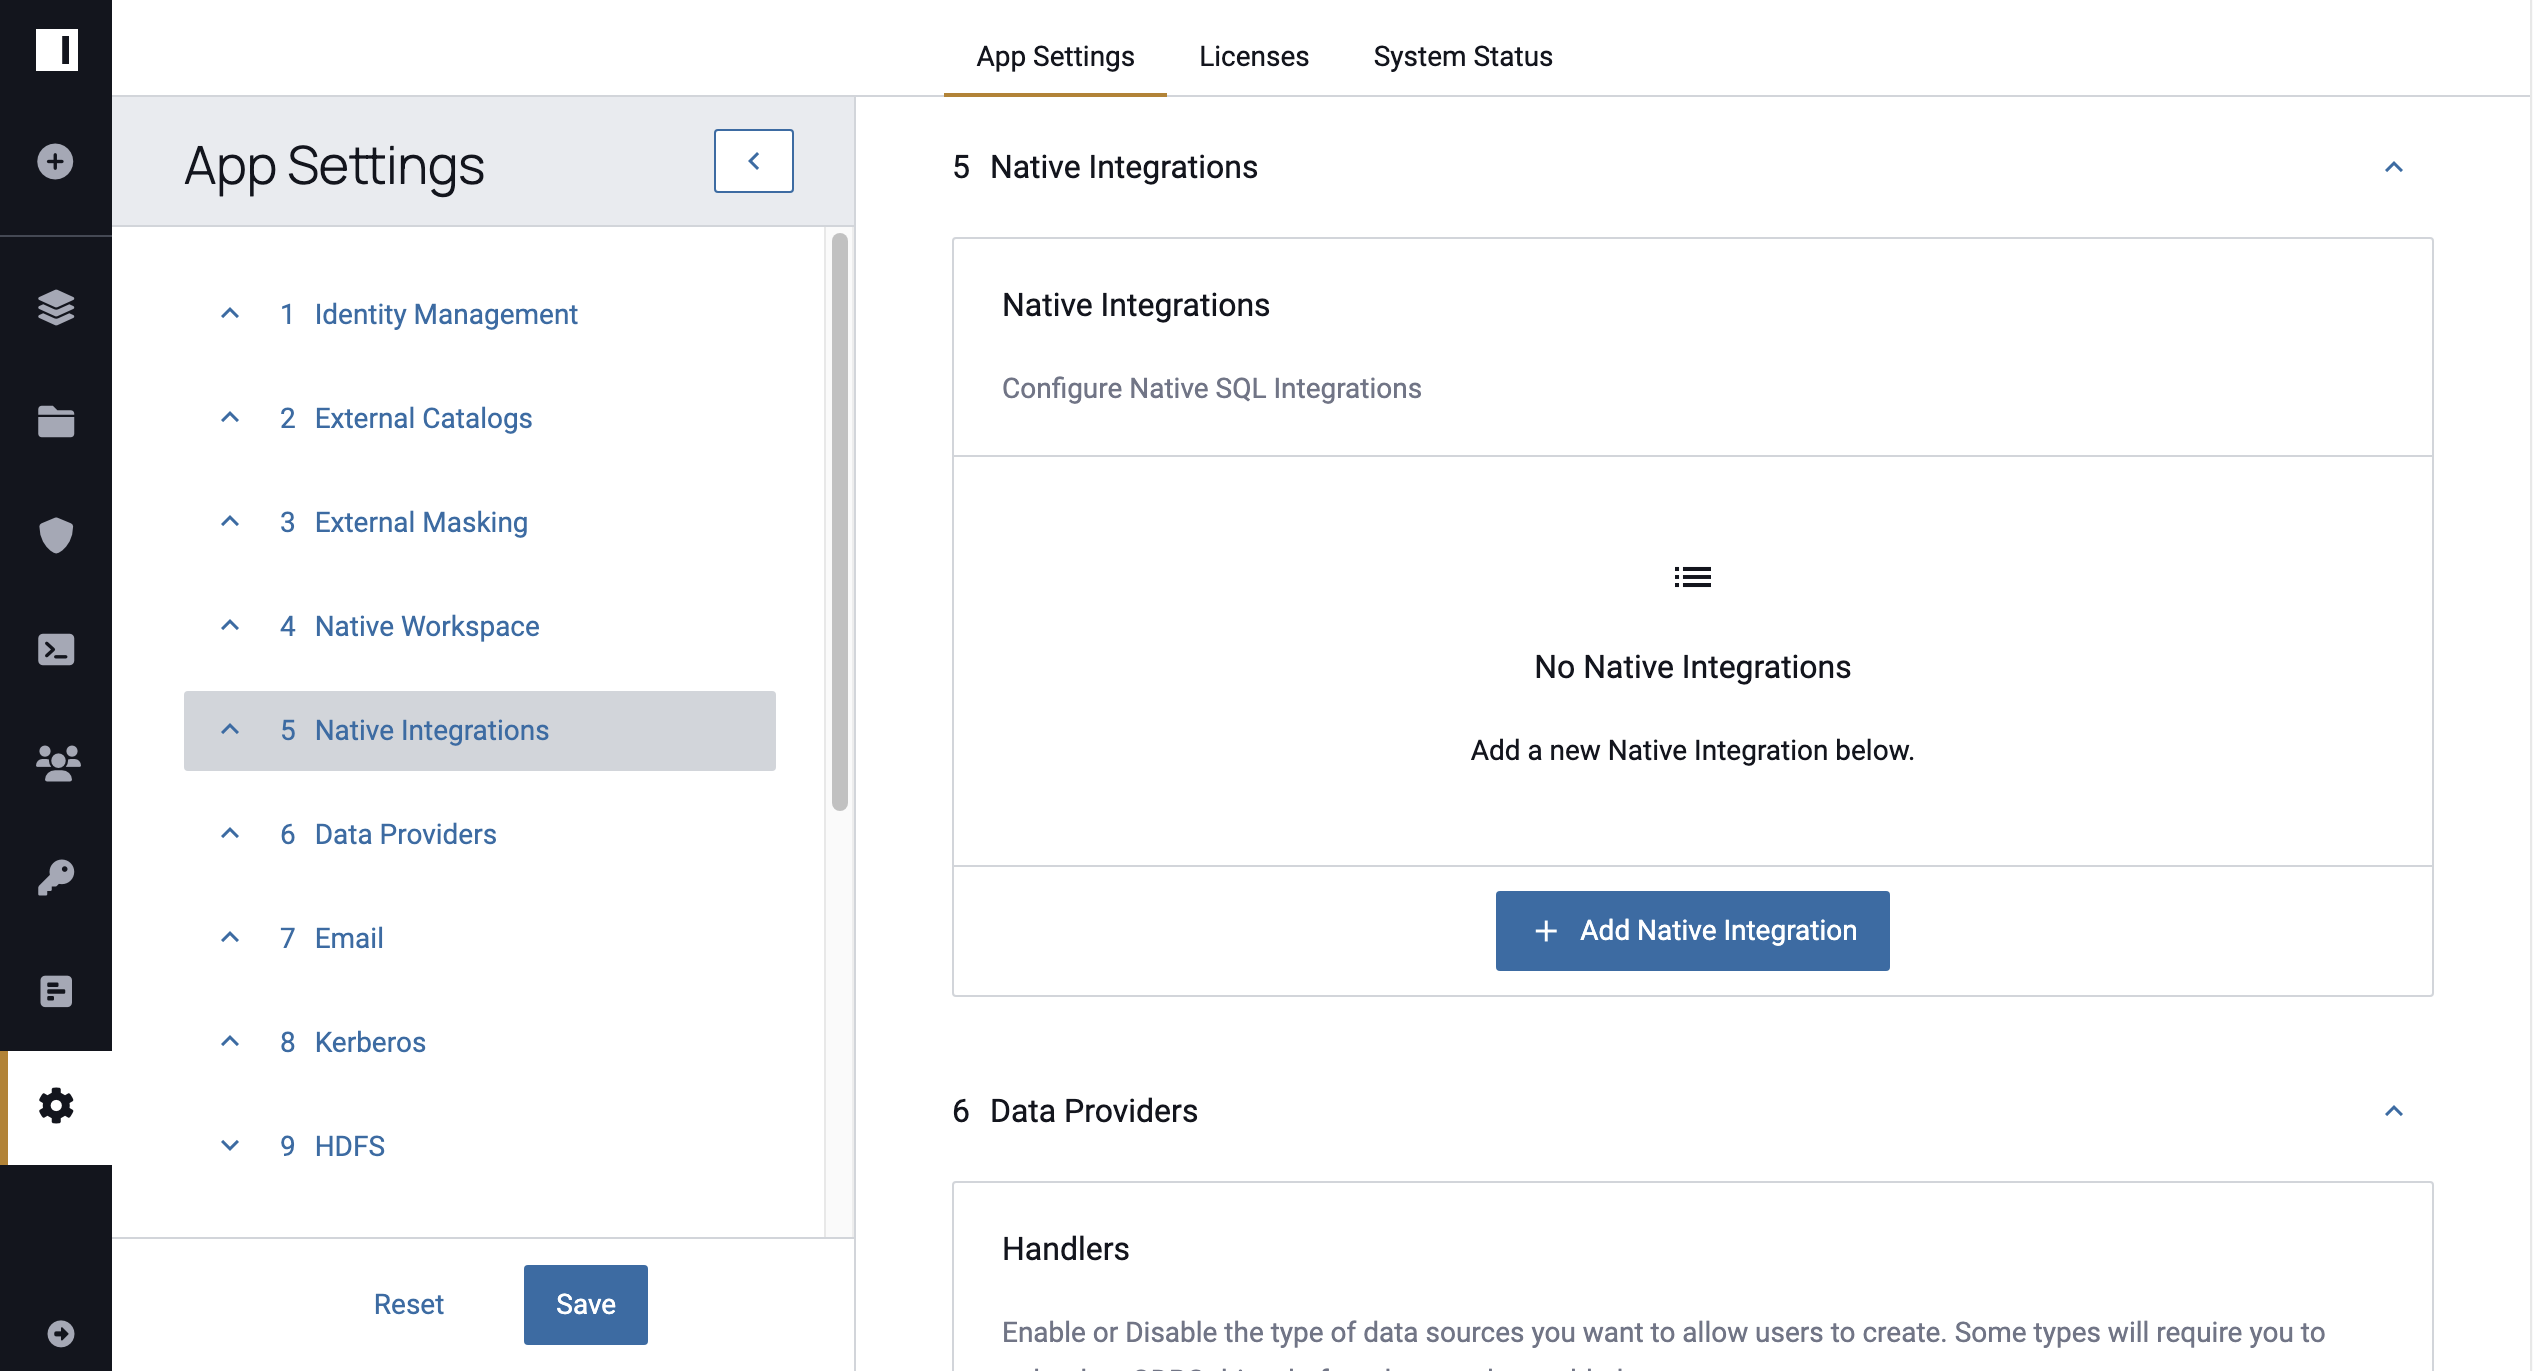
- Click the App Settings icon in the left sidebar.
- Click Native Integrations in the left panel.
-
Click the +Add Native Integration button and select Snowflake from the dropdown menu.
-
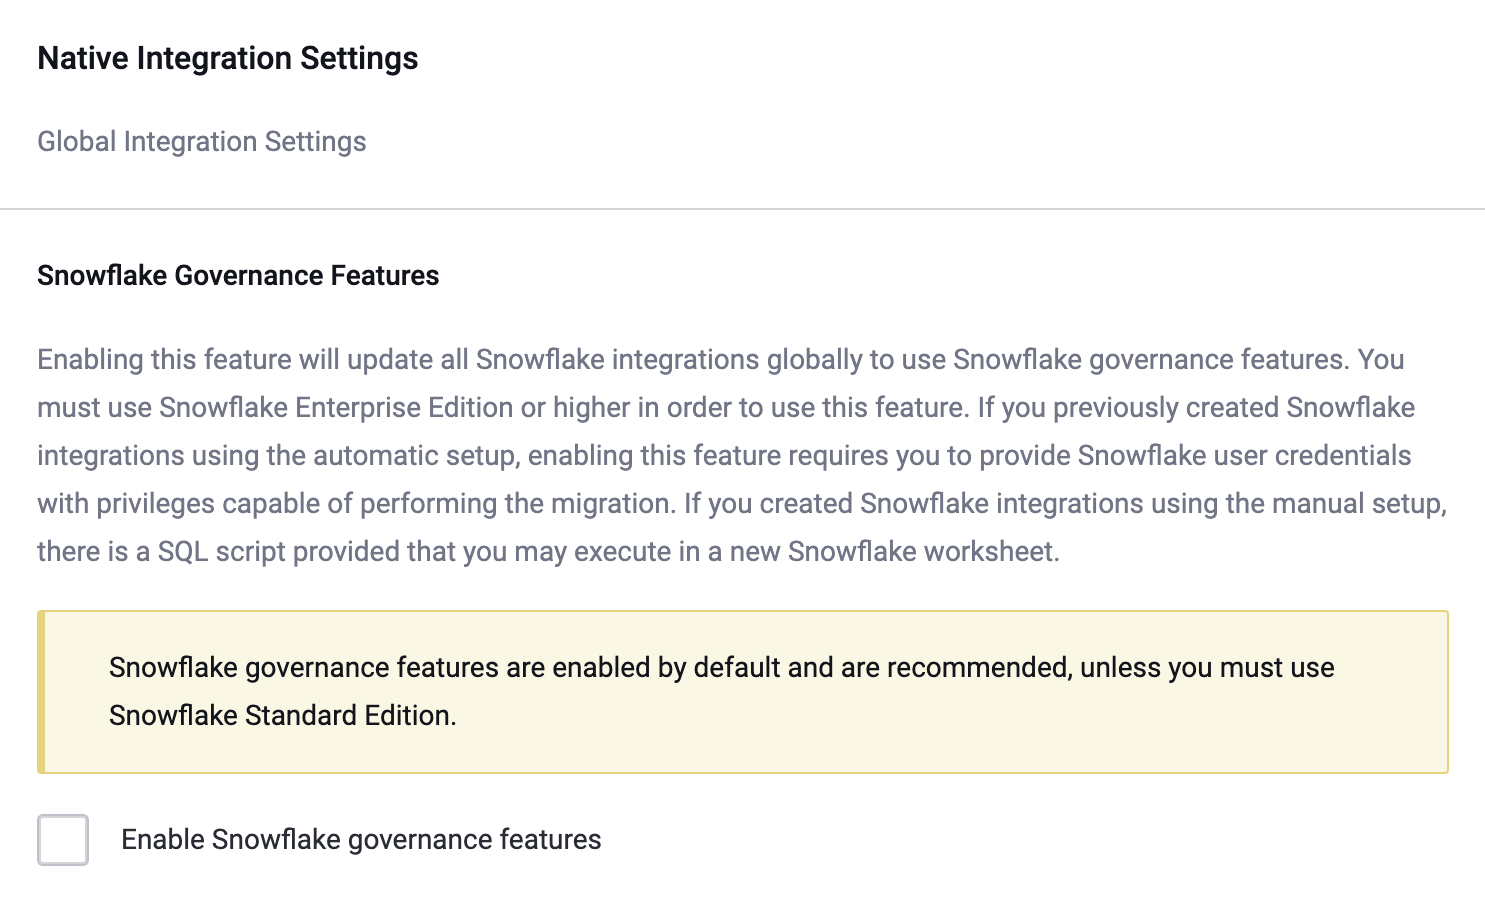
Scroll down and uncheck the box for Snowflake Governance Features.
-
Scroll back up and complete the Host, Port, and Default Warehouse fields.
- Opt to check the Enable Project Workspace box. This will allow for managed Write access within Snowflake.
- Opt to check the Enable Impersonation box and customize the Impersonation Role name as needed. This will allow users to natively impersonate another user. Note you cannot edit this choice after you configure the integration.
- Opt to check the Enable Native Query Audit box. This will allow Immuta to ingest audit records for native queries.
-
Opt to check the Automatically ingest Snowflake object tags box. This will enable Immuta to automatically import table and column tags from Snowflake. Note this feature requires an Enterprise Edition of Snowflake.
-
You have two options for installing the Snowflake and Snowflake Workspace access patterns: automatic or manual setup.
Automatic Setup
Immuta requires temporary, one-time use of credentials with specific permissions.
When performing an automated installation, Immuta requires temporary, one-time use of credentials with the following permissions:
- CREATE DATABASE ON ACCOUNT WITH GRANT OPTION
- CREATE ROLE ON ACCOUNT WITH GRANT OPTION
- CREATE USER ON ACCOUNT WITH GRANT OPTION
- MANAGE GRANTS ON ACCOUNT
These permissions will be used to create and configure a new IMMUTA database within the specified Snowflake instance. The credentials are not stored or saved by Immuta, and Immuta doesn’t retain access to them after initial setup is complete.
You can create a new account for Immuta to use that has these permissions, or you can grant temporary use of a pre-existing account. By default, the pre-existing account with appropriate permissions is ACCOUNTADMIN. If you create a new account, it can be deleted after initial setup is complete.
Alternatively, you can create the IMMUTA database within the specified Snowflake instance manually using the Manual Setup option.
-
From the Select Authentication Method Dropdown, select either Username and Password or Key Pair Authentication:
Username and Password
Complete the following fields: Username, Password, and Role.
Key Pair Authentication
- Complete the Username field.
- Click Key Pair (Required), and upload a Snowflake key pair file.
- Complete the Role field.
Manual Setup
Best Practices: Account Creation
The account you create for Immuta should only be used for the integration and should NOT be used as the credentials when creating data sources within Immuta. This will cause issues.
Create a dedicated READ-ONLY account for creating and registering data sources within Immuta. This account should also not be the account used to configure the integration.
The specified role used to run the bootstrap needs to have the following privileges:
- CREATE DATABASE ON ACCOUNT WITH GRANT OPTION
- CREATE ROLE ON ACCOUNT WITH GRANT OPTION
- CREATE USER ON ACCOUNT WITH GRANT OPTION
- MANAGE GRANTS ON ACCOUNT
-
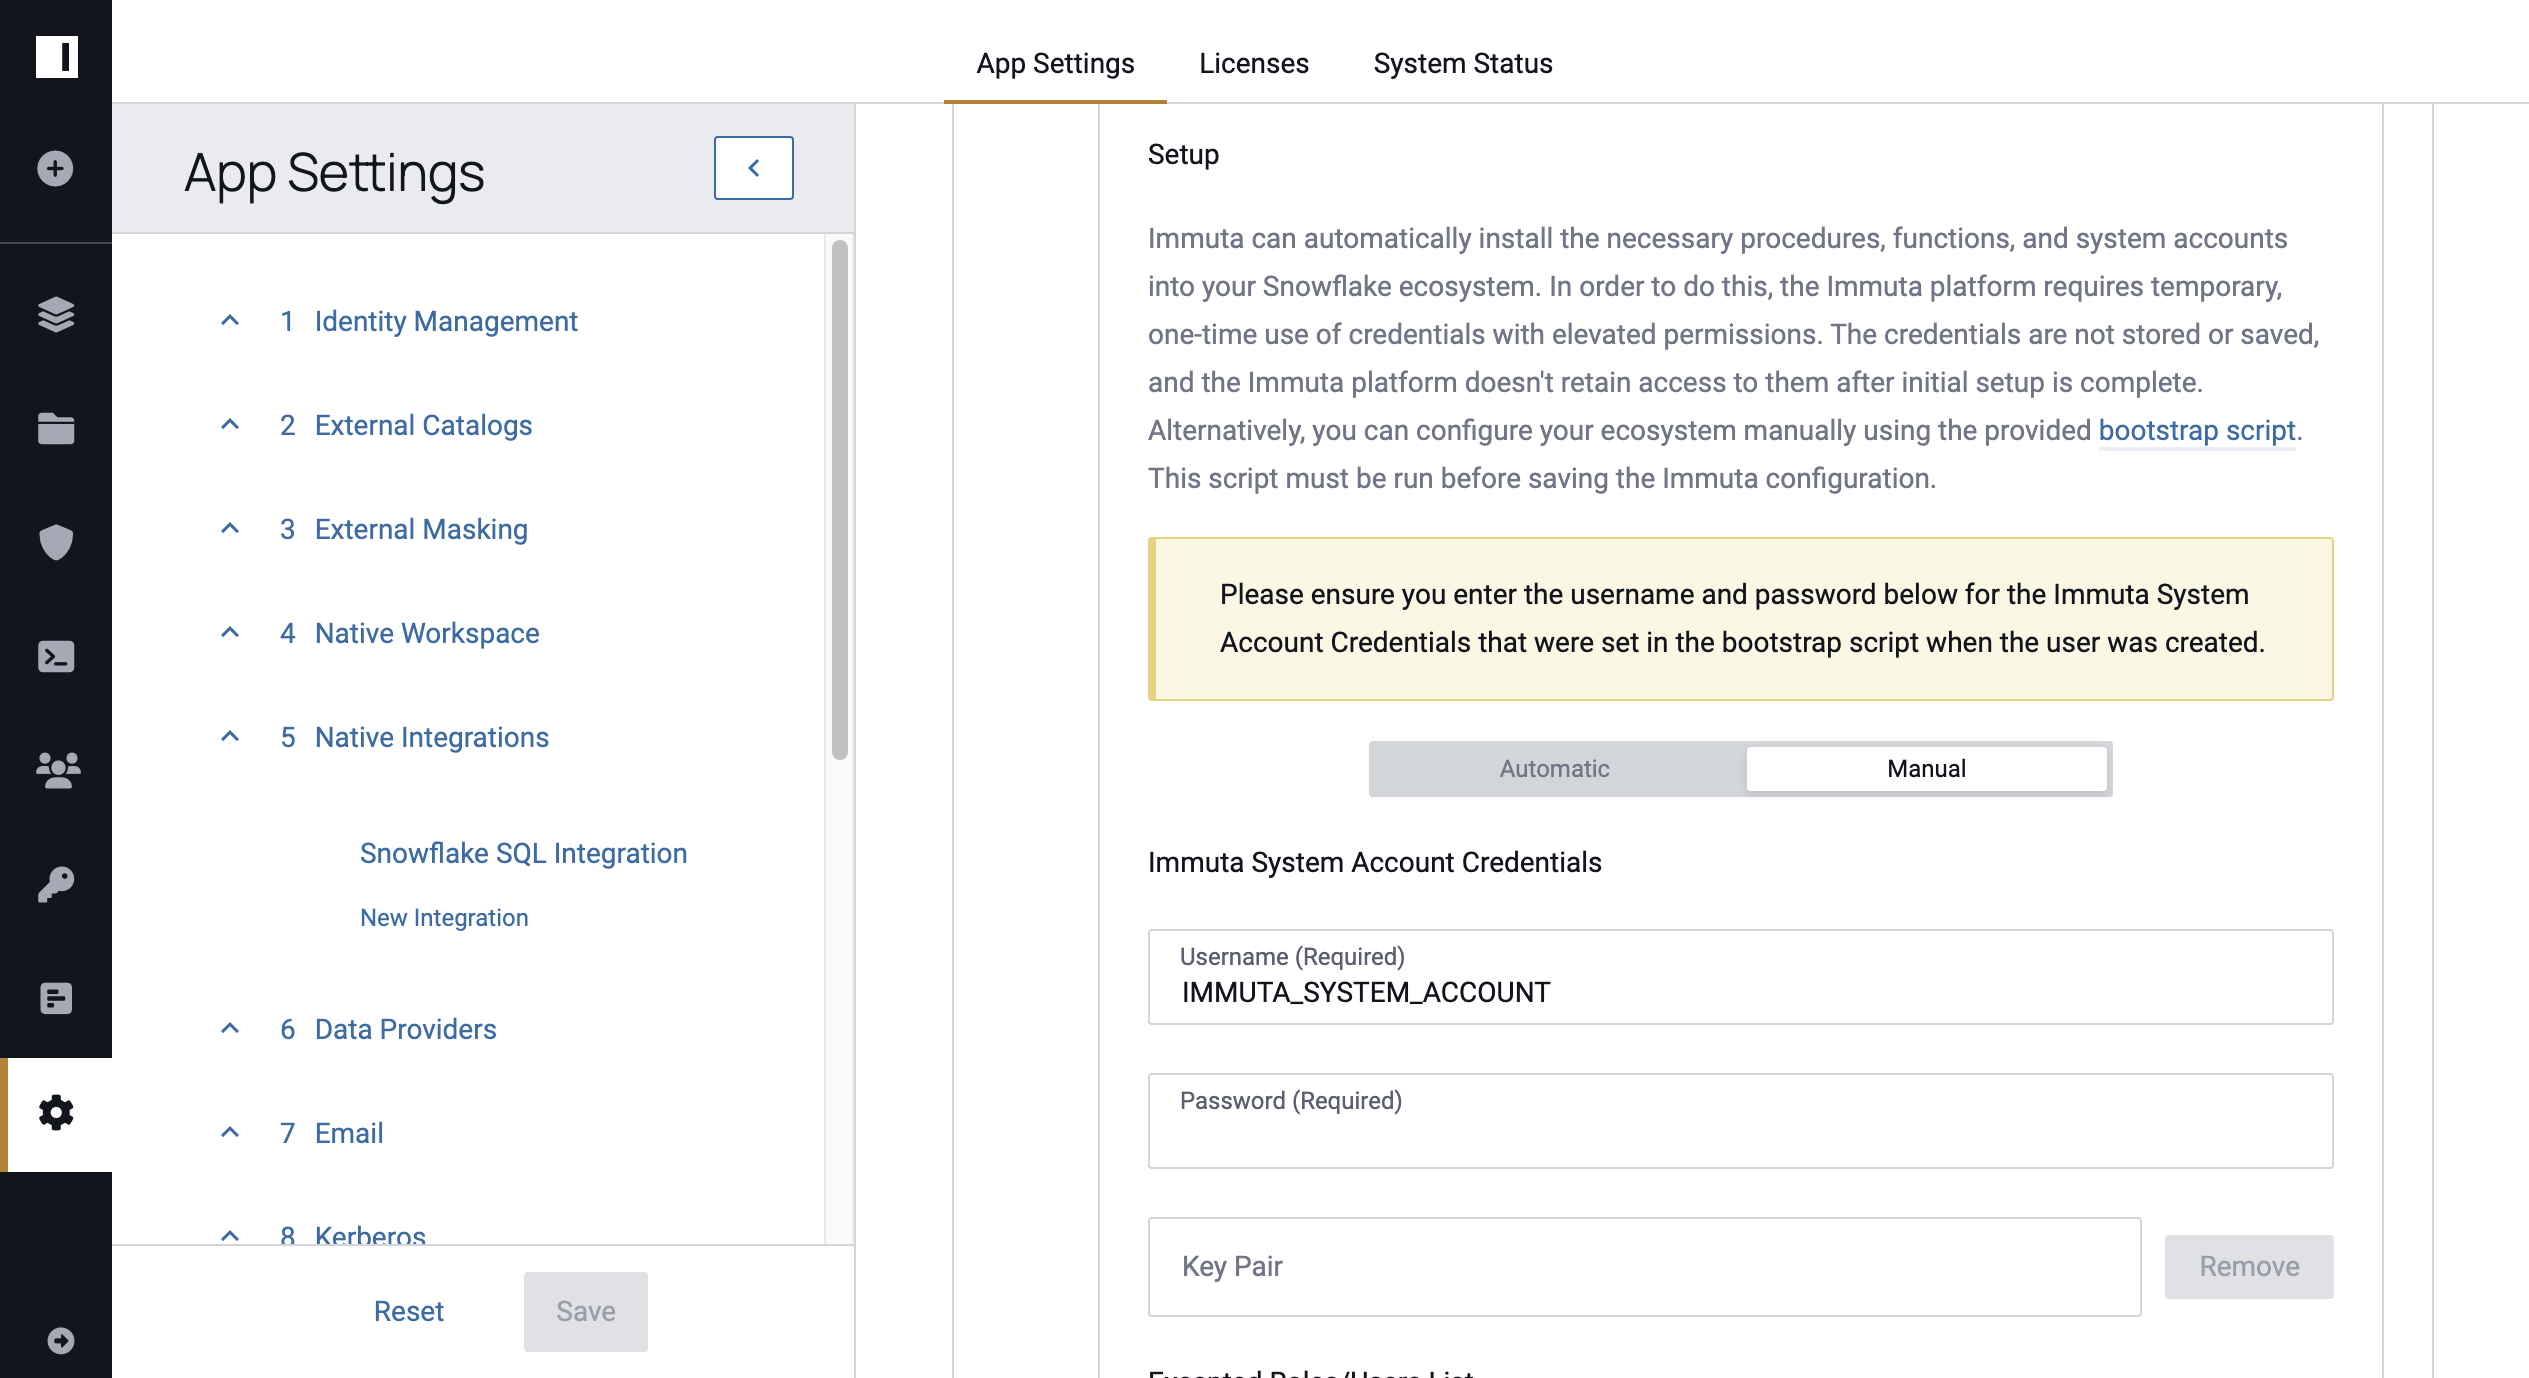
Download and run the bootstrap script linked in the Setup section. Take note of the username and password used in the script.
Warning: Different Accounts
The account used to enable the integration must be different from the account used to create data sources in Immuta. Otherwise, workspace views won't be generated properly.
-
Use the Dropdown Menu to select your Authentication Method:
-
Username and Password: Enter the Username and Password that were set in the bootstrap script for the Immuta System Account Credentials.
-
Key Pair Authentication: Upload the Key Pair file.
-
-
If you enabled a Snowflake workspace, select Warehouses from the dropdown menu that will be available to project owners when creating native Snowflake workspaces. Select from a list of all the warehouses available to the privileged account entered above. Note that any warehouse accessible by the PUBLIC role does not need to be explicitly added.
- Click Test Snowflake Connection.
- Once the credentials are successfully tested, click Save.
Now that Snowflake has been enabled, all future Snowflake data sources will also be created natively
within the immuta database of the linked Snowflake instance. In addition to creating views, Immuta will also
periodically sync user metadata to a system table within the Snowflake instance.