Add Tags to Data Sources and Projects
Audience: Data Owners, Project Owners, and Data Governors
Content Summary: After Governors have created tags, Data Owners and Governors can then apply these tags to data sources and specific columns within the data sources.
This document outlines step-by-step instructions for adding tags to data sources and removing tags from data sources, managing project tags, and adding tags to the Data Dictionary.
Additional Tutorials Contents:
- Remove Tags from Data Sources
- Manage Data Dictionary Tags
- Manage Project Tags
Use Case
Compliance Requirement: Users can only interact with Dev data, and all personal information should be redacted for everyone, except for queries run in Test and Prod.
For this requirement, Data Owners need to tag data sources with the corresponding environment tag and verify the accuracy of Discovered tags to ensure that the Global Policies written by Data Governors are enforced on the appropriate data sources.
1 - Add Tags to Data Sources
- Click the Data Sources icon in the left sidebar and select a data source.
- Click the Add Tags button at the bottom of the Overview tab.
-
Begin typing
Environment.devin the Search by Name field and select the tag from the dropdown list.
-
Click Add. A list of the applied tags will populate at the bottom of the Overview tab.
- Repeat as necessary for other data sources and tags.
2 - Verify Discovered Tags
If Sensitive Data Discovery is enabled by an Application Admin on the App Settings page, Immuta will automatically discover sensitive data and tag those columns when the data source is created. For more information about this feature, see the Sensitive Data Discovery page.
Best Practice: Verify Discovered Tags
If Sensitive Data Discovery has been enabled, then manually adding tags to columns in the Data Dictionary will be unnecessary in most cases. The Data Owner will need to verify that the Discovered tags are correct.
Remove Discovered Tags from the Data Dictionary
If a Governor or Data Owner removes a Discovered tag from the Data Dictionary, the column(s) will not be re-tagged when
the data source's fingerprint is recalculated. When a Discovered tag is removed, the tag will not completely
disappear, but will appear as disabled, so it can be manually re-added by clicking the plus icon on the tag.
To remove a discovered tag
- Navigate to a data source and click the Data Dictionary tab.
- Scroll to the column you want to remove the tag from and click the X on the tag.
- Click Confirm.
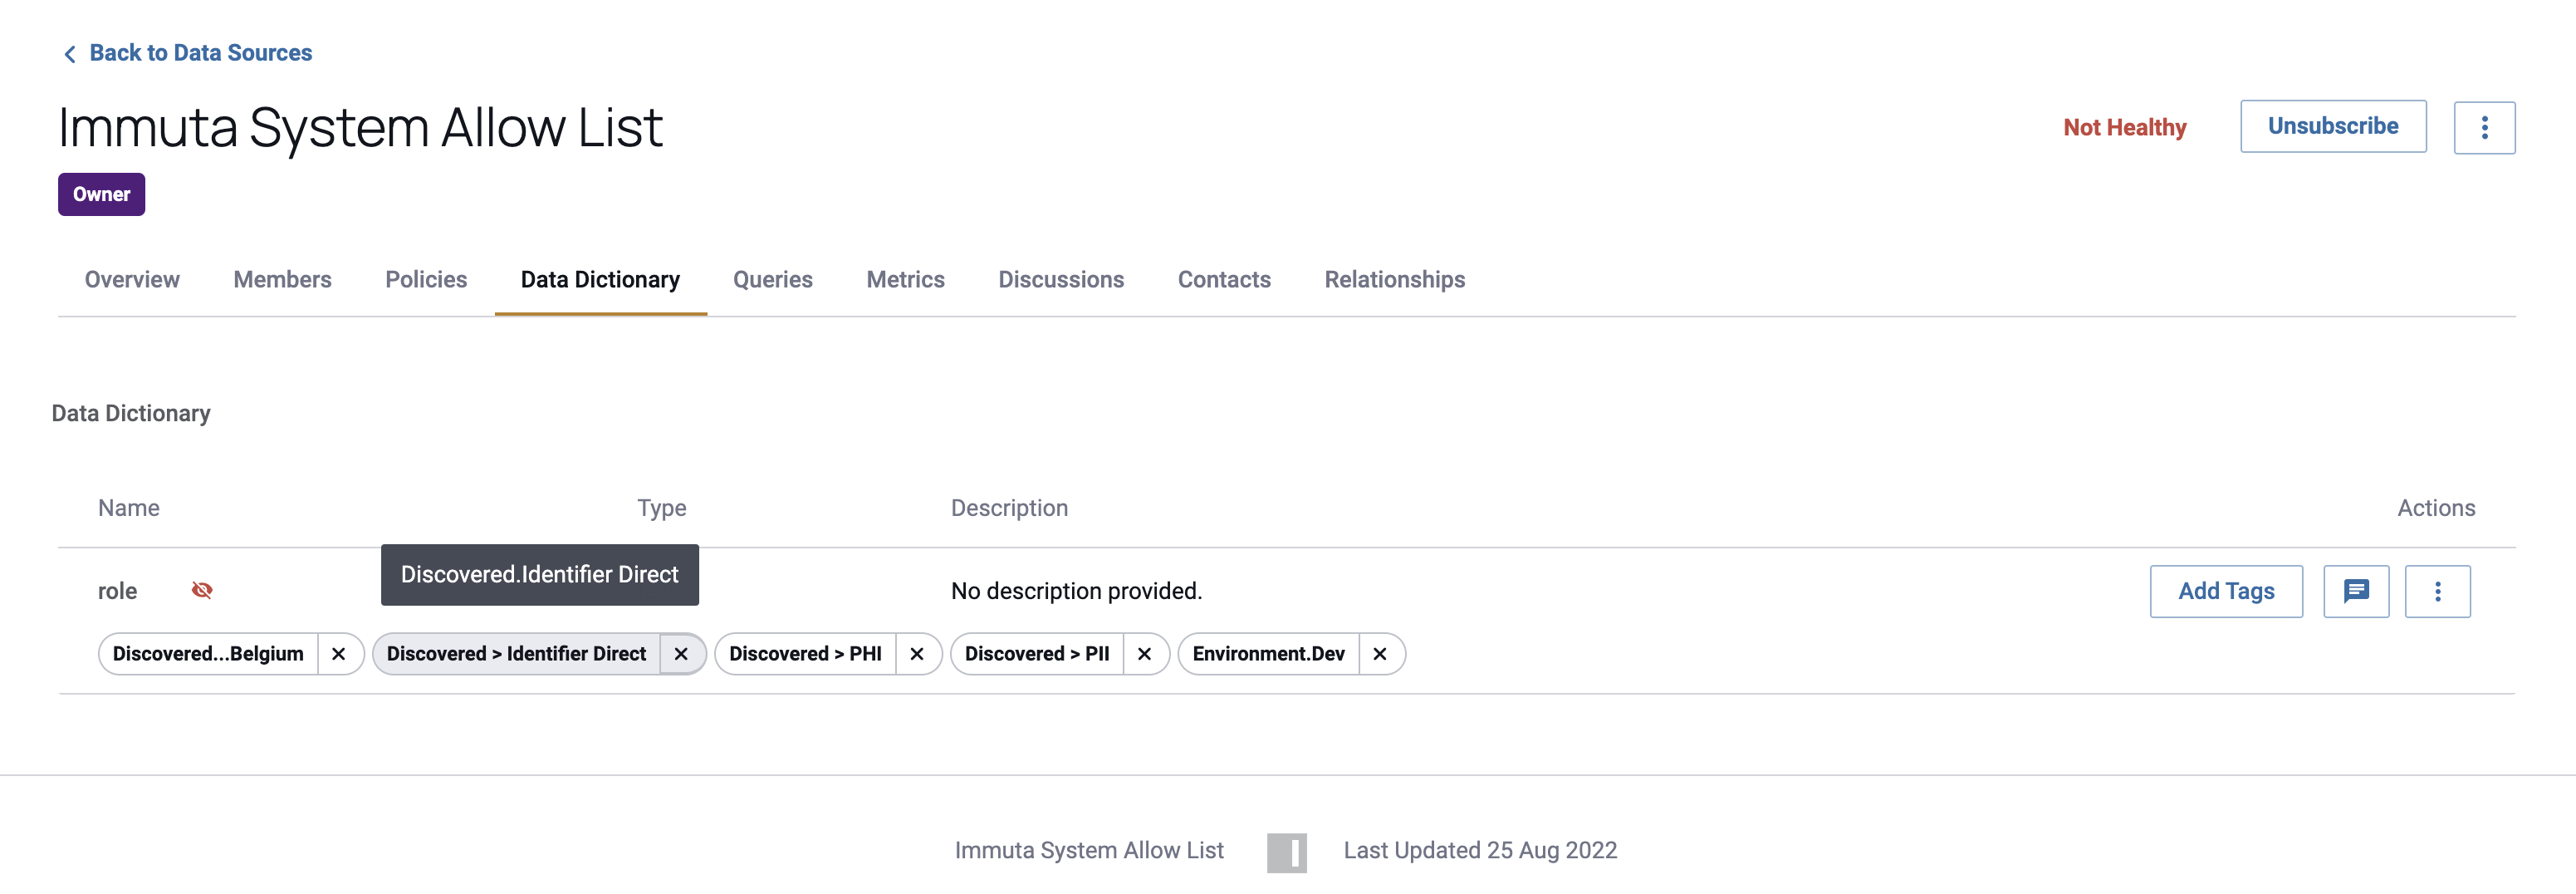
Results
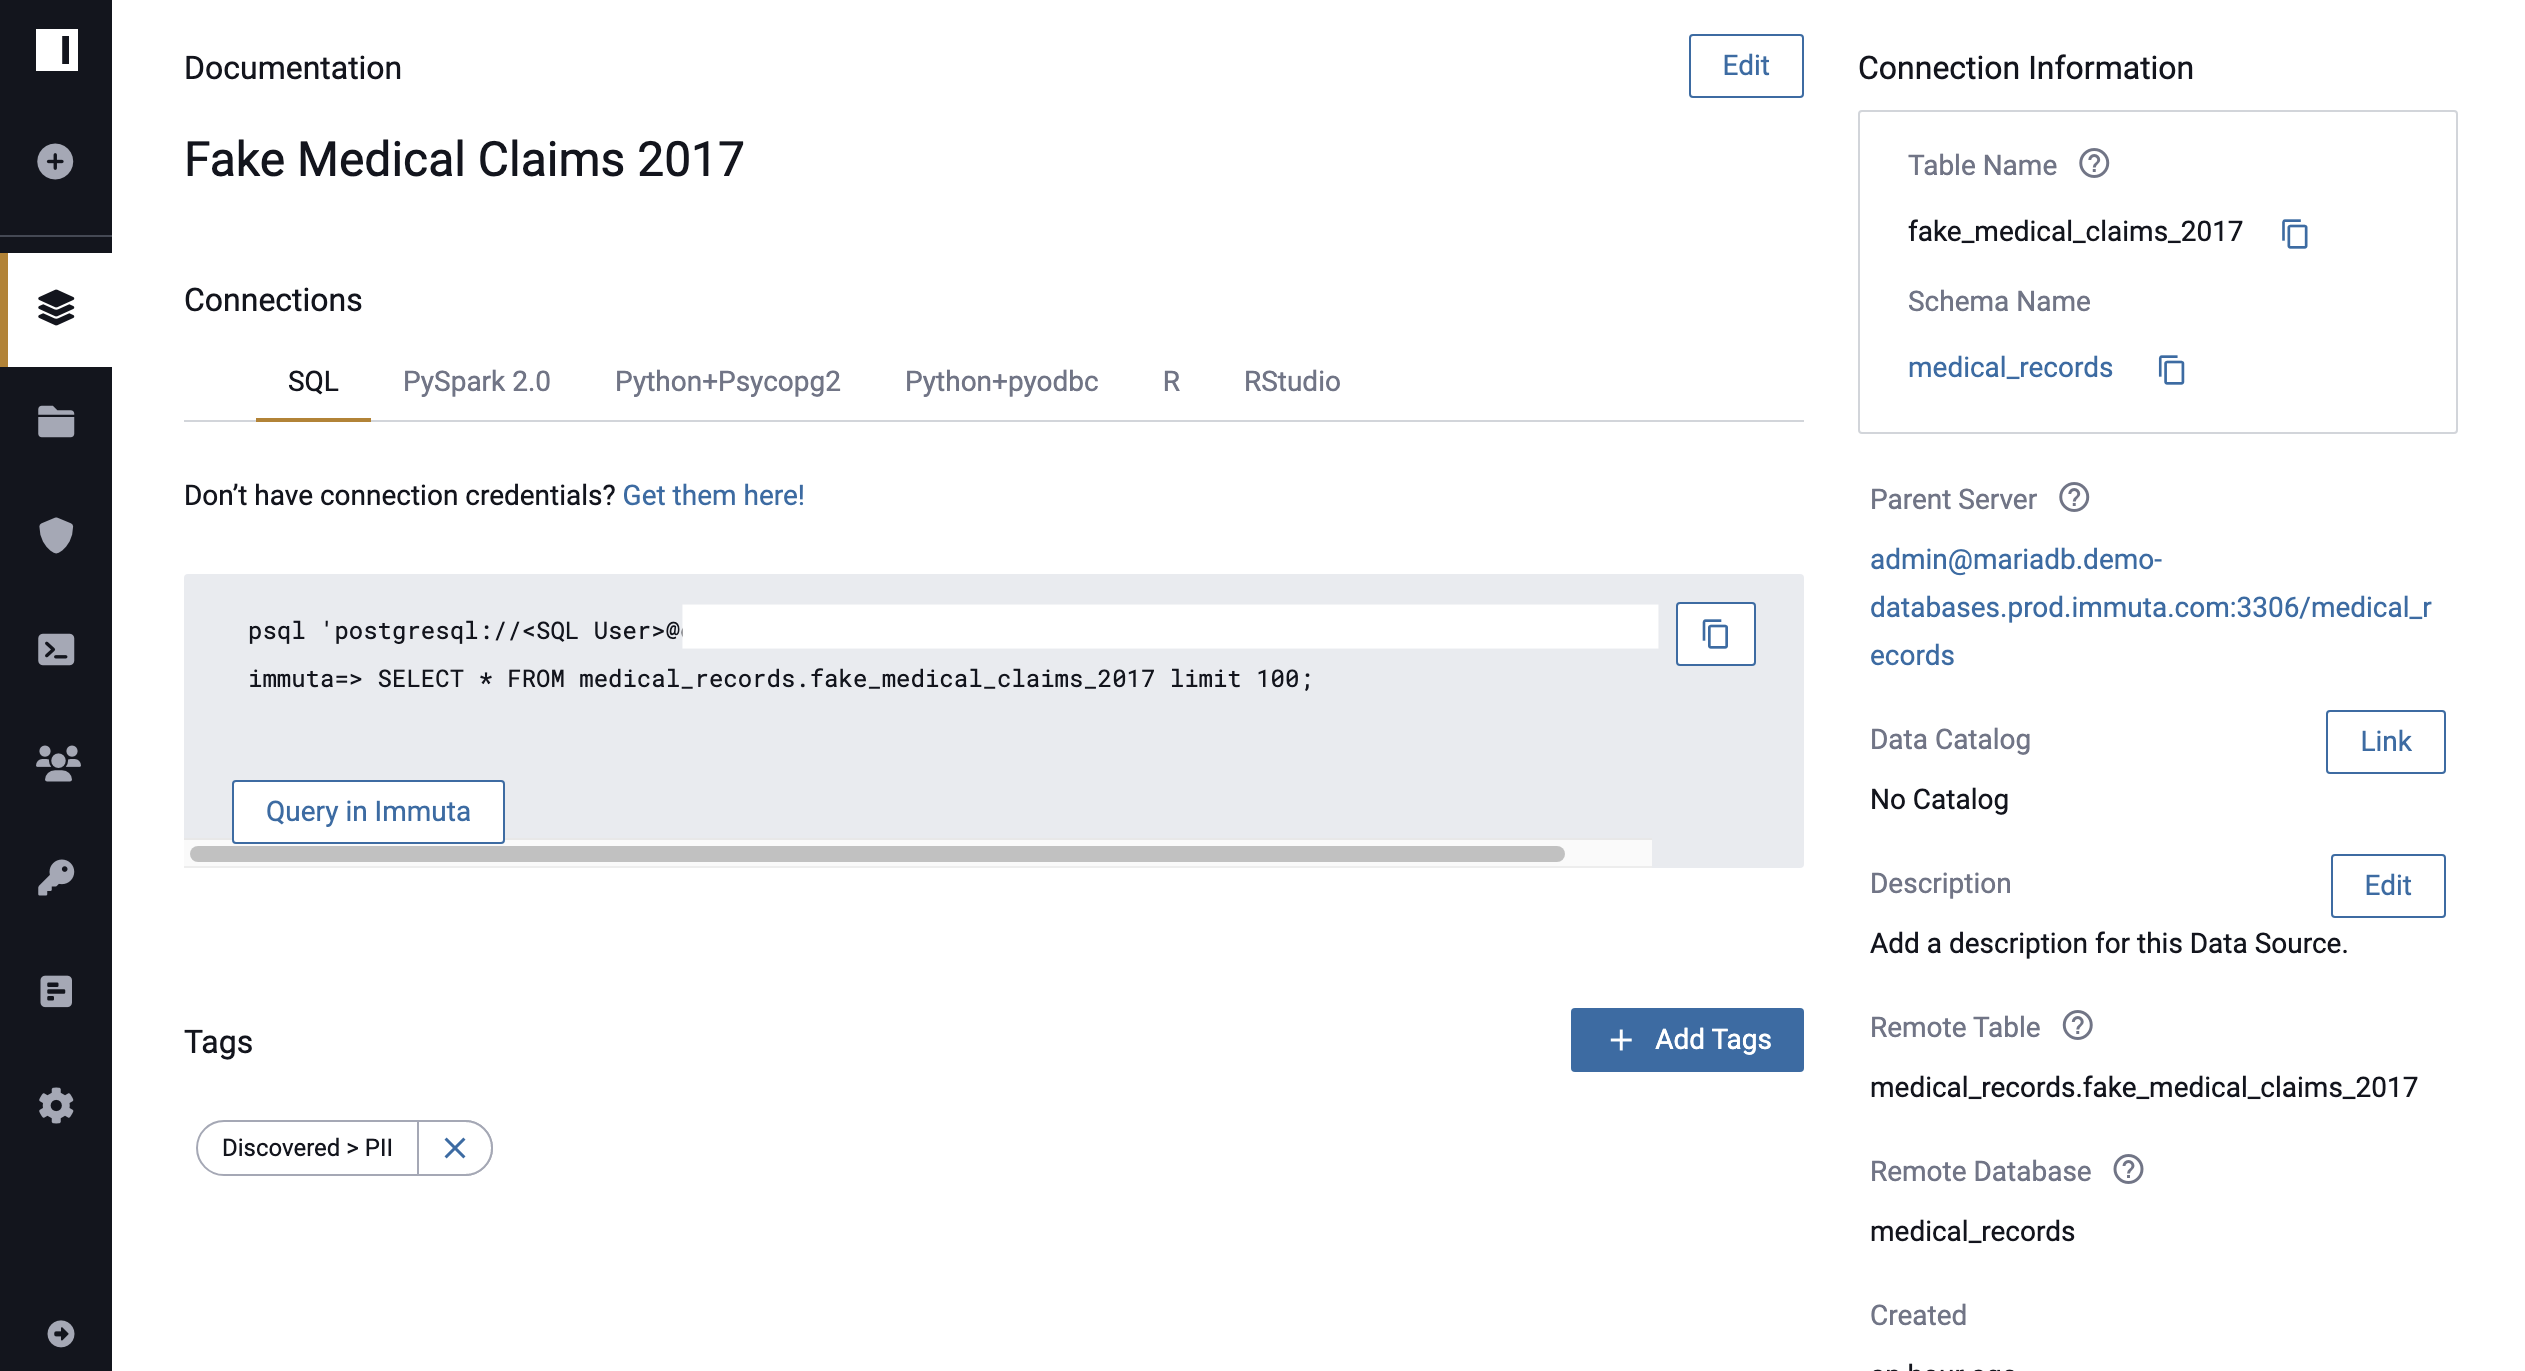
Once the Data Owners have tagged the data source it will show up on the overview page.
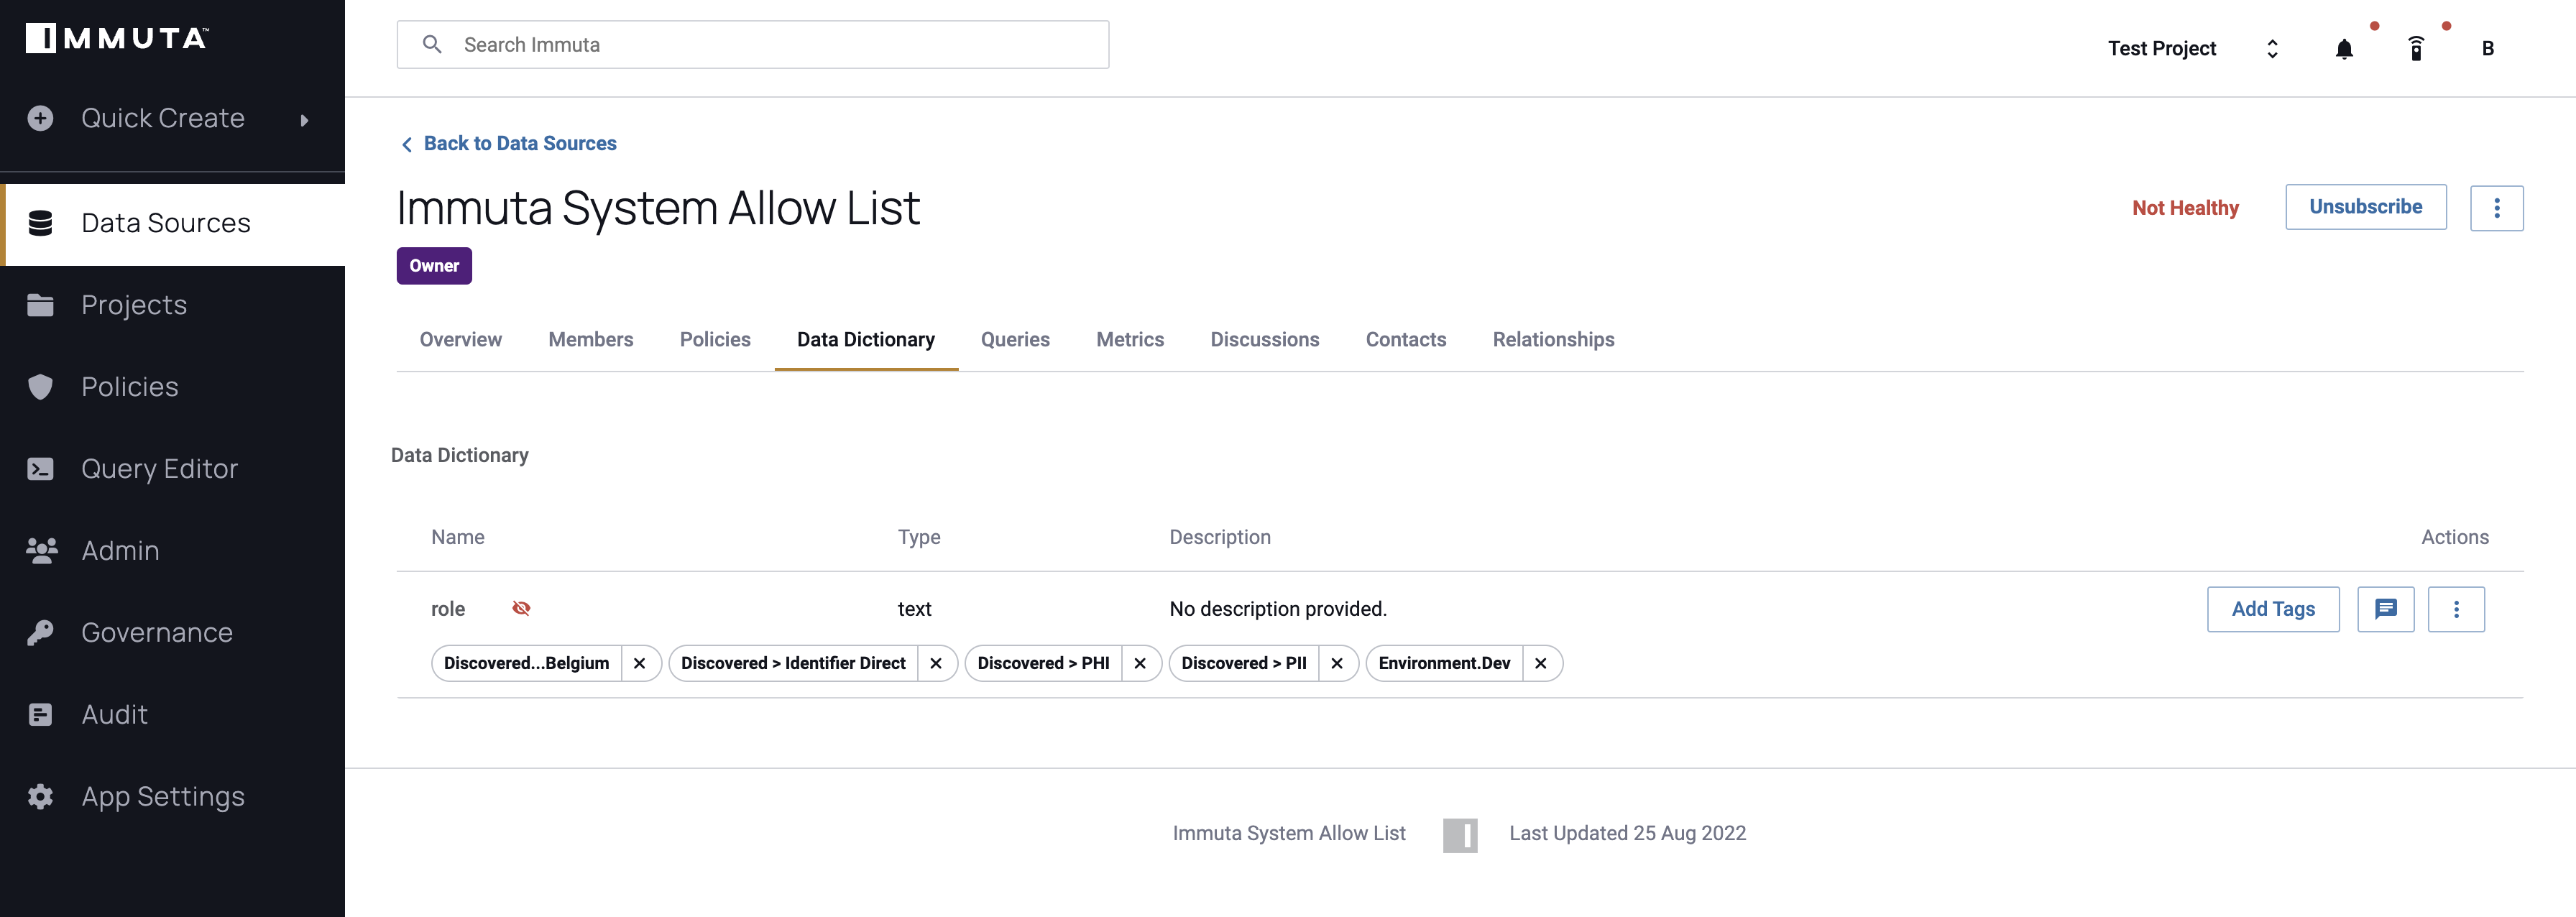
The discovered tags will be shown in the data dictionary.

Additional Tutorials
Remove Tags from Data Sources
- Click the Data Sources icon in the left sidebar and select a data source.
- Scroll to the Tags section at the bottom of the Overview tab, and click the X on the tag you want to remove.
- Click Confirm to remove the tag from the data source.
Manage Data Dictionary Tags
The Data Dictionary lists the columns within the data source and the value type of the data within each column. From this page, Governors can add tags to or remove them from specific columns in a data source.
Add Tags to the Data Dictionary
- Navigate to a data source and click the Data Dictionary tab.
- Scroll to the column you want to add a tag to and click the Add Tag icon in the Actions column.
- Begin typing in the Search by Name field and select the tag from the dropdown list.
- Click Add. The applied tag(s) will appear below column names in the Data Dictionary.
Remove Tags from the Data Dictionary
- Navigate to a data source and click the Data Dictionary tab.
- Scroll to the column you want to remove the tag from and click the X on the tag.
- Click Confirm.
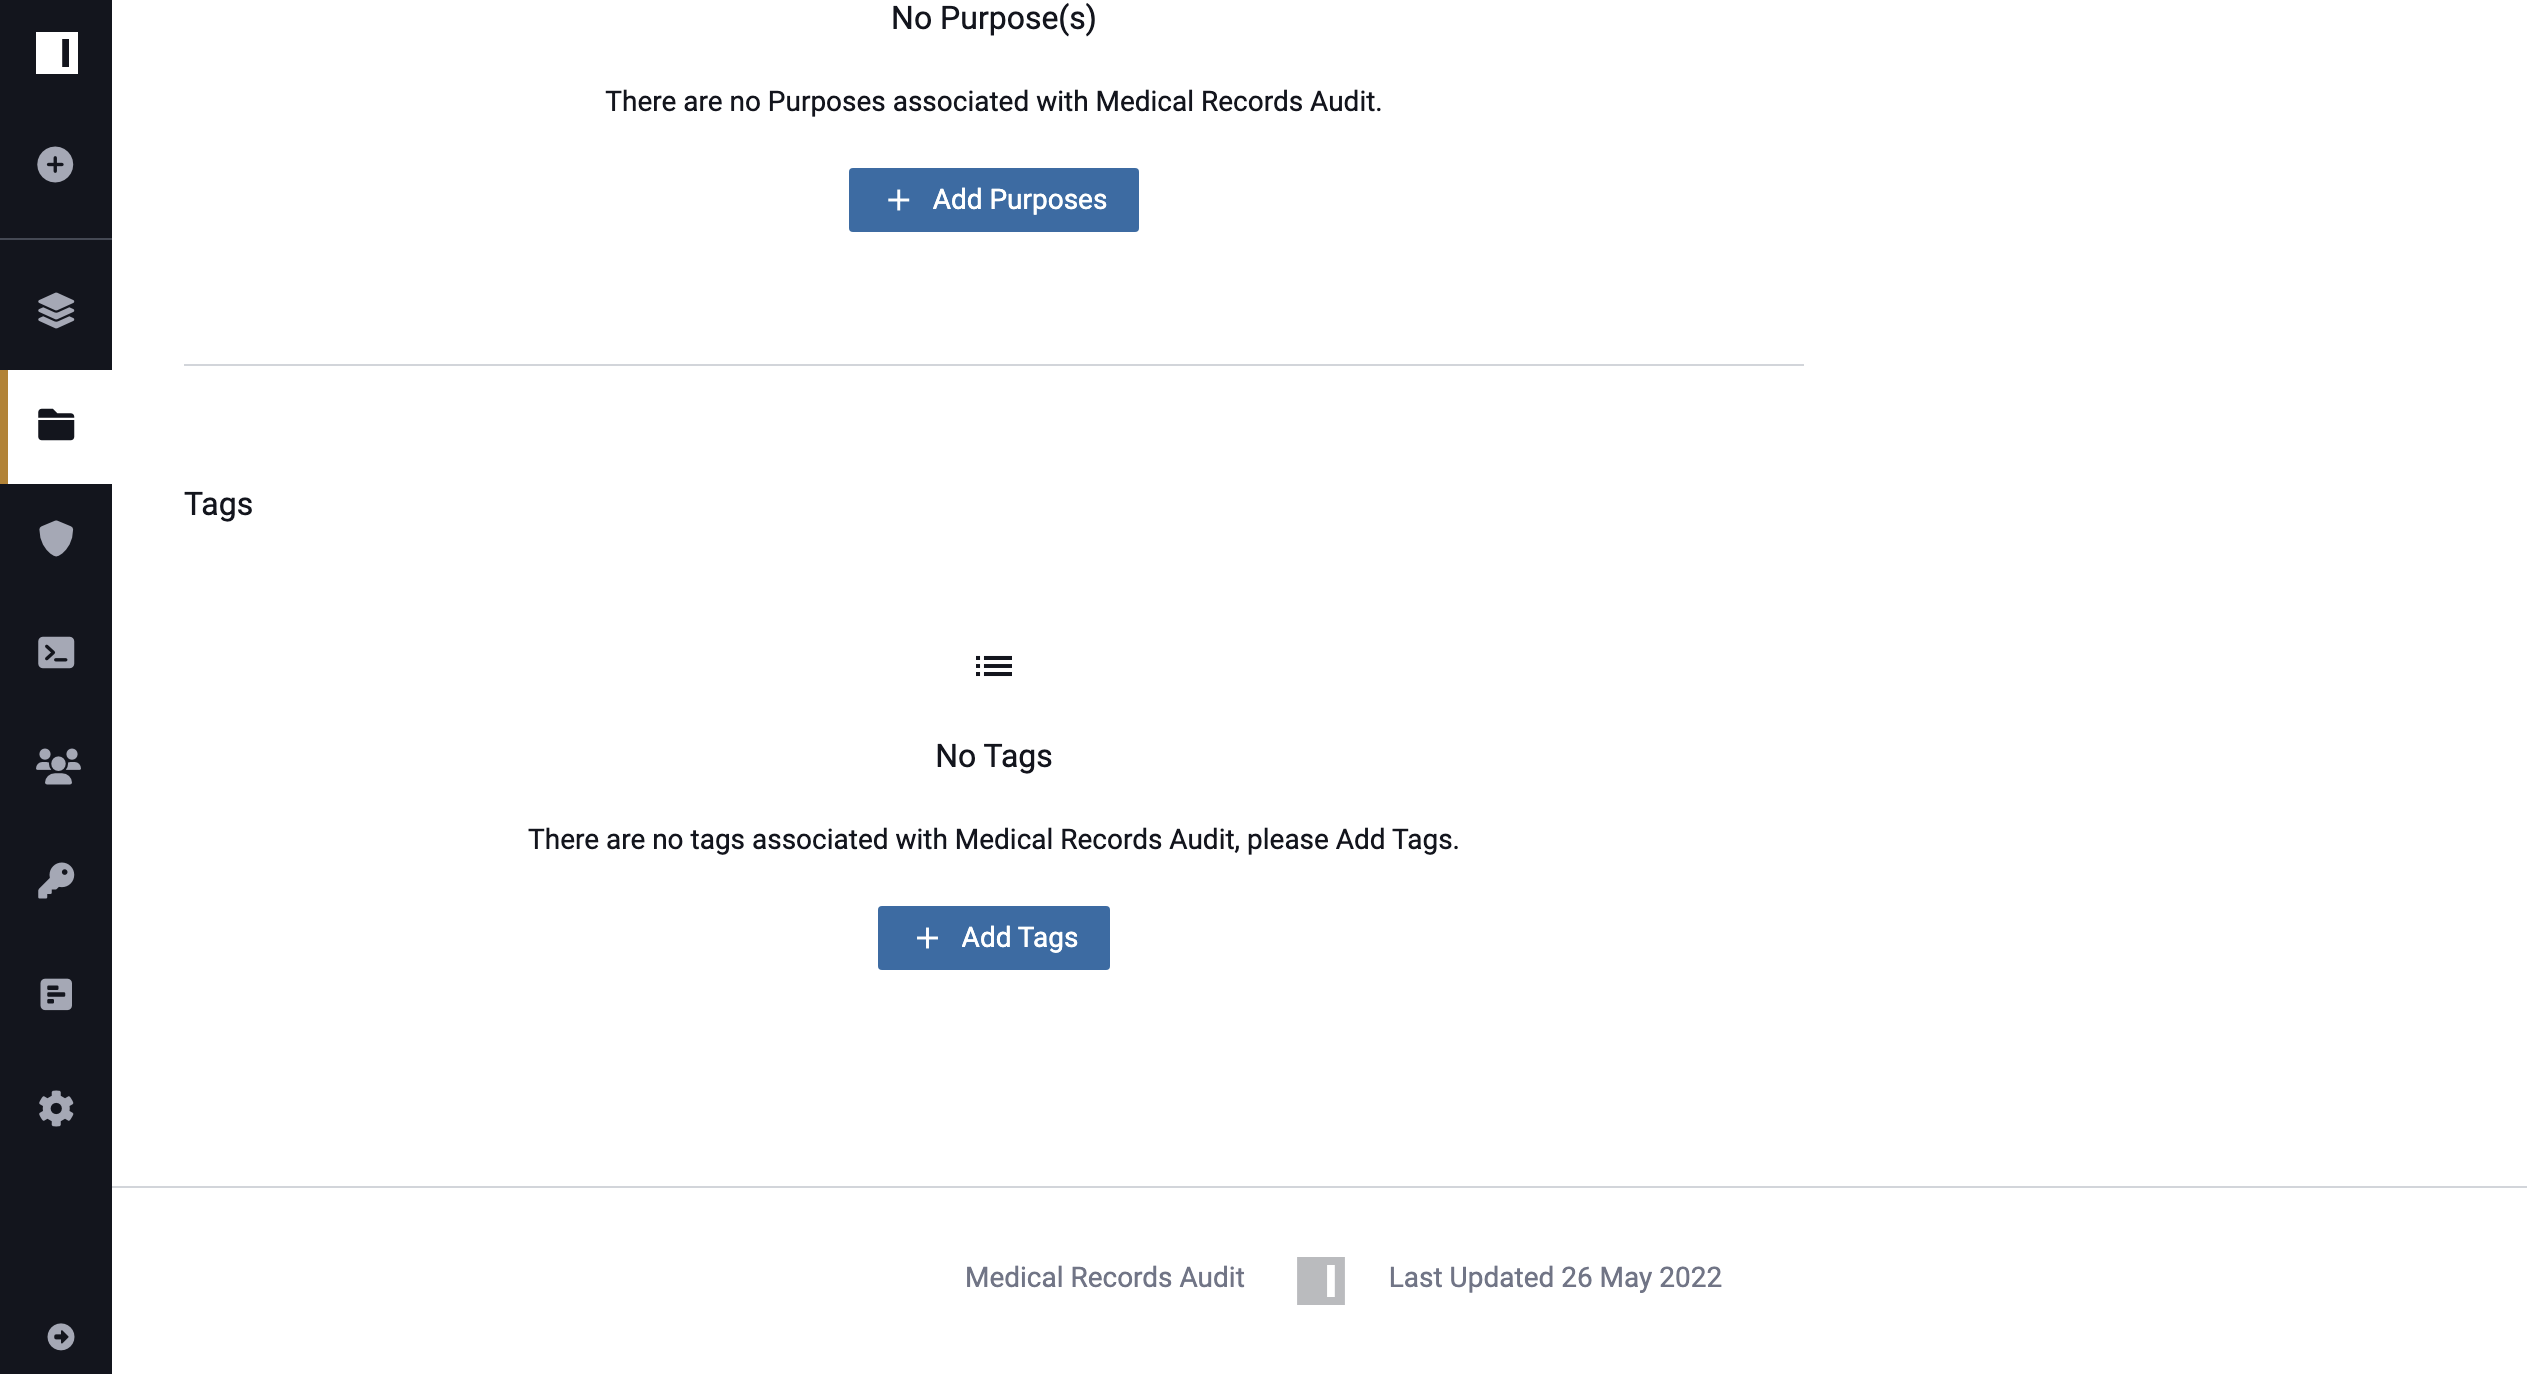
Add Tags to Projects
- Click the Projects icon in the left sidebar and select a project.
- Click the Add Tags button at the bottom of the Project Overview tab.
- Begin typing in the Search by Name field that appears, and then select the tag from the dropdown list.
-
Click Add. A list of the applied tags will populate at the bottom of the Project Overview tab.
Remove Tags from Projects
- Click the Projects icon in the left sidebar and select a project.
-
Scroll to the Tags section at the bottom of the Overview tab, and then click the Delete icon on the tag you would like to delete.

-
Click Confirm to remove the tag from the project.