Create a Snowflake Project Workspace
Audience: Project Owners and members
Content Summary: This tutorial configures a Snowflake workspace.
Use Case
Compliance Requirement: Users can only WRITE to specified locations in Dev, and these users need to share this data with other Dev users.
After Dev users have analyzed data, they need to write content back to Immuta and share it with other Dev users. To allow them to write data back to Immuta, project owners need to create workspaces for their projects. Then, users can share the data they've written to Immuta with other users as derived data sources.
1 - Create a Snowflake Workspace
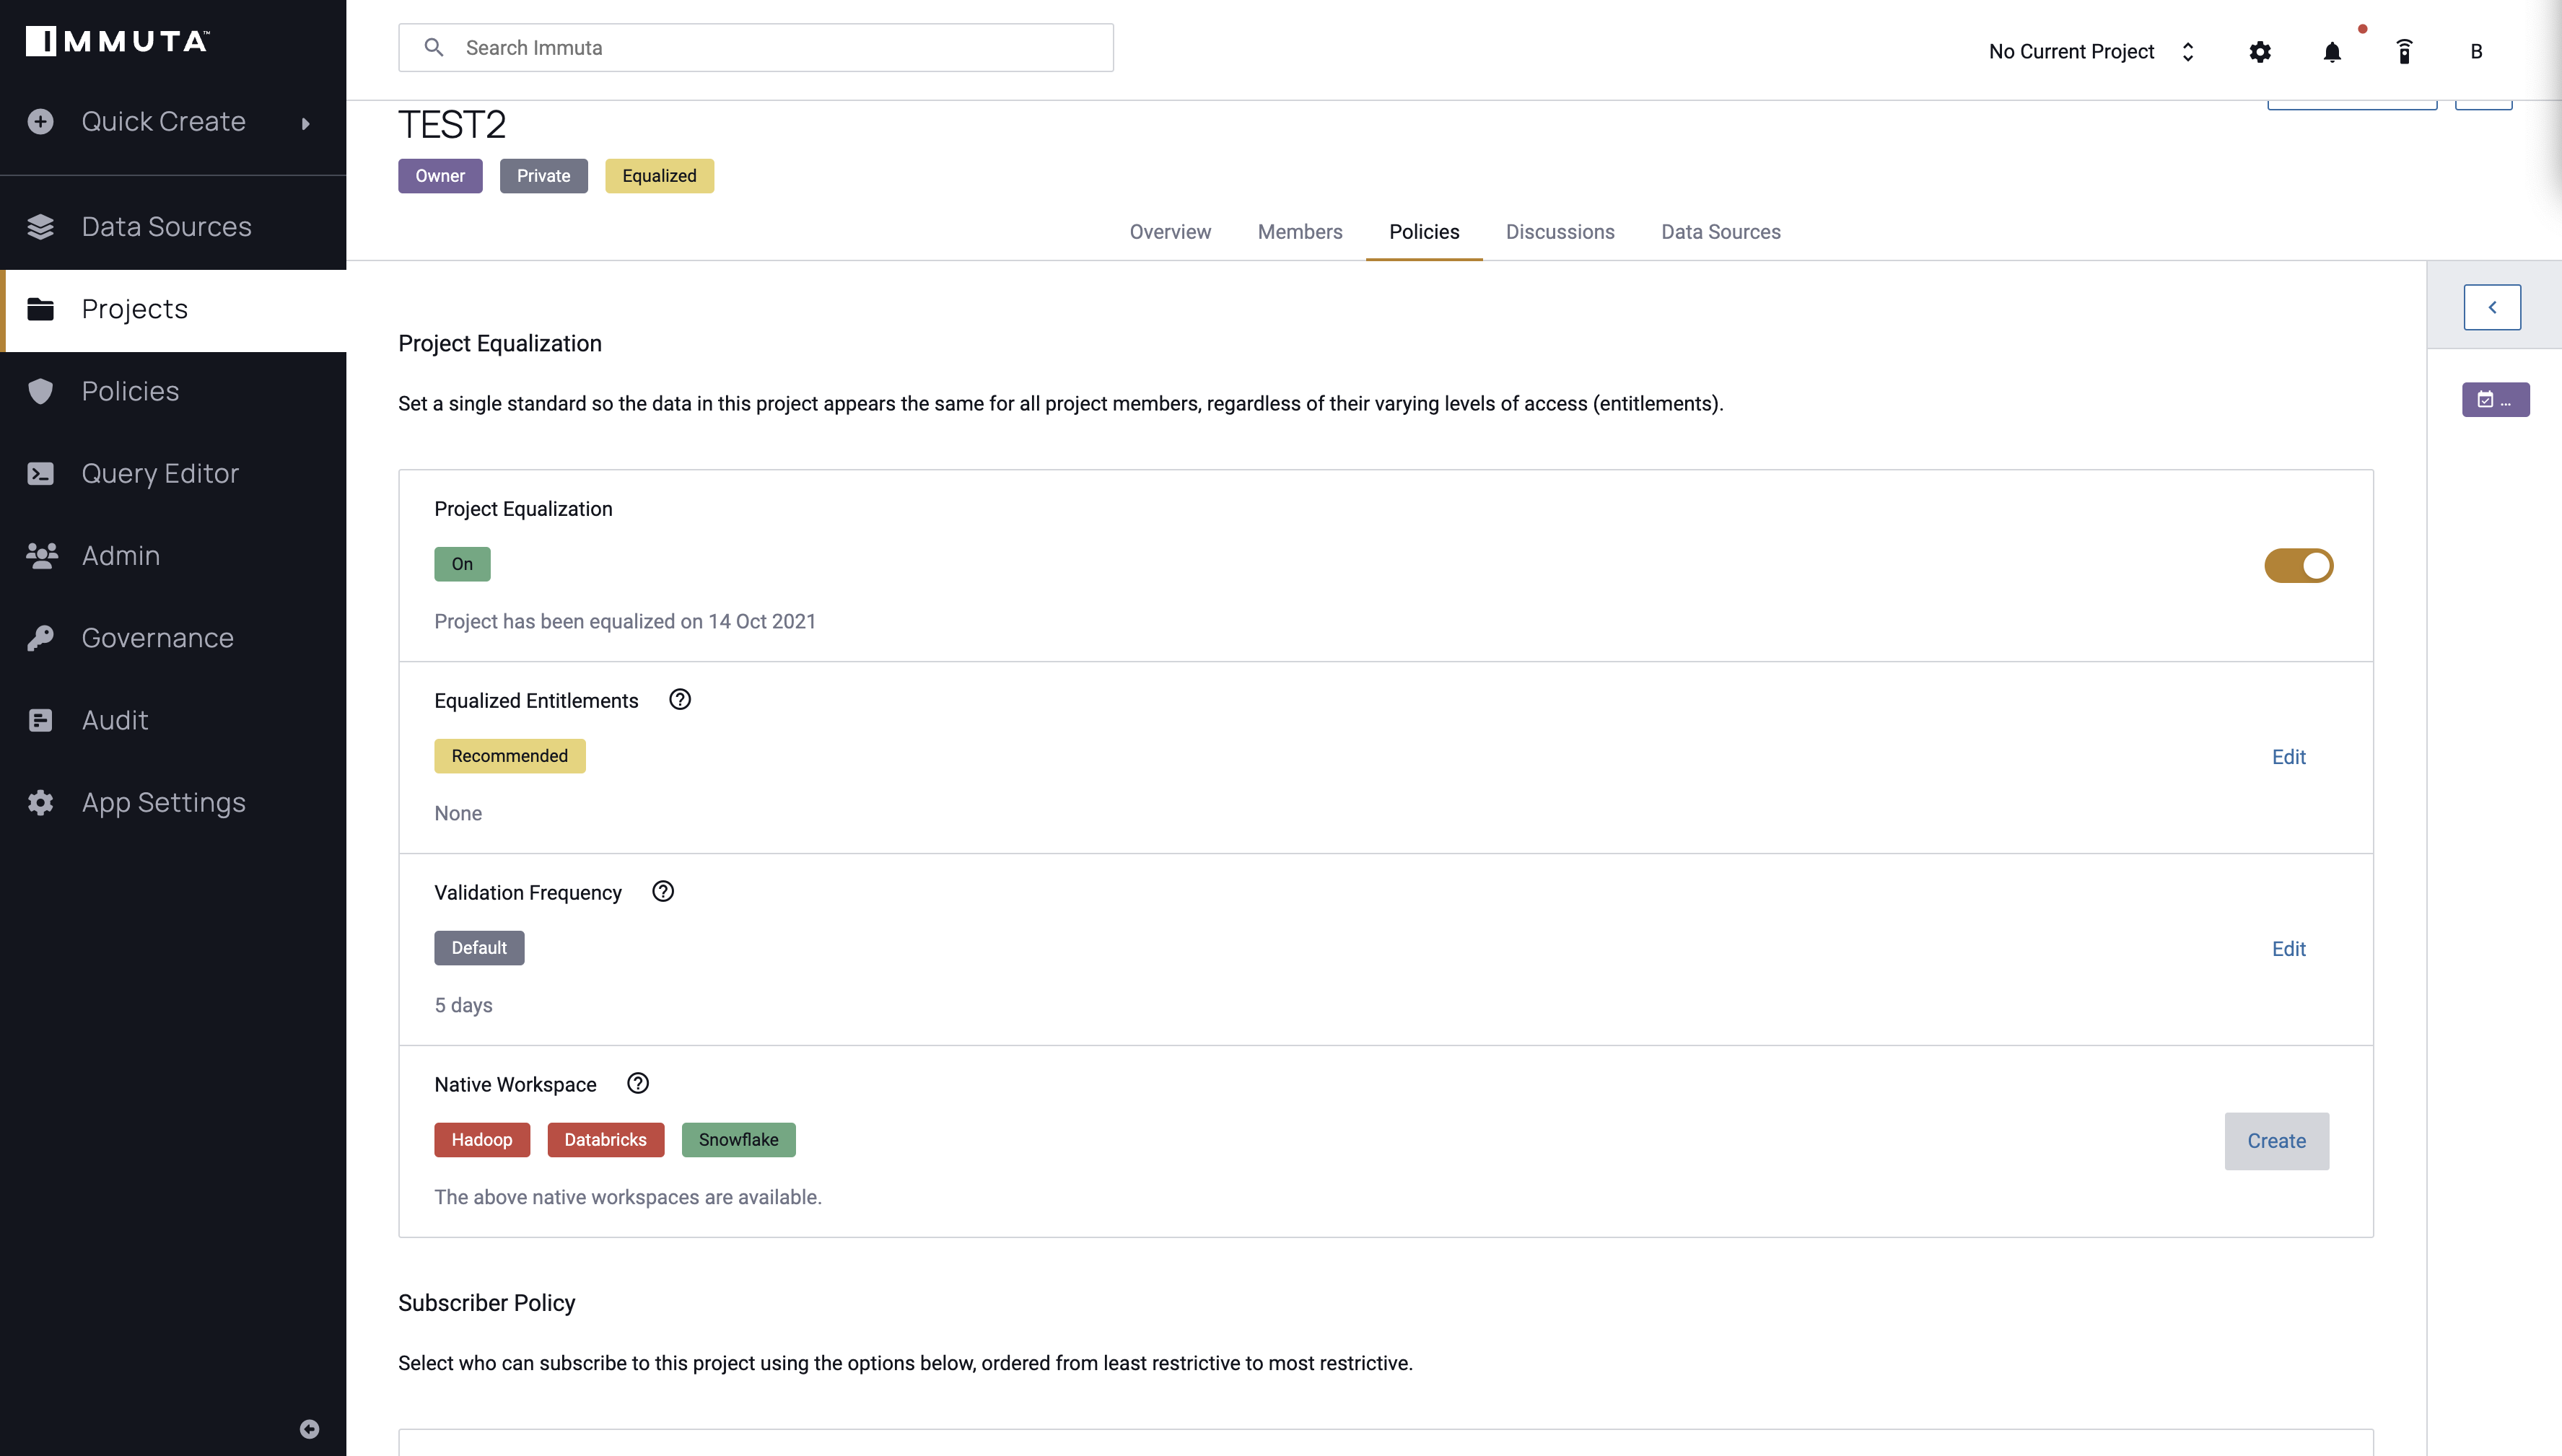
Workspaces can be enabled in the New Project modal when creating a new project, but project owners can enable this feature at any point on the project's Policies tab.
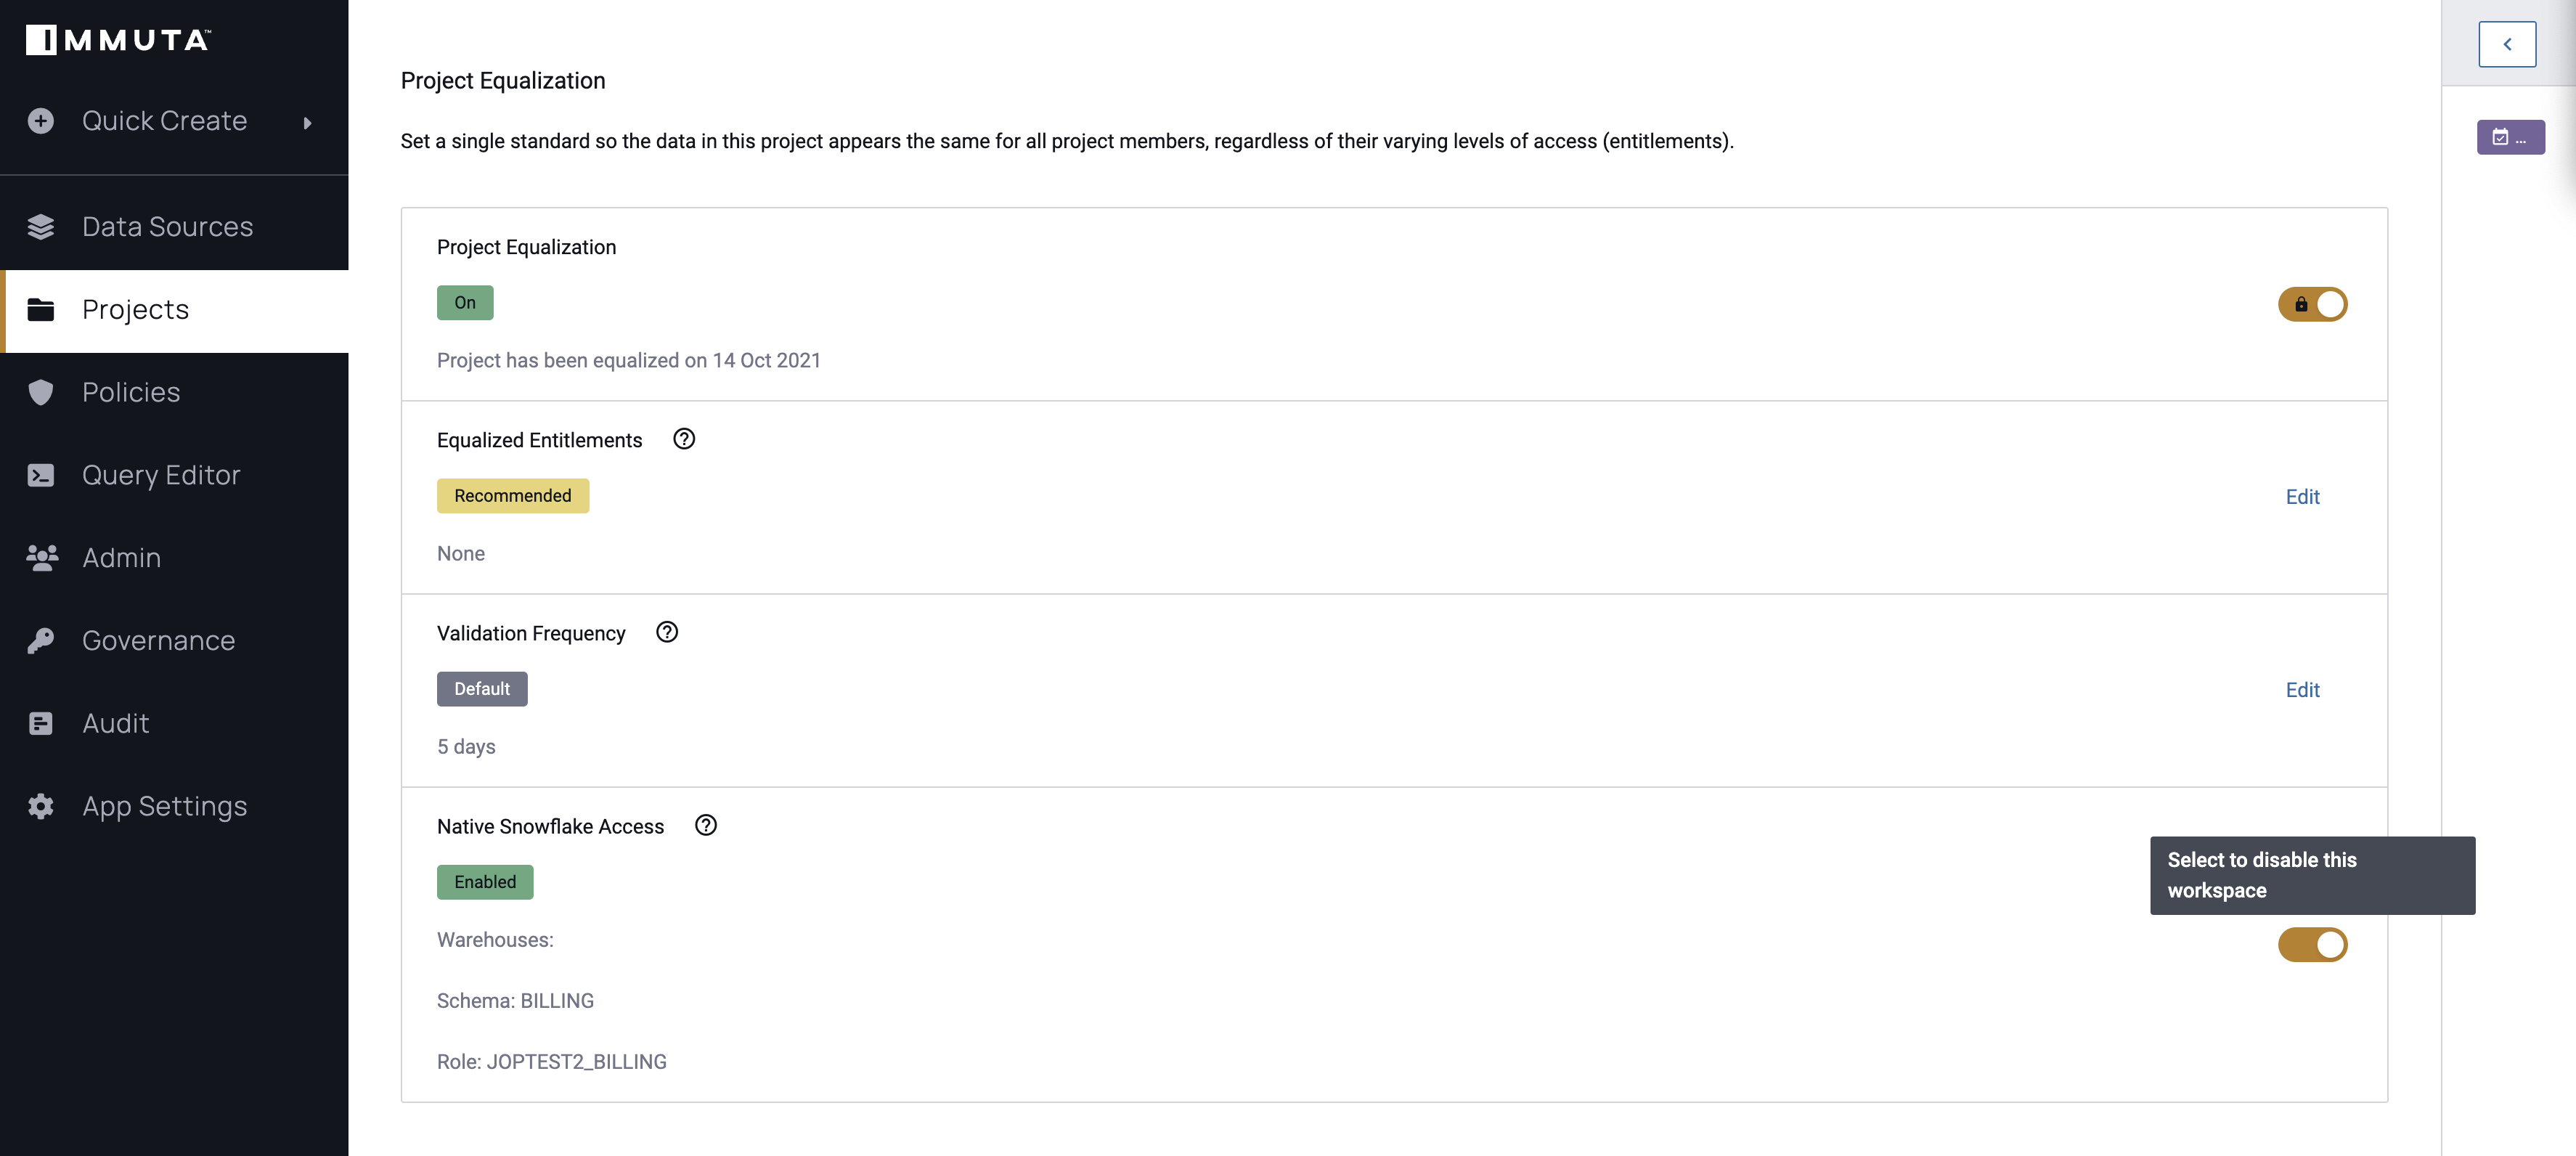
- Navigate to the Policies tab and enable Project Equalization by clicking the Project Equalization slider to on.
-
Scroll to the Native Workspace section and click Create.
-
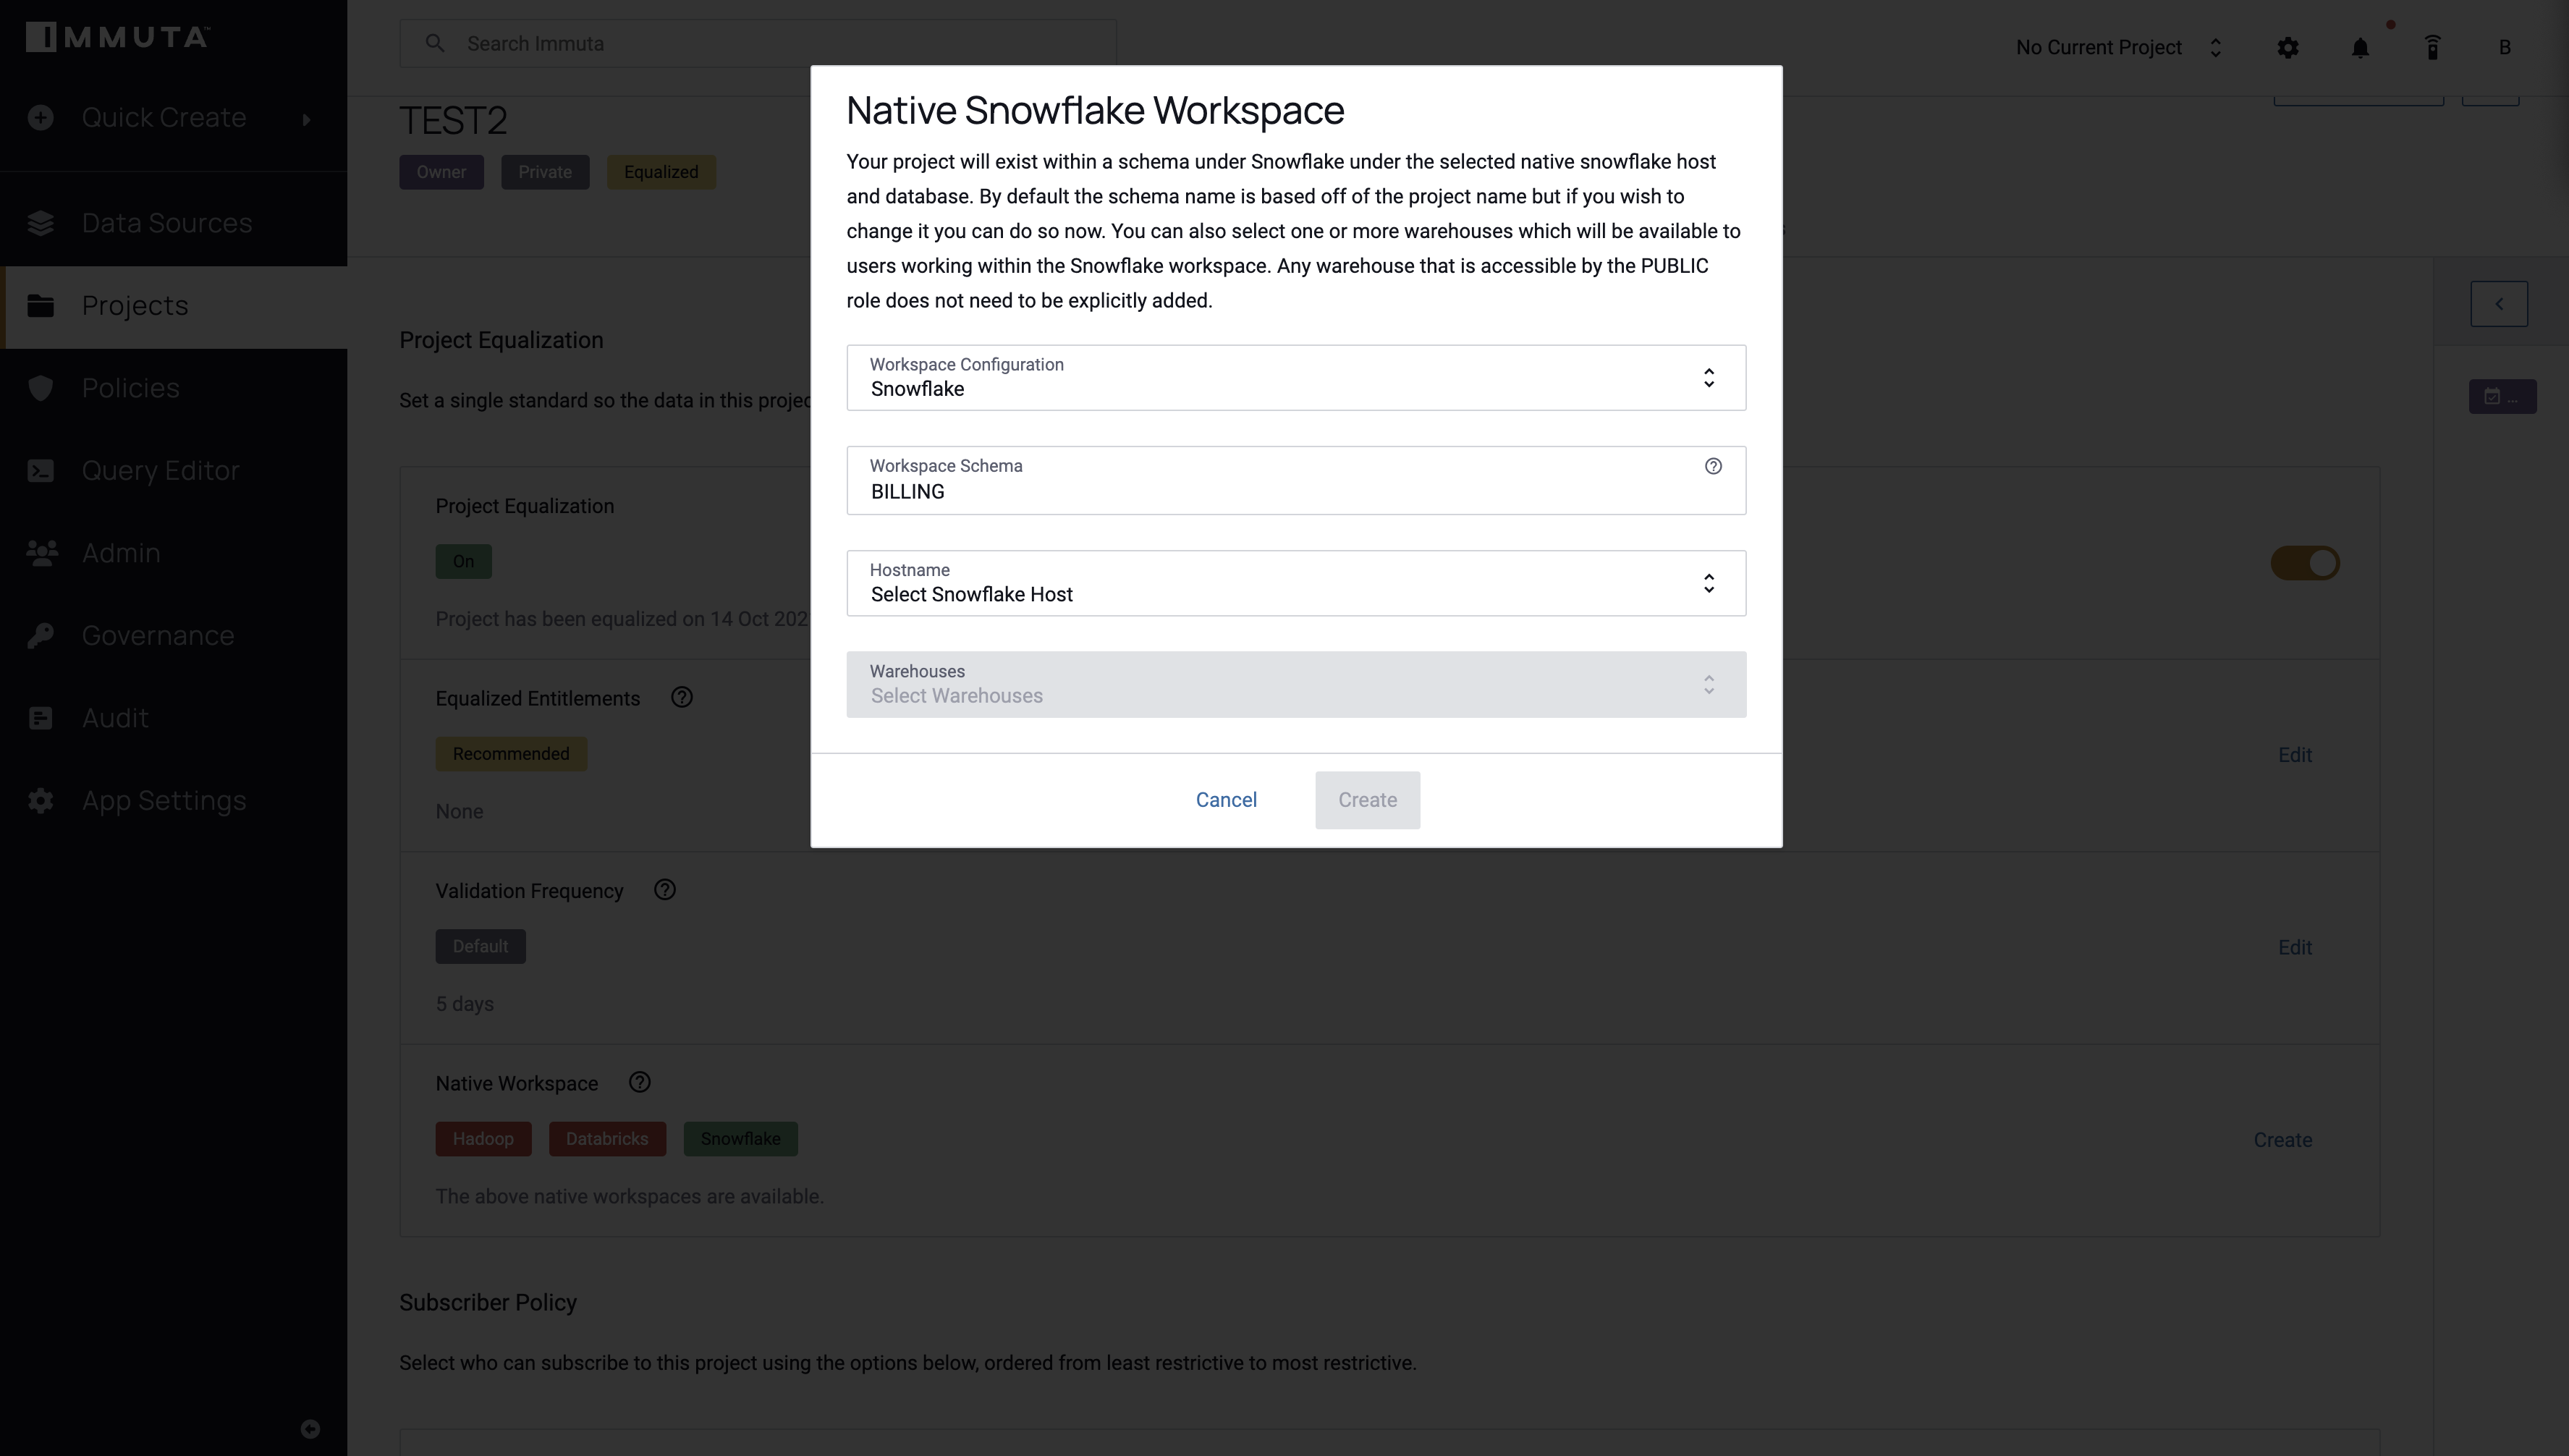
Select Snowflake from the Workspace Configuration dropdown menu.
-
Name the Workspace Schema. By default, the schema name is based off of the project name, but you can change it here. Your project workspace will exist within this schema under Snowflake under the database configured by the Application Admin.
-
Use the dropdown menu to select the Hostname. Projects can only be configured to use one Snowflake host.
-
Select one or more Warehouses to be available to project members when they are working in the Snowflake workspace.
-
Click Create to enable the workspace.
2 - Write Data to the Workspace
Once the workspace is created, project members will see relevant data sources in the Snowflake UI when working under the project context.
-
Select the Role created by the project workspace. The role created will be a combination of the database name (configured by the Application Admin) and the schema name (set in the previous section by the project owner). In this scenario, the role created was
KW_TEST_DEV_MY_PROJECT: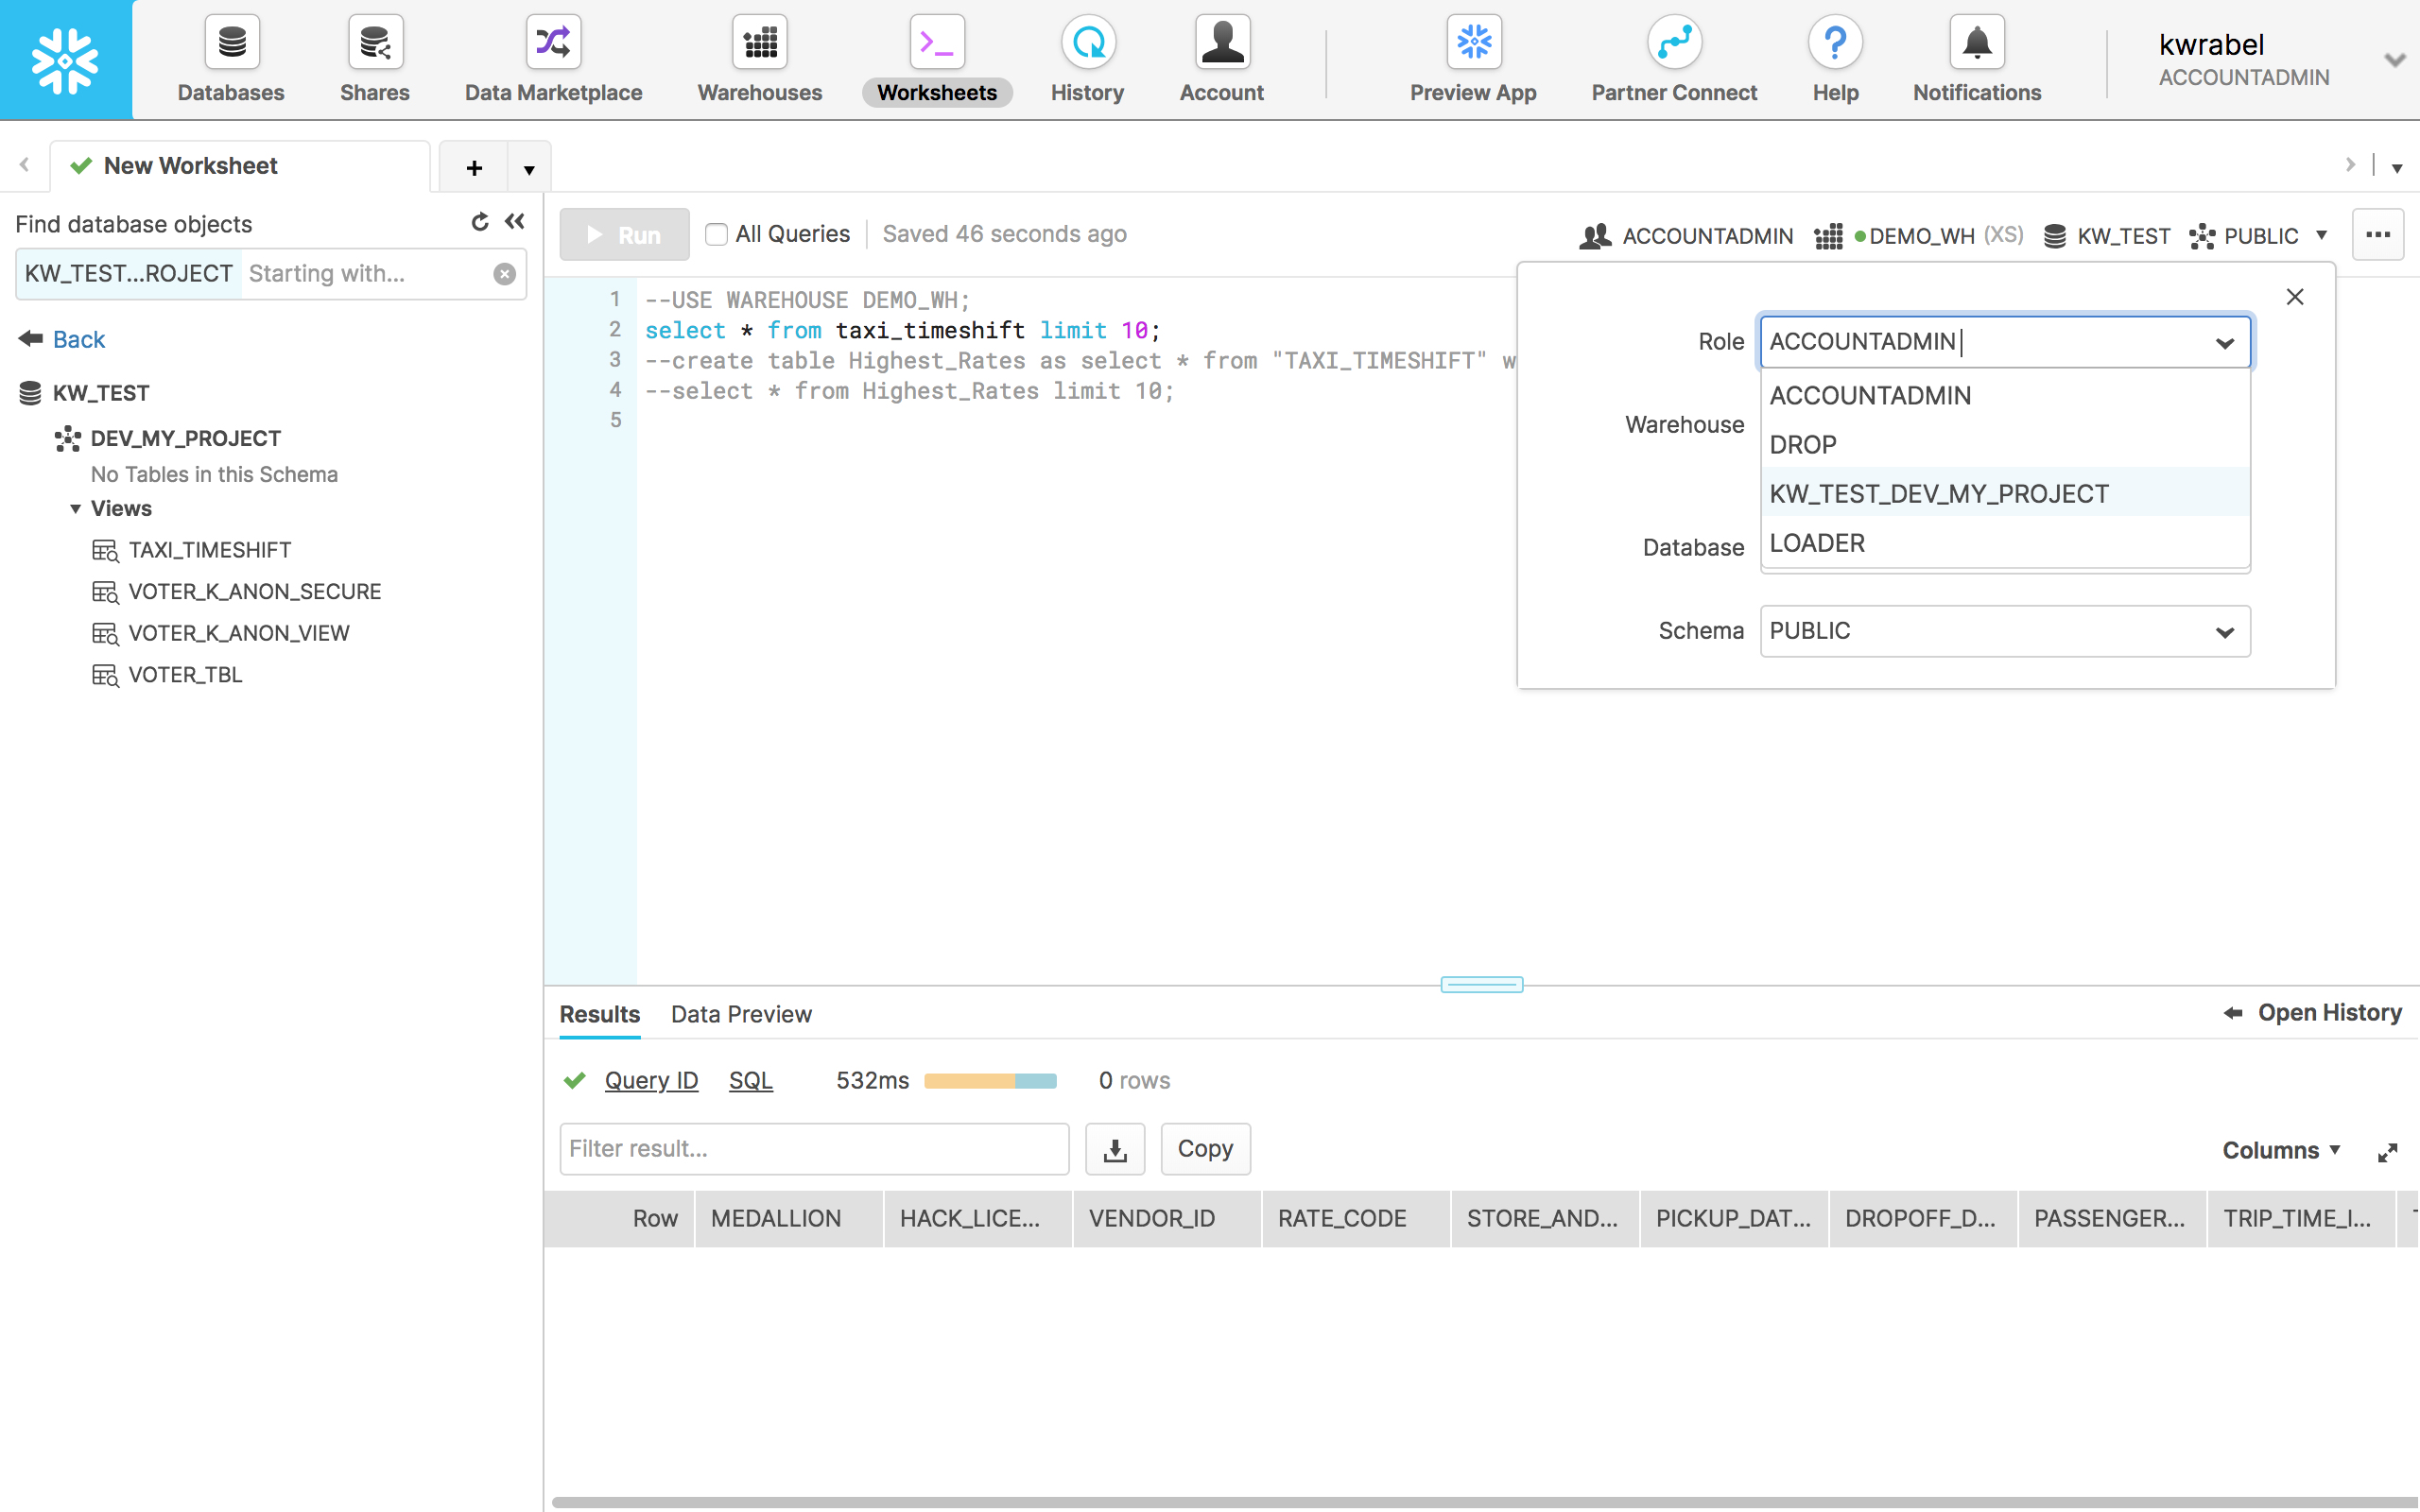
Role Not Selected
Because this user has not yet selected the correct role (
KW_TEST_DEV_MY_PROJECT), no project data is visible in the Results window.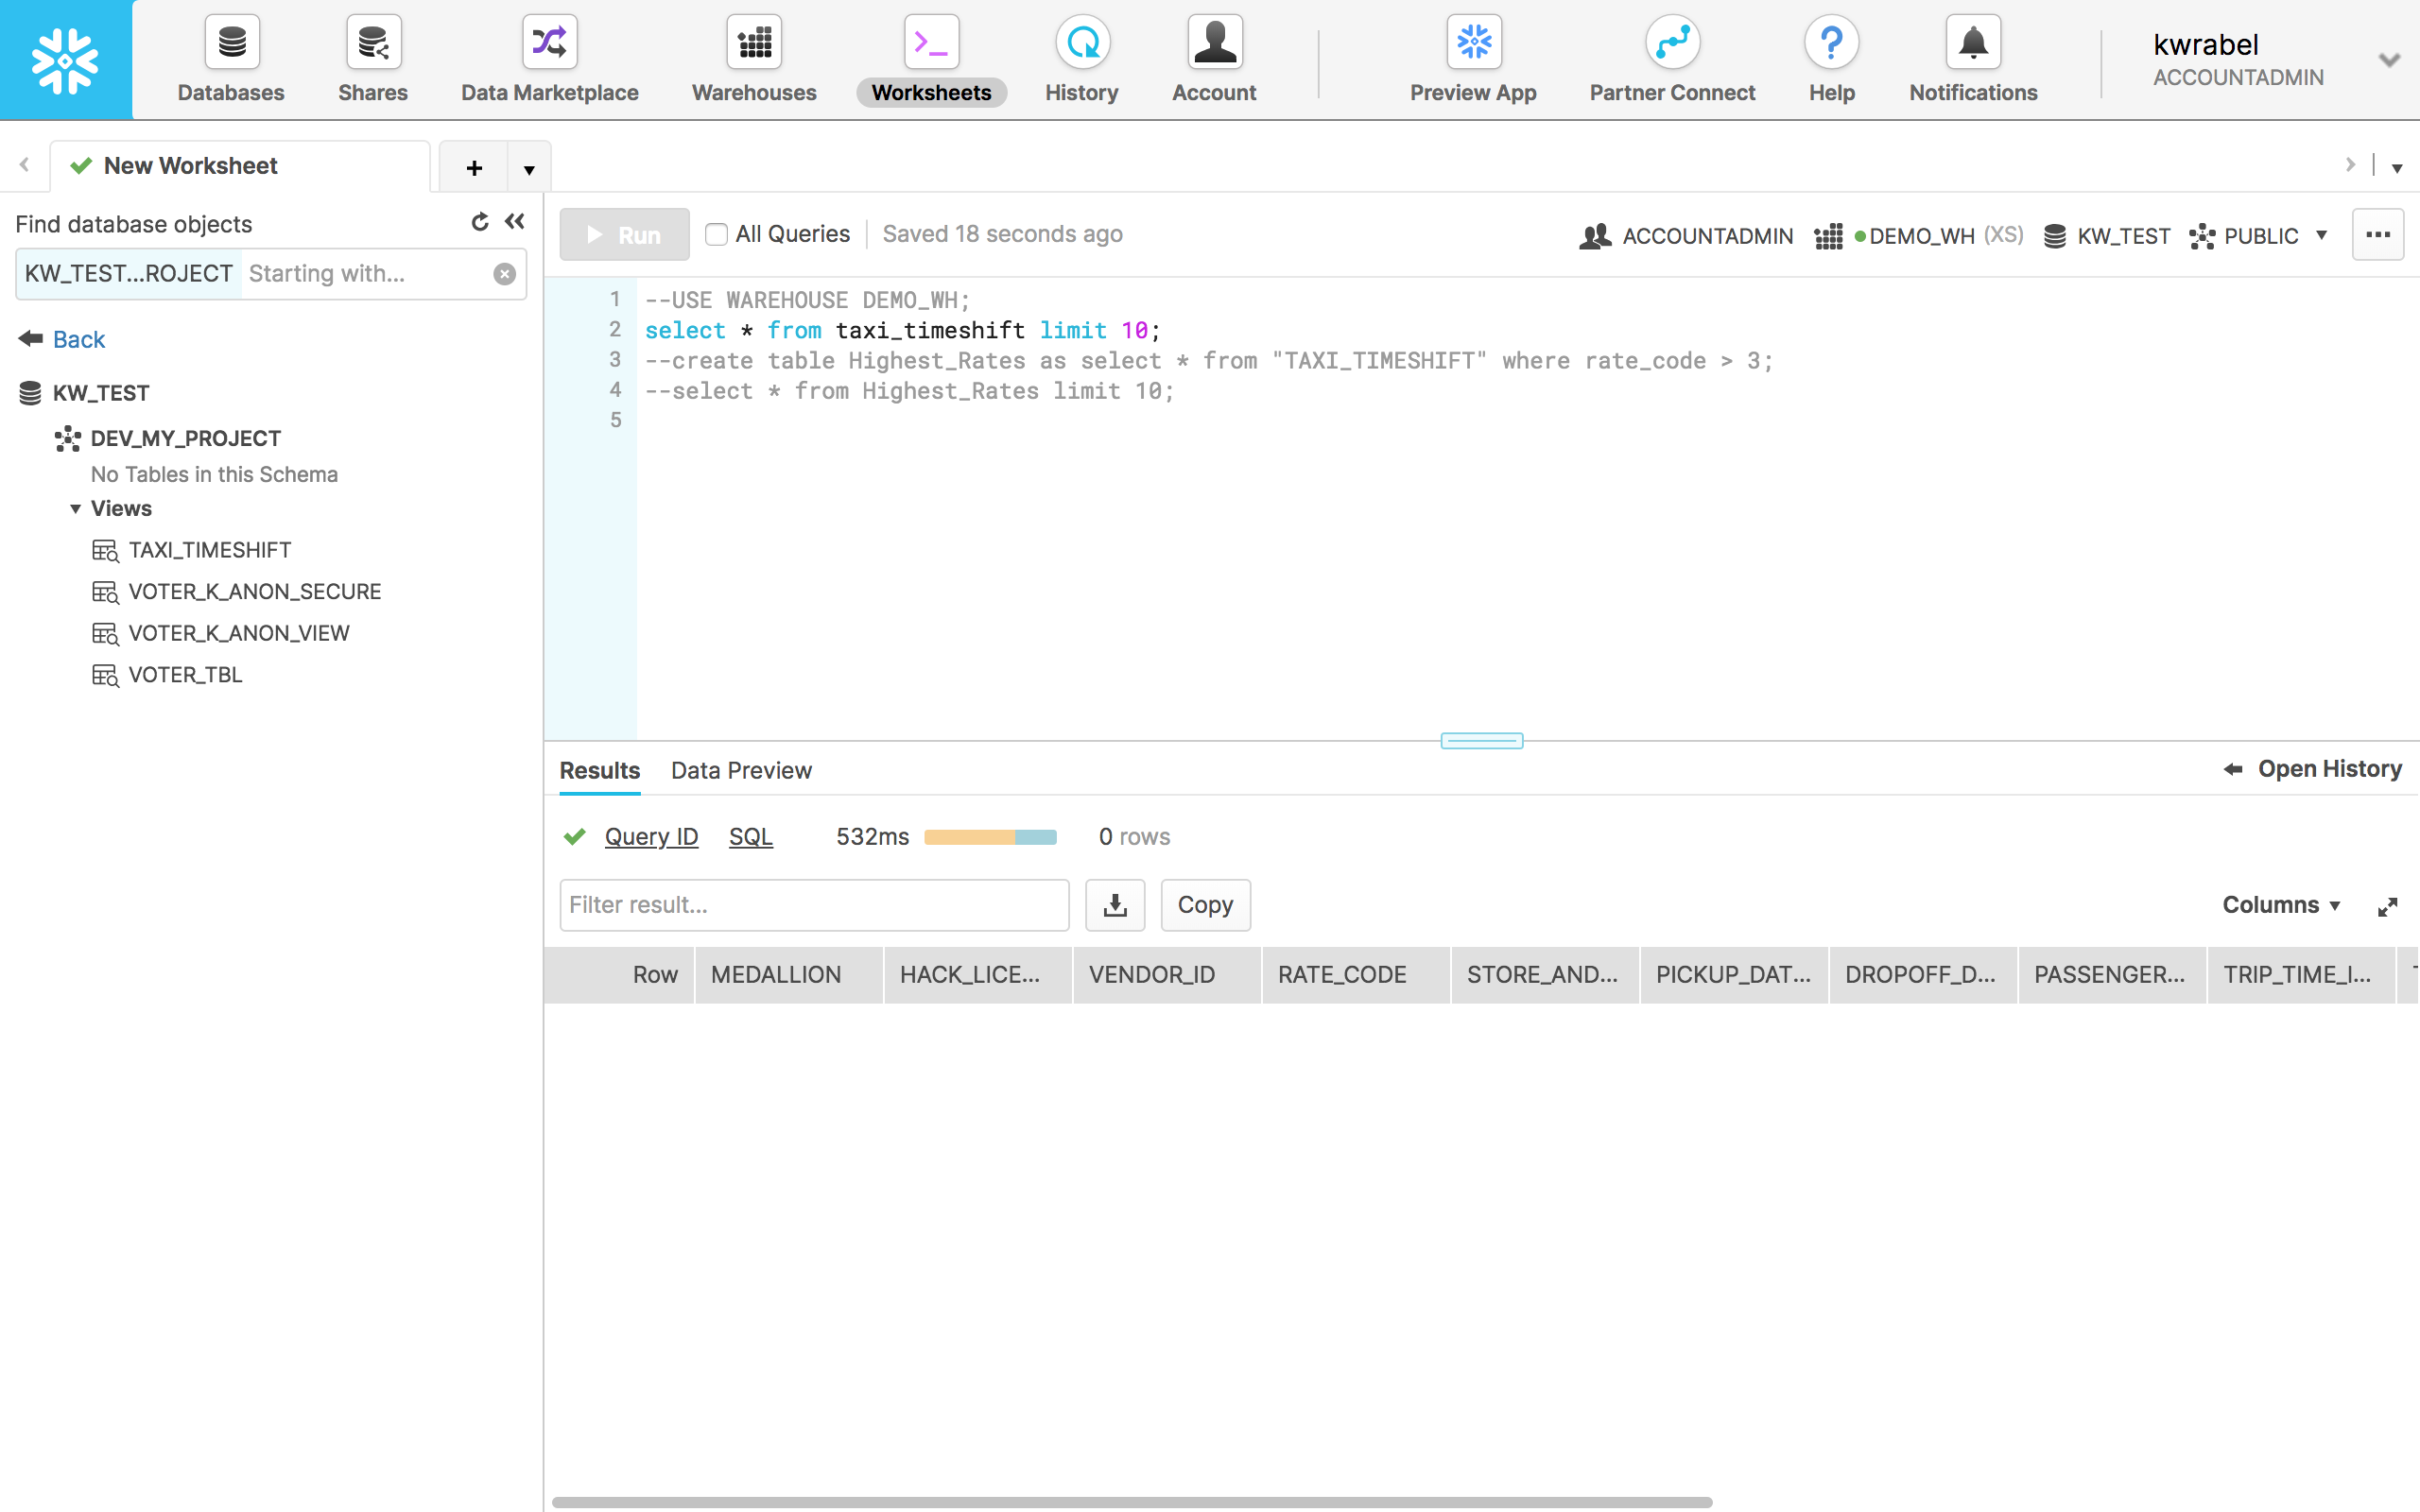
Role Selected
The user has selected the
KW_TEST_DEV_MY_PROJECTrole, so the project data is now visible.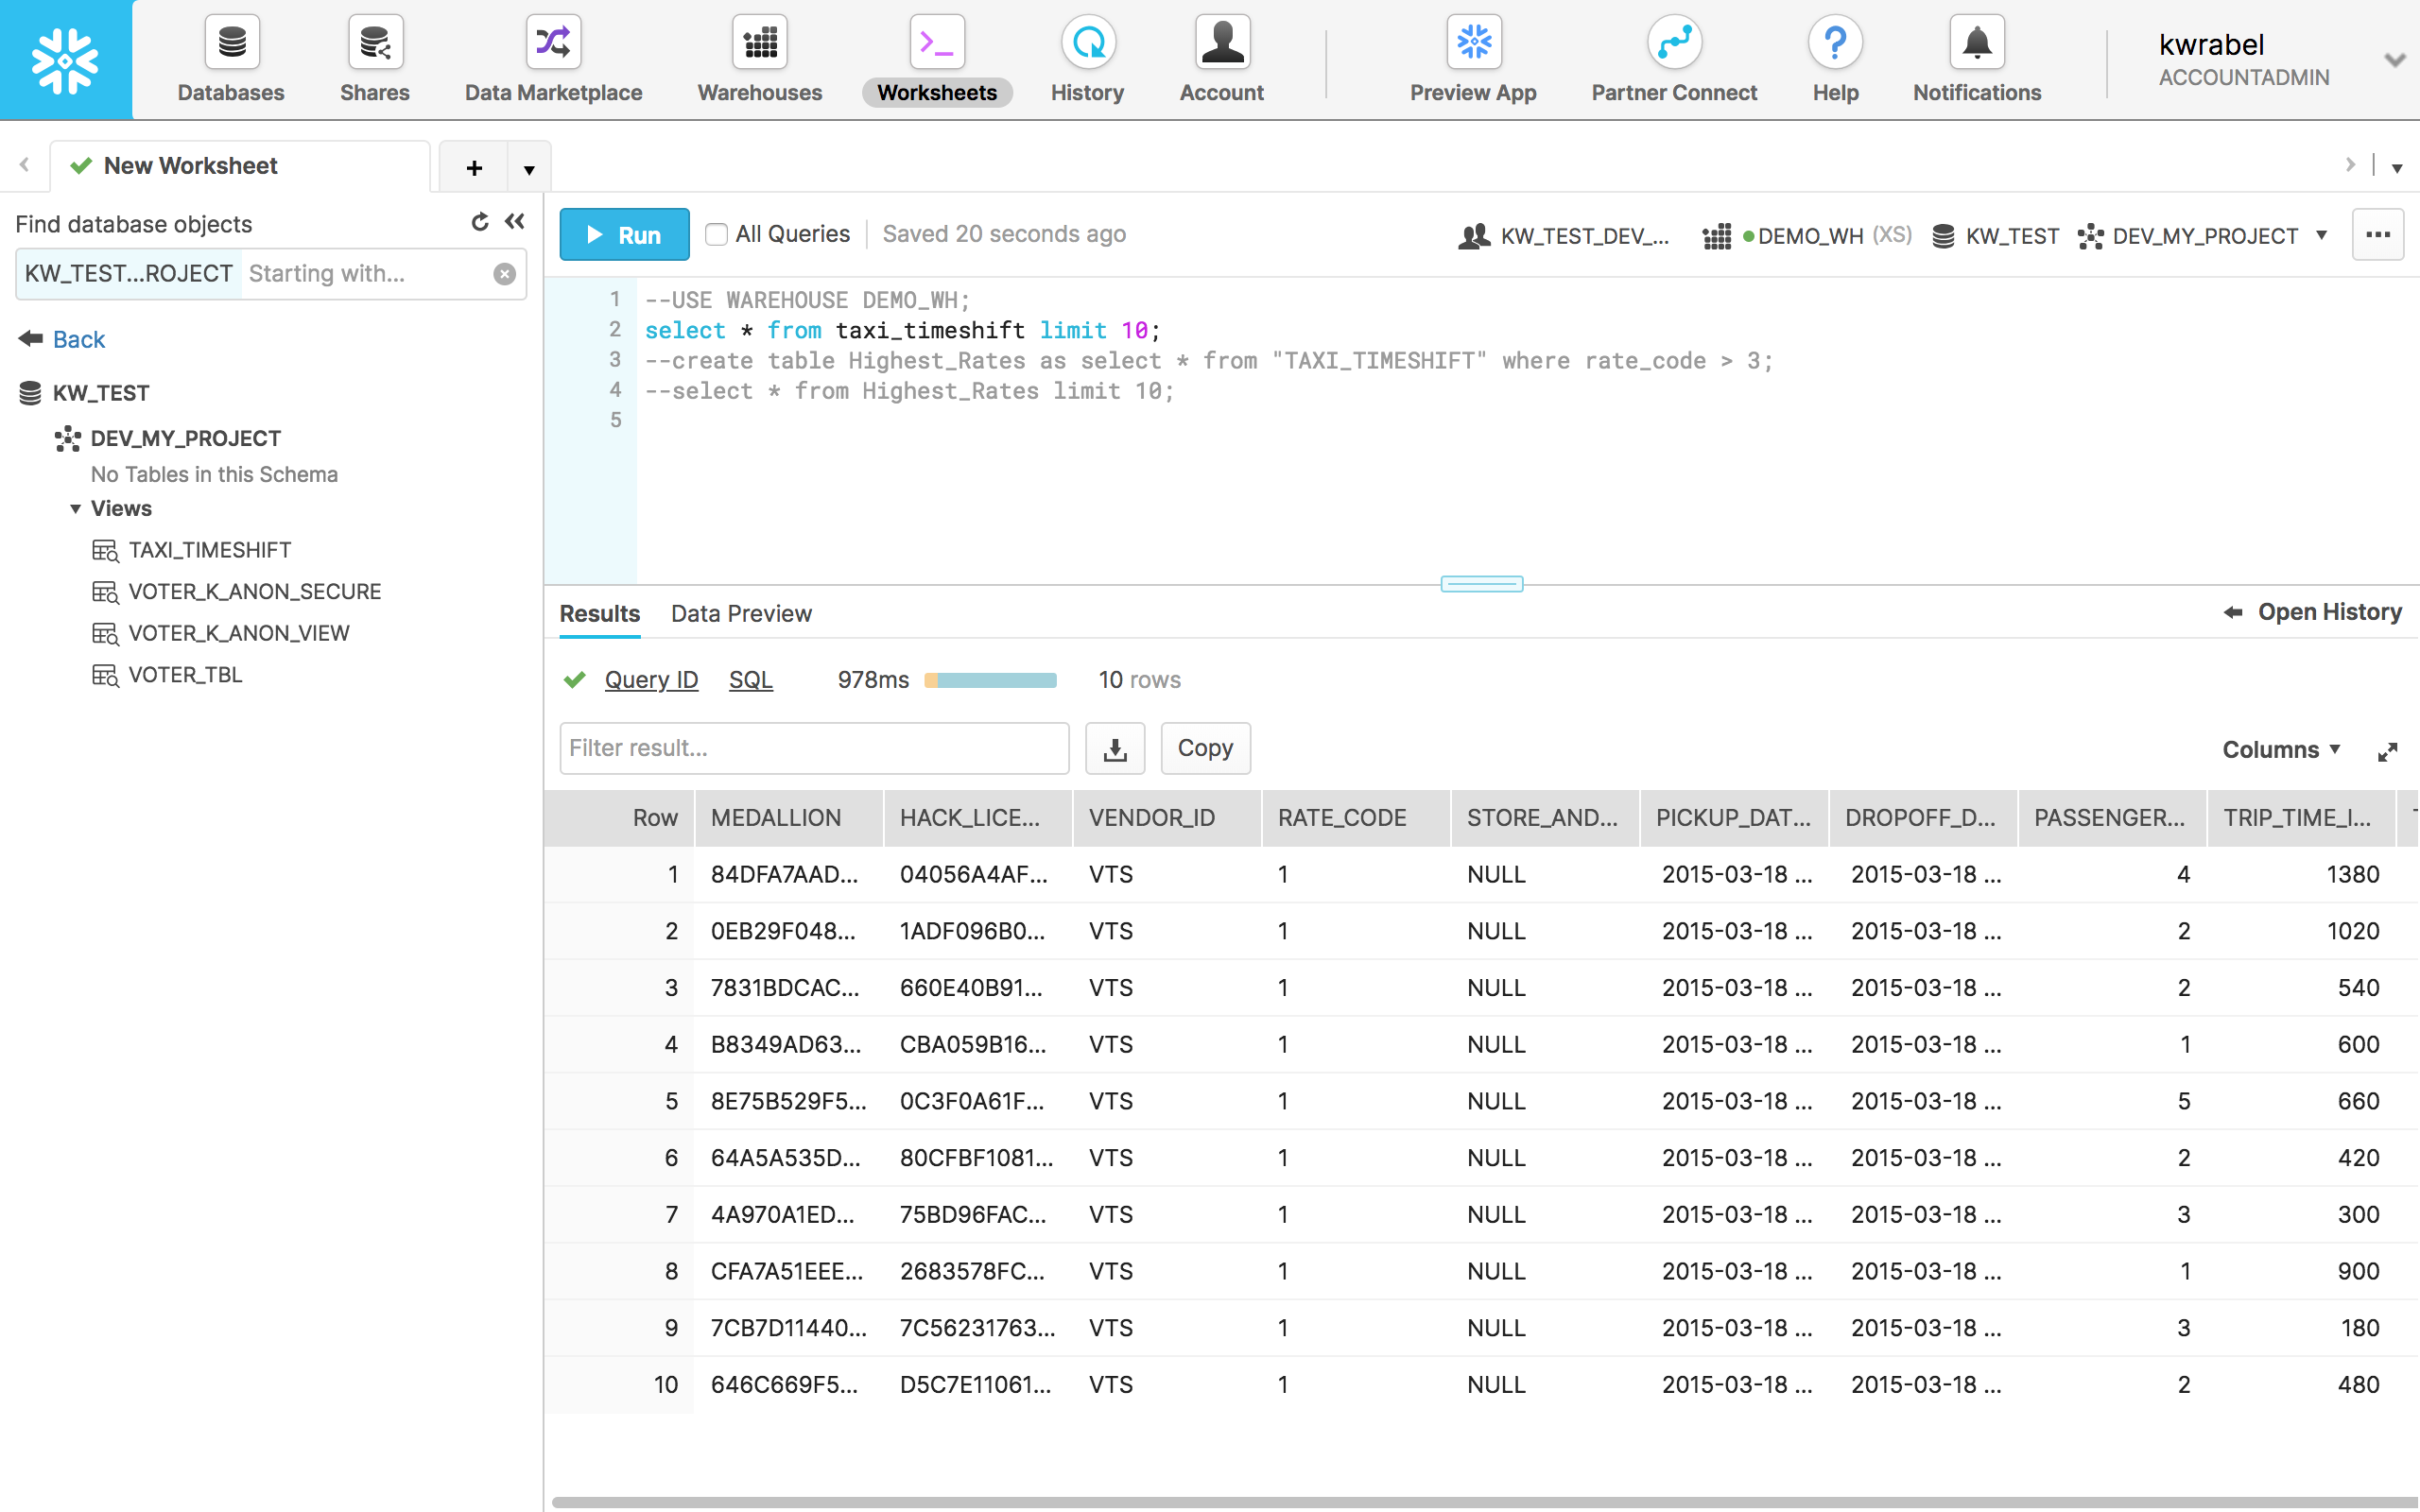
-
Create a table in Snowflake. In this example, the user created a new table in Snowflake based on the "Rate_Code" column in
Taxi_Timeshift: Highest_Rates.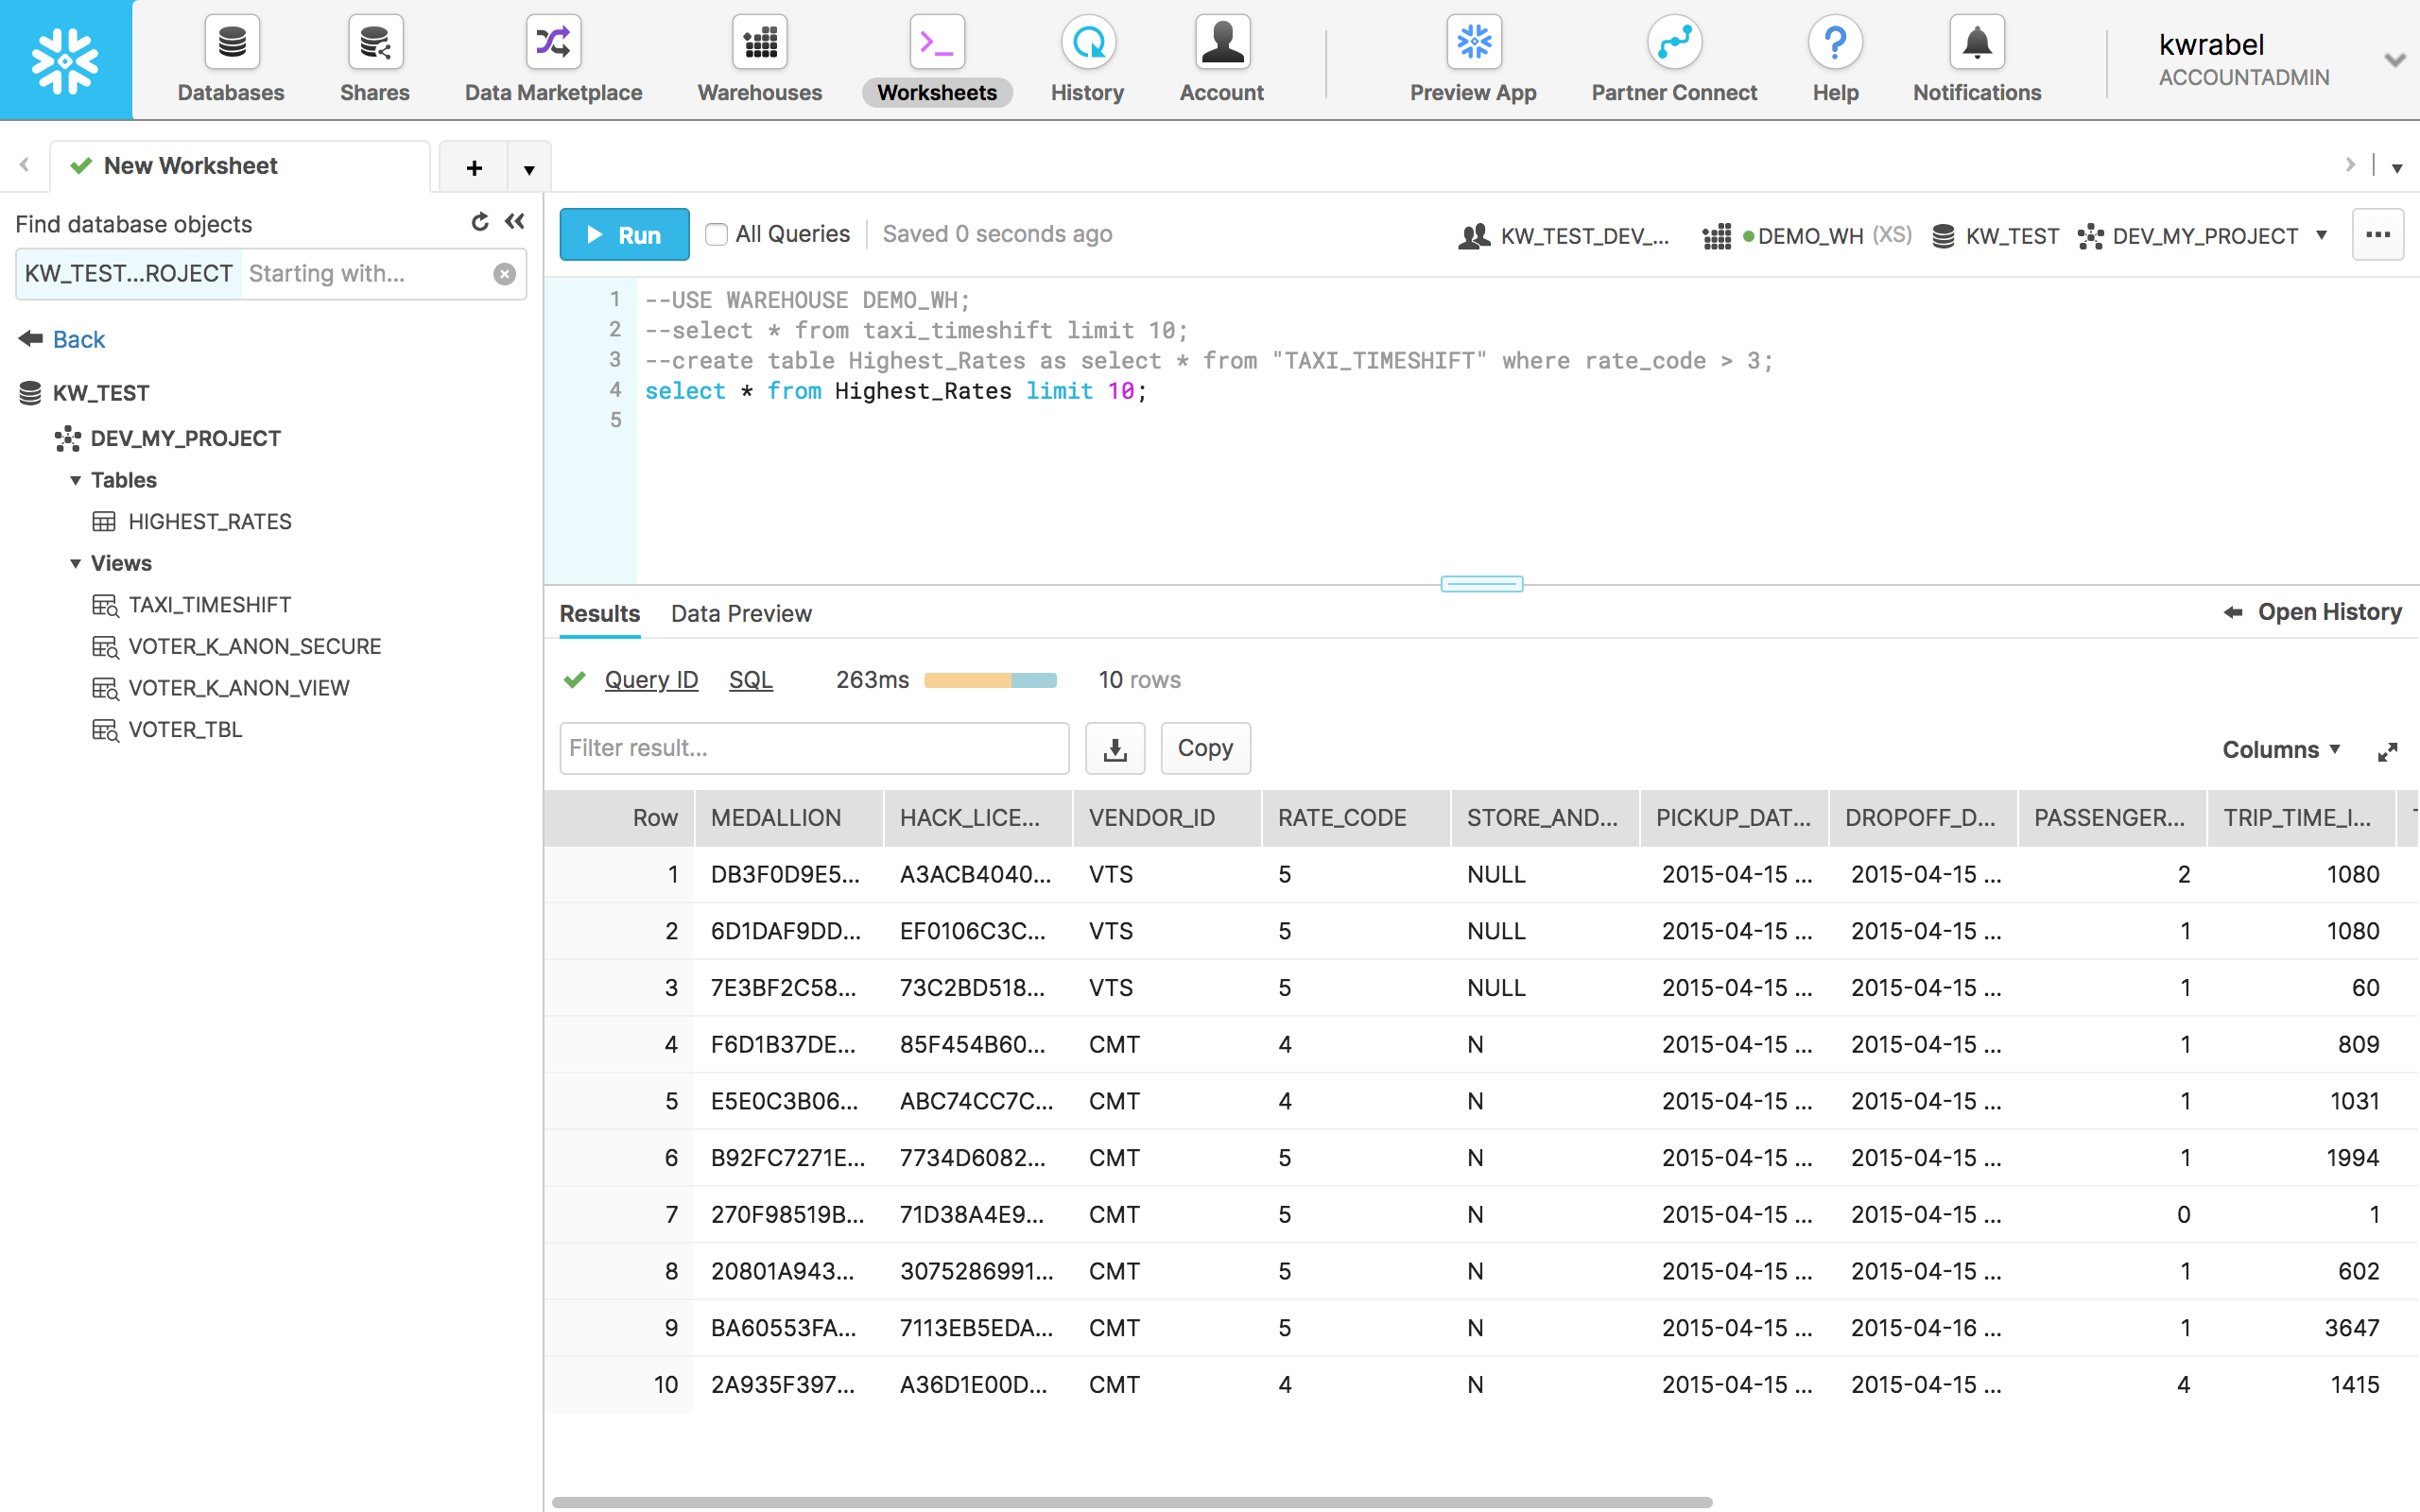
Now that data has been written to the workspace, users can share this data with others by making it a derived data source in Immuta.
Delete a Workspace
-
Scroll to the Native Workspace section on the Policies tab and click the toggle to disable the workspace.
-
Click Delete in the Native Workspace section.
-
Choose one of the following options in the modal:
- Purge Generic Workspace Data: permanently delete data, while the data used by derived data sources is preserved. Note: If you created a derived data source that references a view on top of a table in Snowflake that isn't a derived data source, that table will be deleted and break the derived data source.
- Purge Everything & Delete Derived Data Sources: permanently delete data and purge all derived data sources.
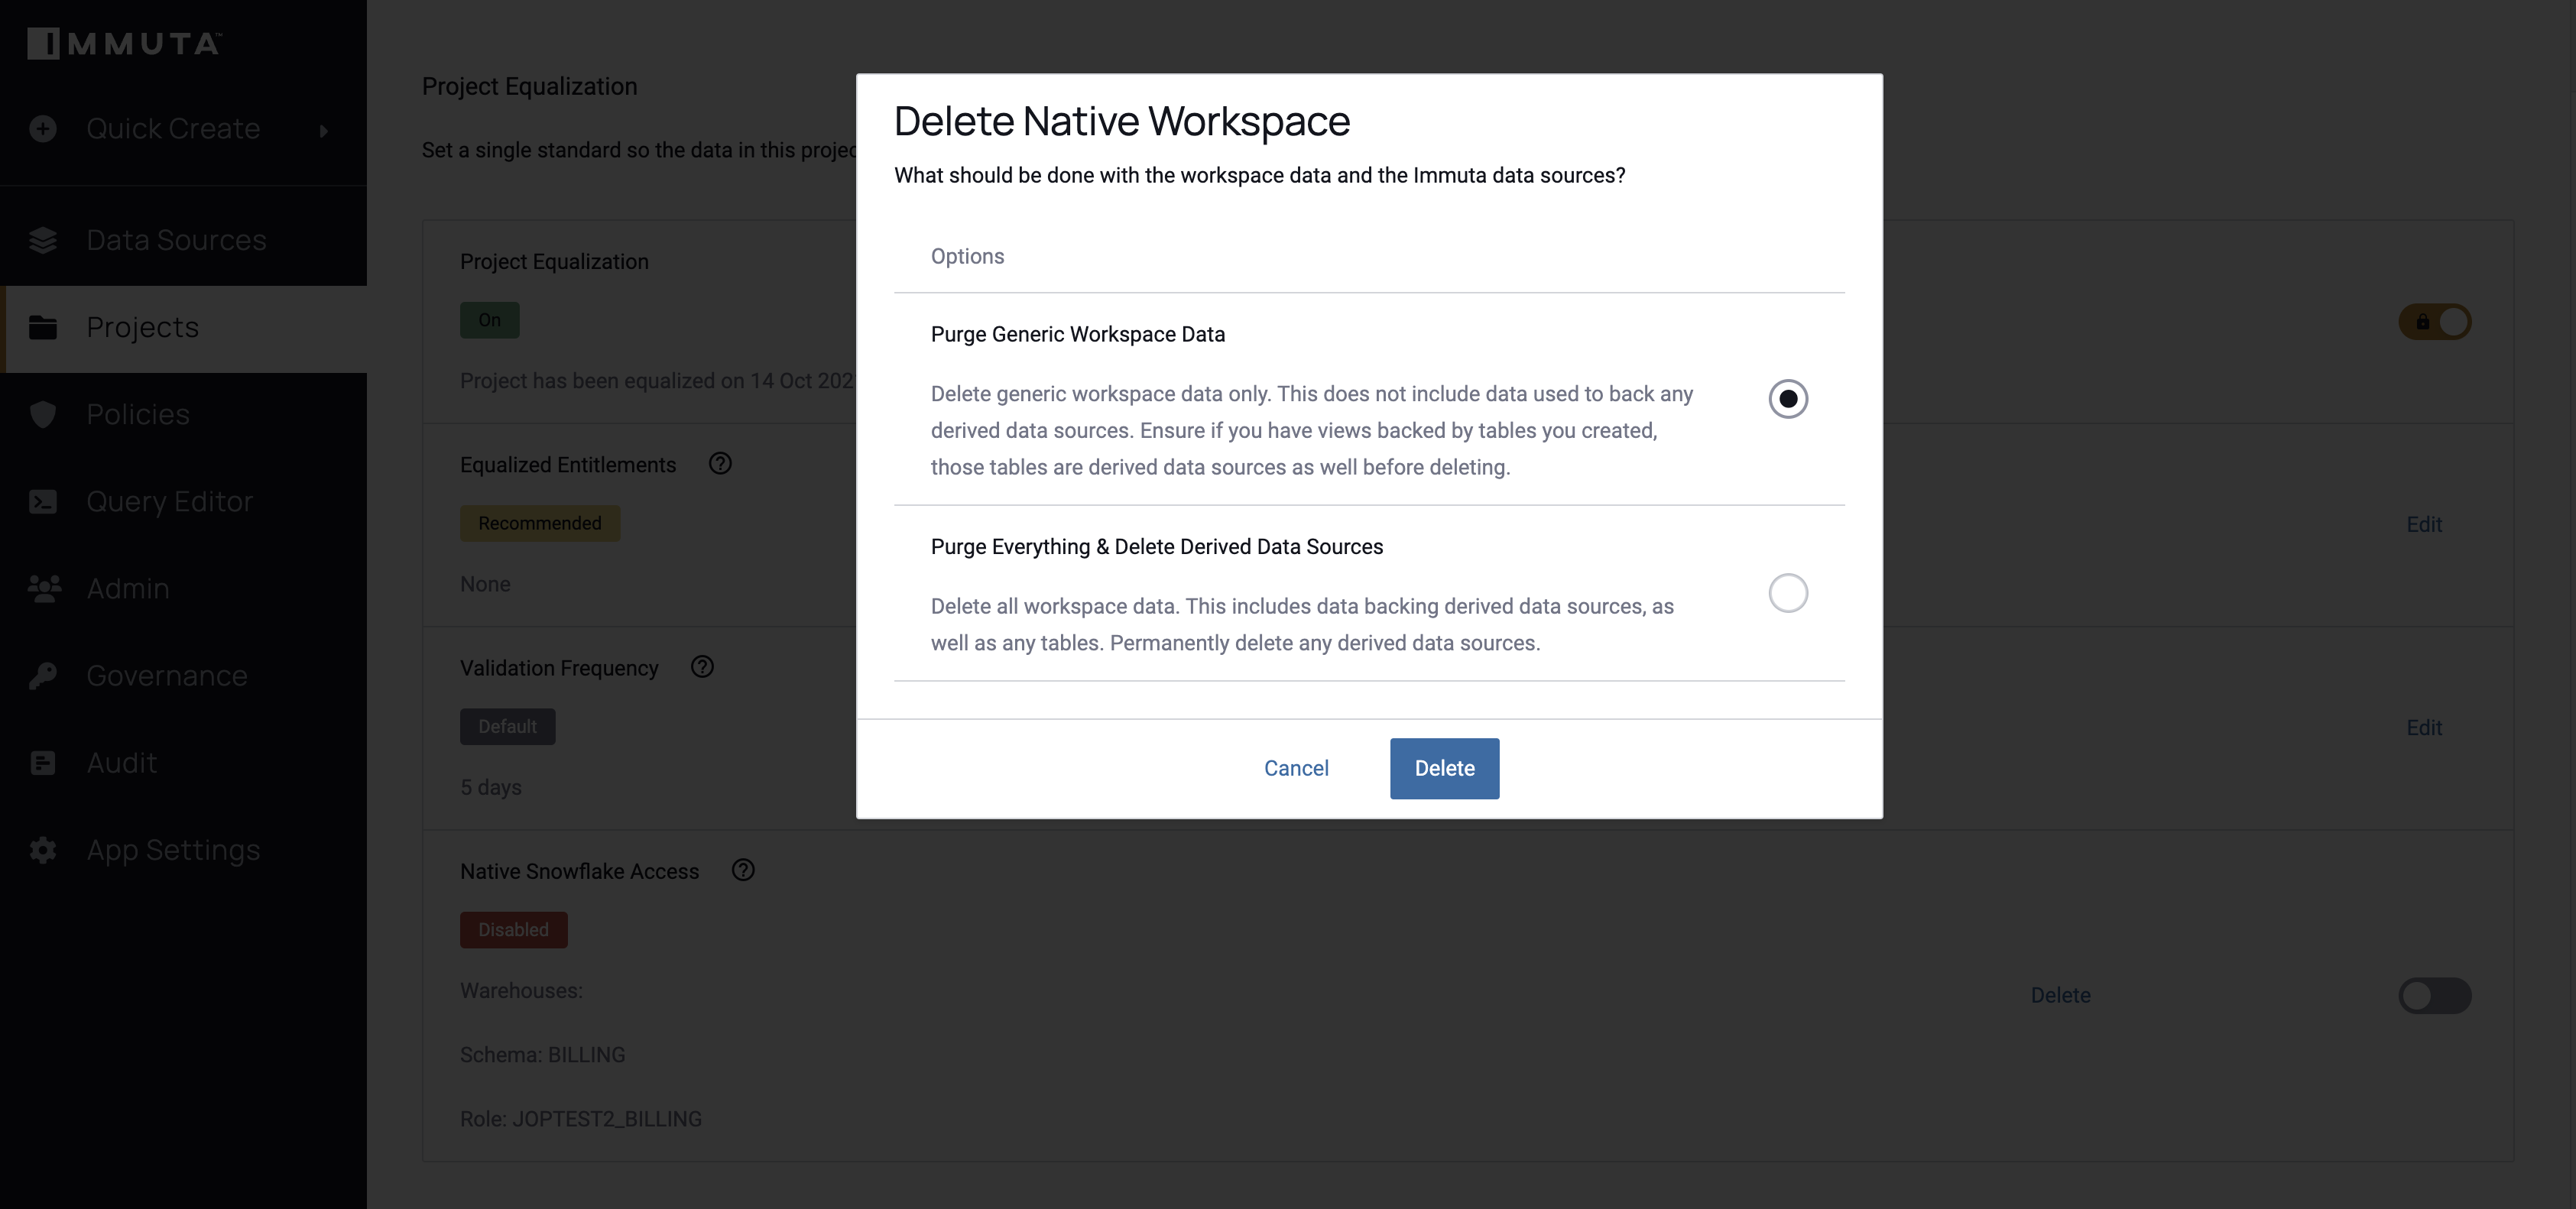
-
Click Delete.
Migrate Current Project Workspaces to Secure Views
If you had project workspaces that were created before Immuta 2022.1.0, you need to perform this migration.
- Navigate to the Policies tab of you project.
- Toggle the switch to disable the workspace, and choose from the purge options.
- Refresh the page.
- Toggle the switch the enable the workspace, and fill out the modal.