Manage Data Sources
Audience: Data Owners
Content Summary: As a Data Owner, you create the data sources and prescribe the local policy controls around the data you're exposing to users. Data can be structured or unstructured and can be made accessible from anywhere. This guide details the basics of managing an Immuta data source, including editing your data source; managing users; creating and managing the Data Dictionary; managing public queries; and disabling, deleting, and enabling a data source.
Add Groups or Users to a Data Source
- Navigate to the Members tab, and then click Add Members in the top right of the center pane.
-
Fill in Team 1 (or each individual User’s Name) and the Role (as a subscriber, expert, alternative owner or ingest user) fields in the form that appears. You can also opt to specify an expiration date for when the user’s access should expire.
Immuta will display a warning if users do not have access to any of the data because of policies applied to the data source.

-
When finished, click Add and the group will automatically be added to the data source.
Users and/or group members (as well as alternative Data Owners) will receive notifications that new users have been approved to access the data source.
Edit a Data Source
Data Owners have the ability to edit their data source settings, which include, but are not limited to, the folder/bucket/table/SQL statement used to build the data source, its output type, columns, column types, event time, directory structure and/or latency tolerance.
To change one or more of these items,
- Navigate to the Overview tab.
-
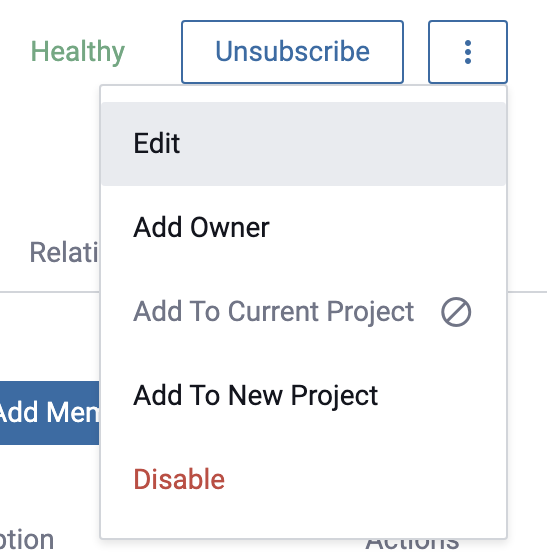
Click the menu icon in the upper right corner of the page and select Edit.
-
This will drop the Data Owner inside the data source workflow with access to all of the current data source settings. Simply navigate through the workflow to the item that needs to be changed and change it.
Note: Some settings cannot be changed once the data source has been created. In these cases, simply create a new data source with the new settings.
-
When completed, navigate to the end of the workflow and click Save.
Note: Some data sources may require the Data Owner to reconnect to the remote database (from the Connection Information page) before any changes to the data source can be saved.
For more information on data source settings, see the tutorials for query-backed data sources and object-backed data sources.
View User Access Requests
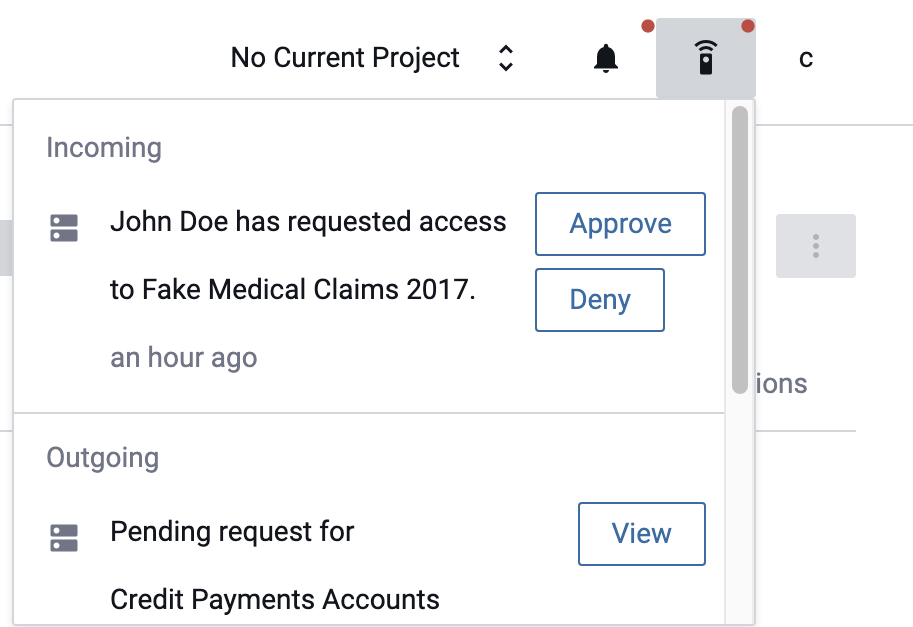
Requests are where Immuta keeps track of a user's outgoing and incoming requests to data sources. Outgoing requests are requests submitted by the user requesting access to other users' data sources. Incoming requests are requests received from another user requesting access to a data source. Similar to notifications, a red dot displays whenever there are pending requests.
Requests Icon
To view pending requests,
-
Click on the Requests icon in the upper right corner of the console window (cell phone icon).
-
Manage incoming requests in the resulting drop-down menu by clicking the Approve button or the Deny button.
Requests Tab
To view and manage pending requests,
-
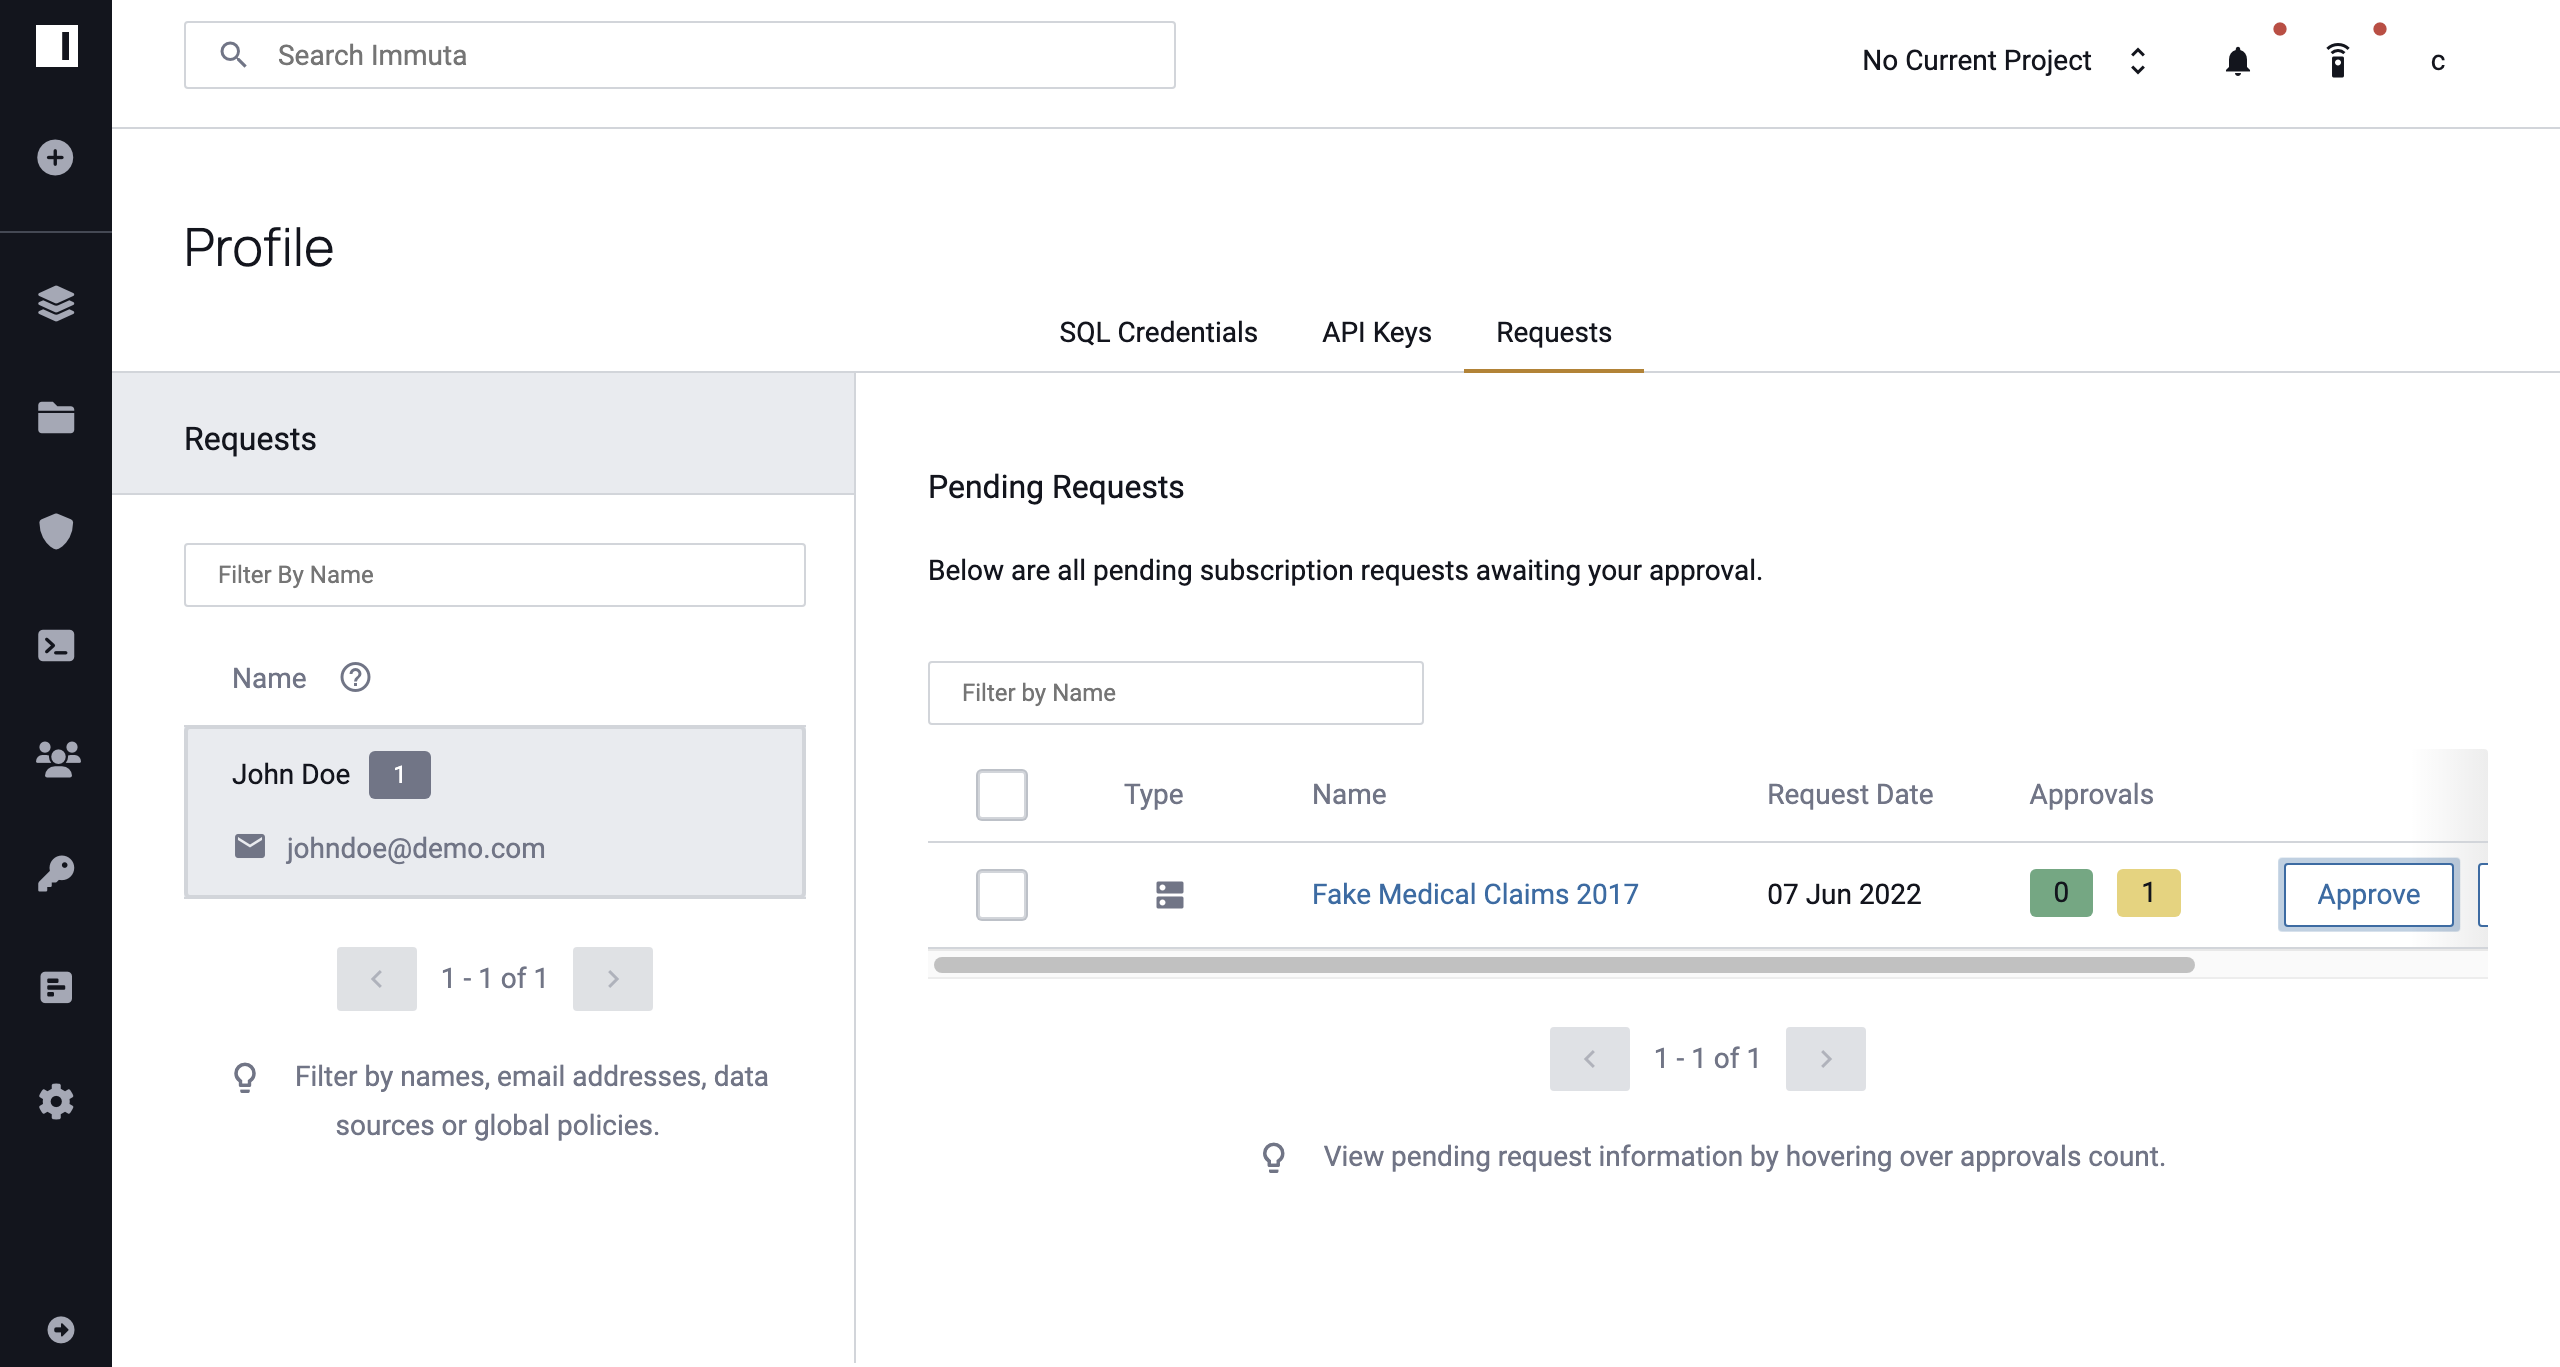
Navigate to your Profile page, and then click the Requests tab. The names of the users who have submitted requests are displayed in the left pane. Once a user is selected, the corresponding pending requests are displayed on the right.
-
If you would like to view more information about the request, click the Details button in the Actions column of the request you would like to view, and then click Close.
- To deny a request, click the Deny button in the Actions column of the request you would like to deny.
- To approve a request, click the Approve button in the Actions column of the request you would like to approve.
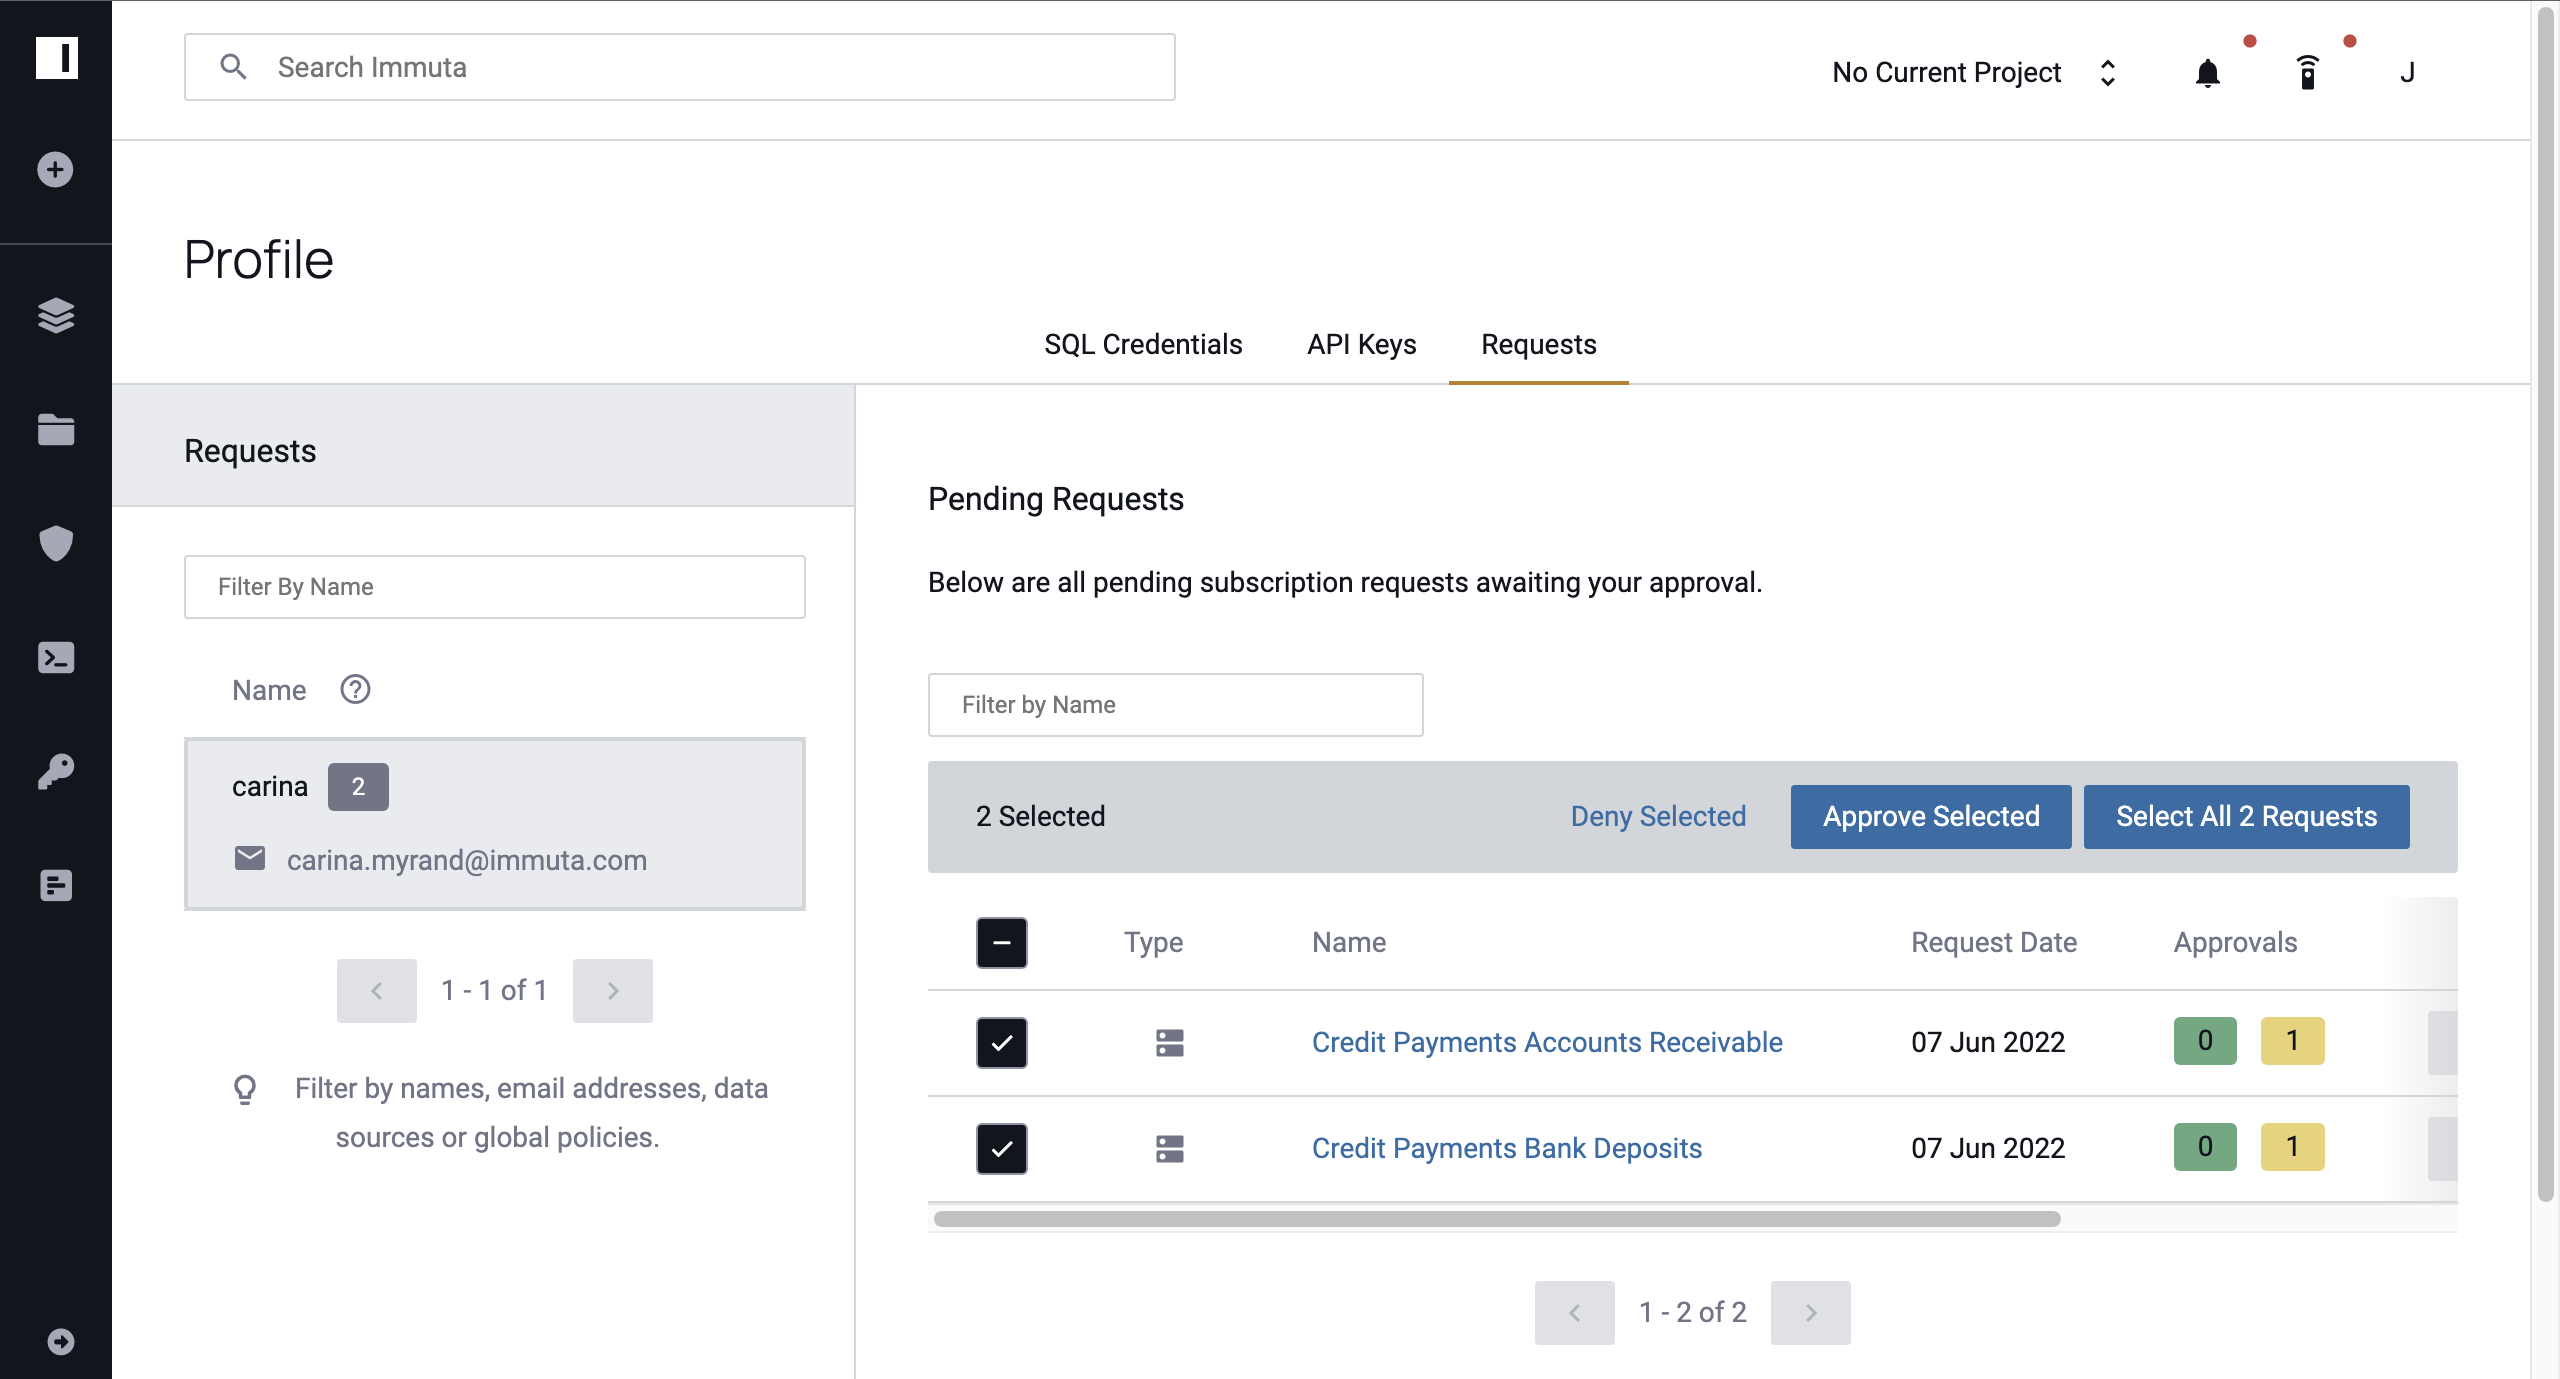
Bulk Approvals
To approve or deny multiple access requests simultaneously,
- Navigate to your Profile page, and then click the Requests tab.
-
Select the checkbox next to each request you would like to approve or deny, and then click the Approve Selected or Deny Selected button.
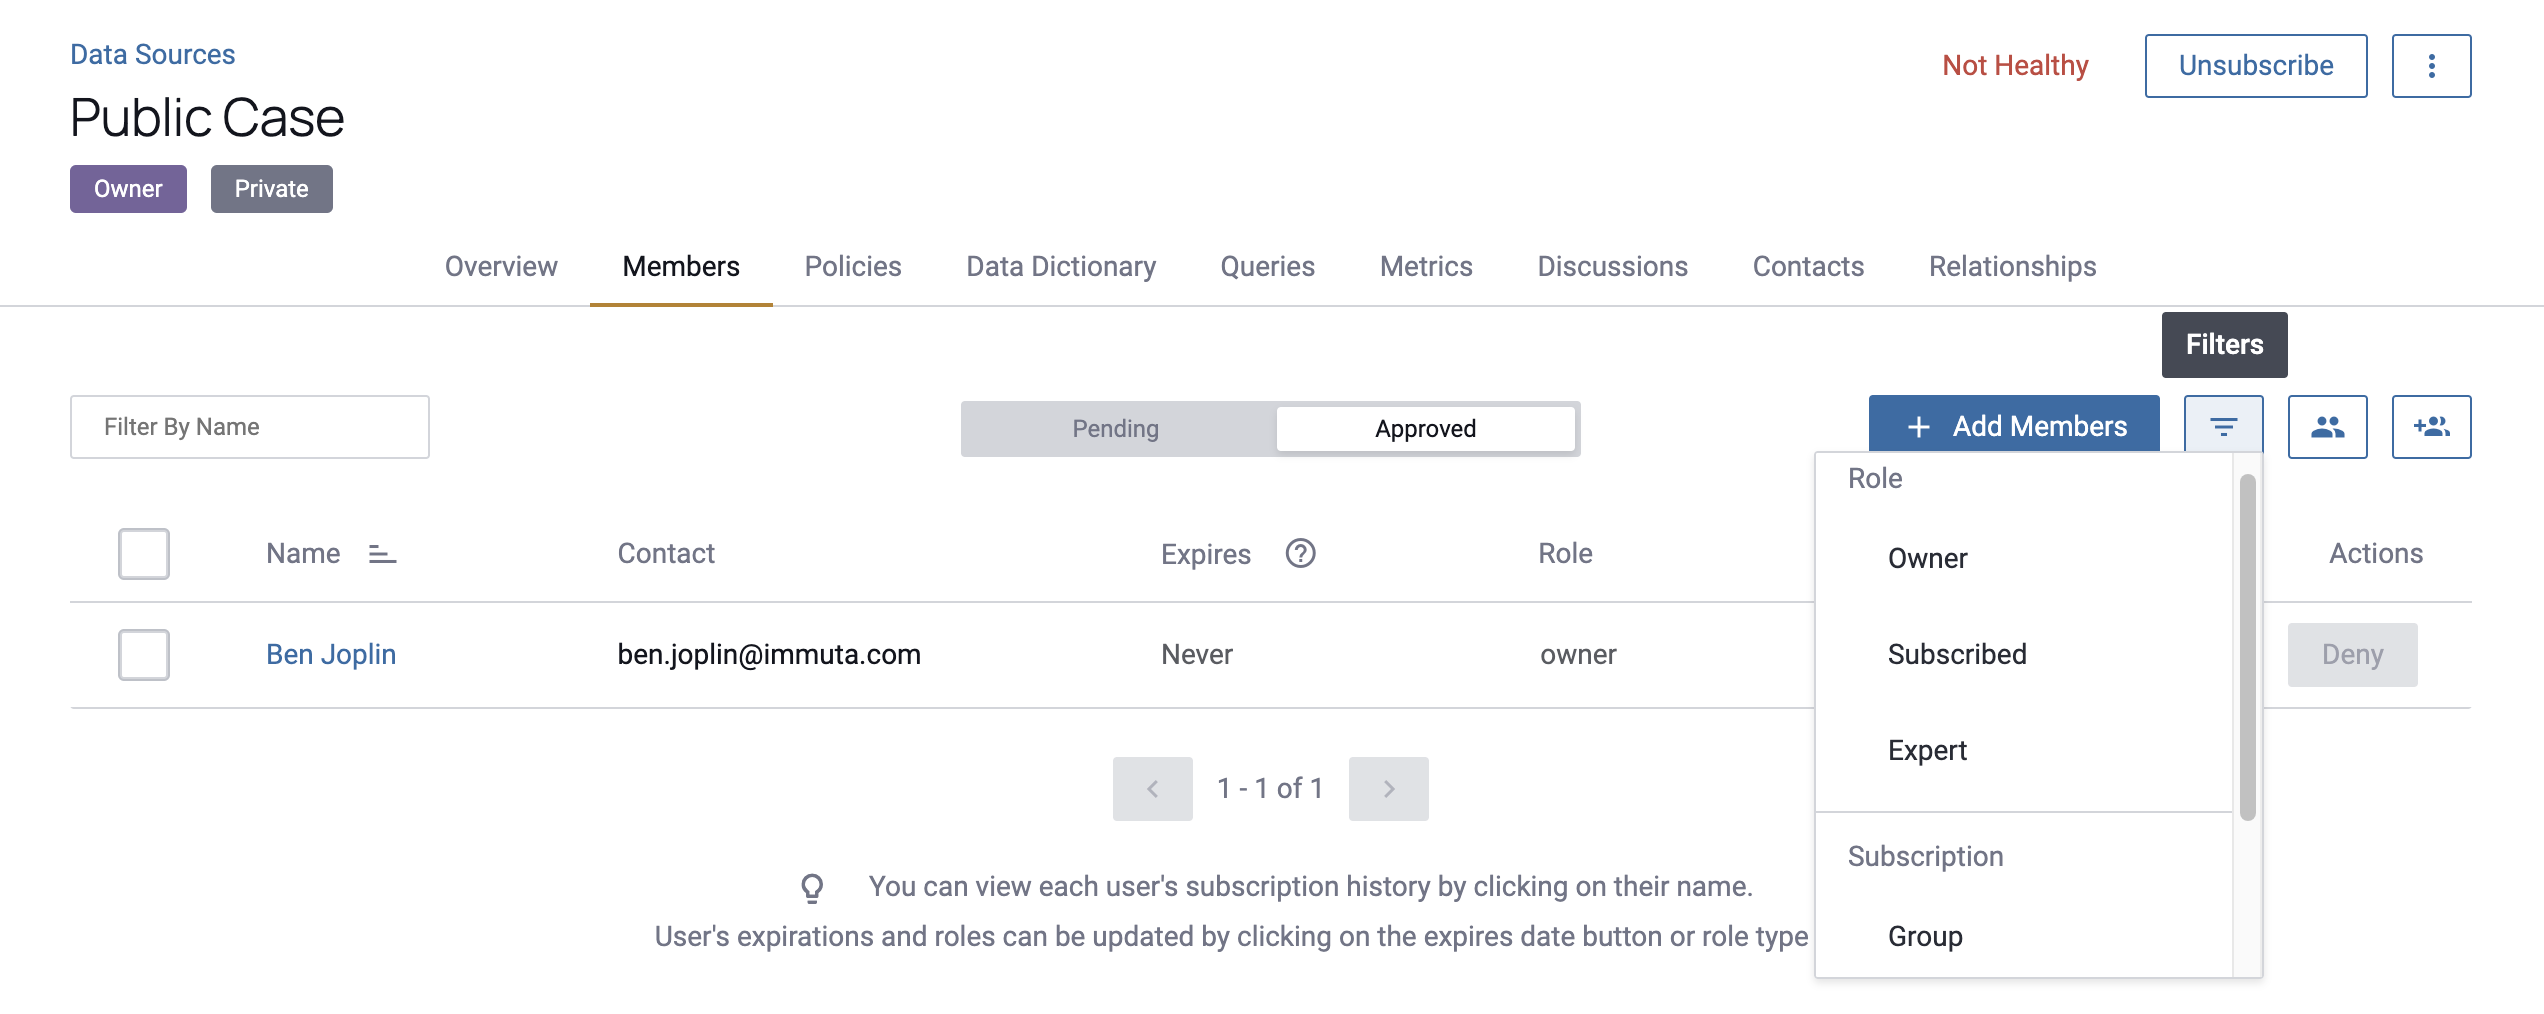
Manage Data Source Users
Data source users can be managed from the data source Members tab. Here, Data Owners can add users or groups, set user access expiration dates, modify user or group roles, view user or group subscription history, or remove users or groups.
Data Owners can filter members by Role: Owner, Subscribed, and Expert or by Subscription: Group, Policy, and User.
Set User Access Expiration Date for a Data Source
As a Data Owner, you can limit the amount of time a user or group has access to your data source by setting an access expiration date.
- Navigate to the Members tab.
-
Increment or decrement the number of days under the Expires column for the user/group whose access you want to limit (the limit is counting from today, so users/groups with 0 days left means their access will be revoked by the end of today and users with 1 day left means their access will be revoked by the end of tomorrow).

-
Hit enter to save the changes.
- To remove the limit (or set the limit to Never), delete the number from the field and hit enter.
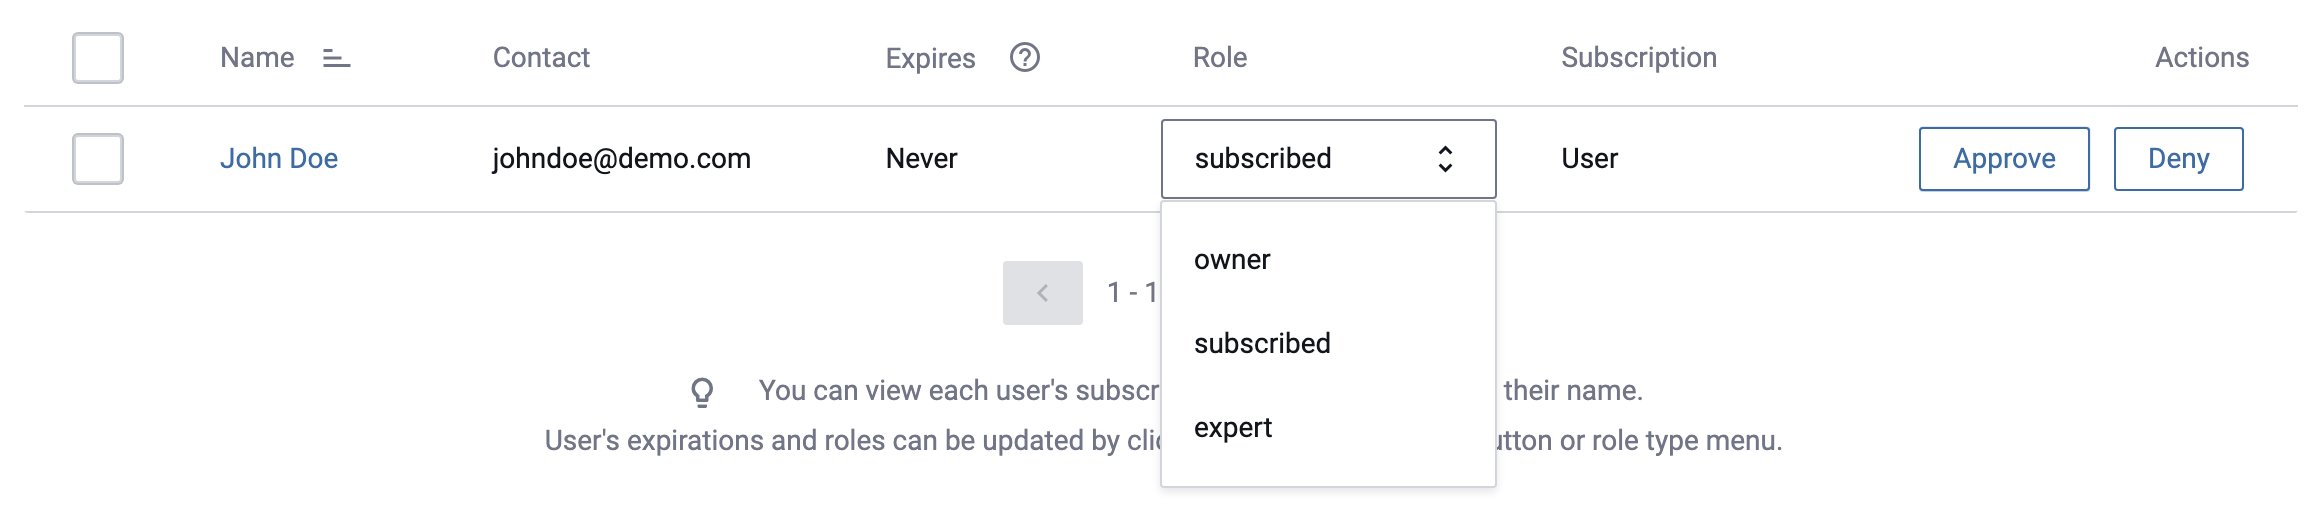
Modify User or Group Roles within a Data Source
- Navigate to the Members tab.
-
Click the drop-down arrow under the Role column next to the user/group whose role you’d like to change.
-
Select another role (subscribed, expert, owner or ingest user, if applicable).
Notifications about the change will be sent to the affected users and groups (as well as alternative Owners).
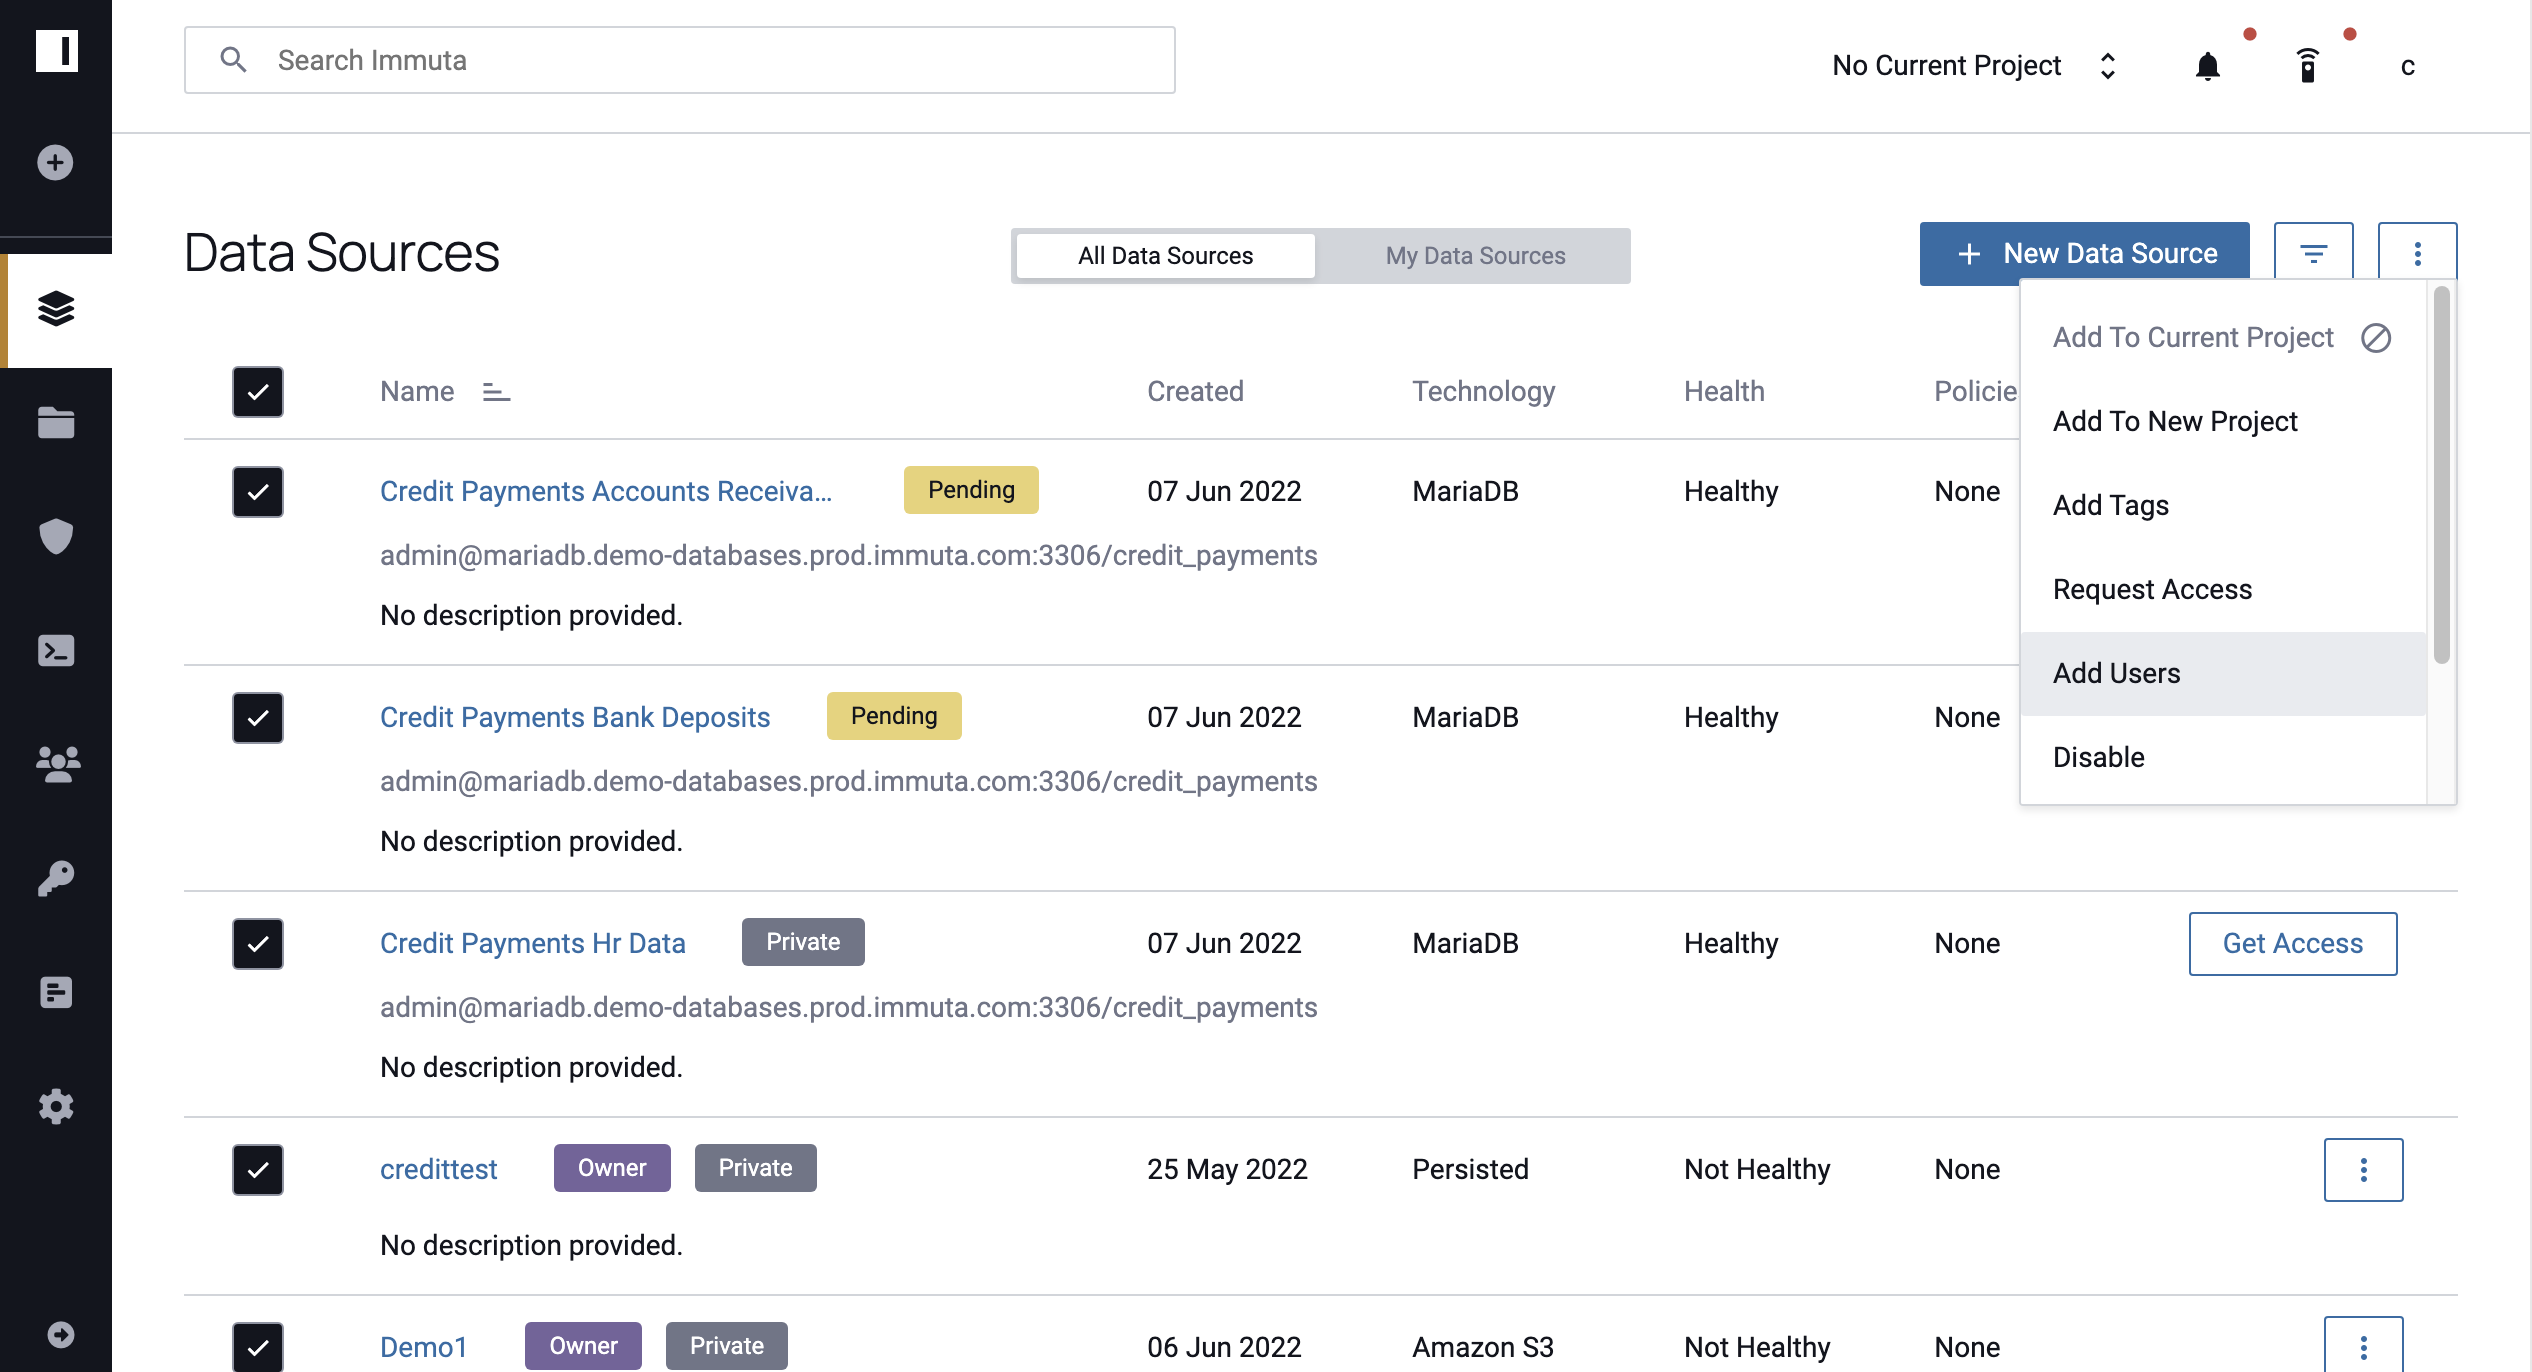
Bulk Add Users to Multiple Data Sources
Data Owners can add users to multiple data sources from the Search page.
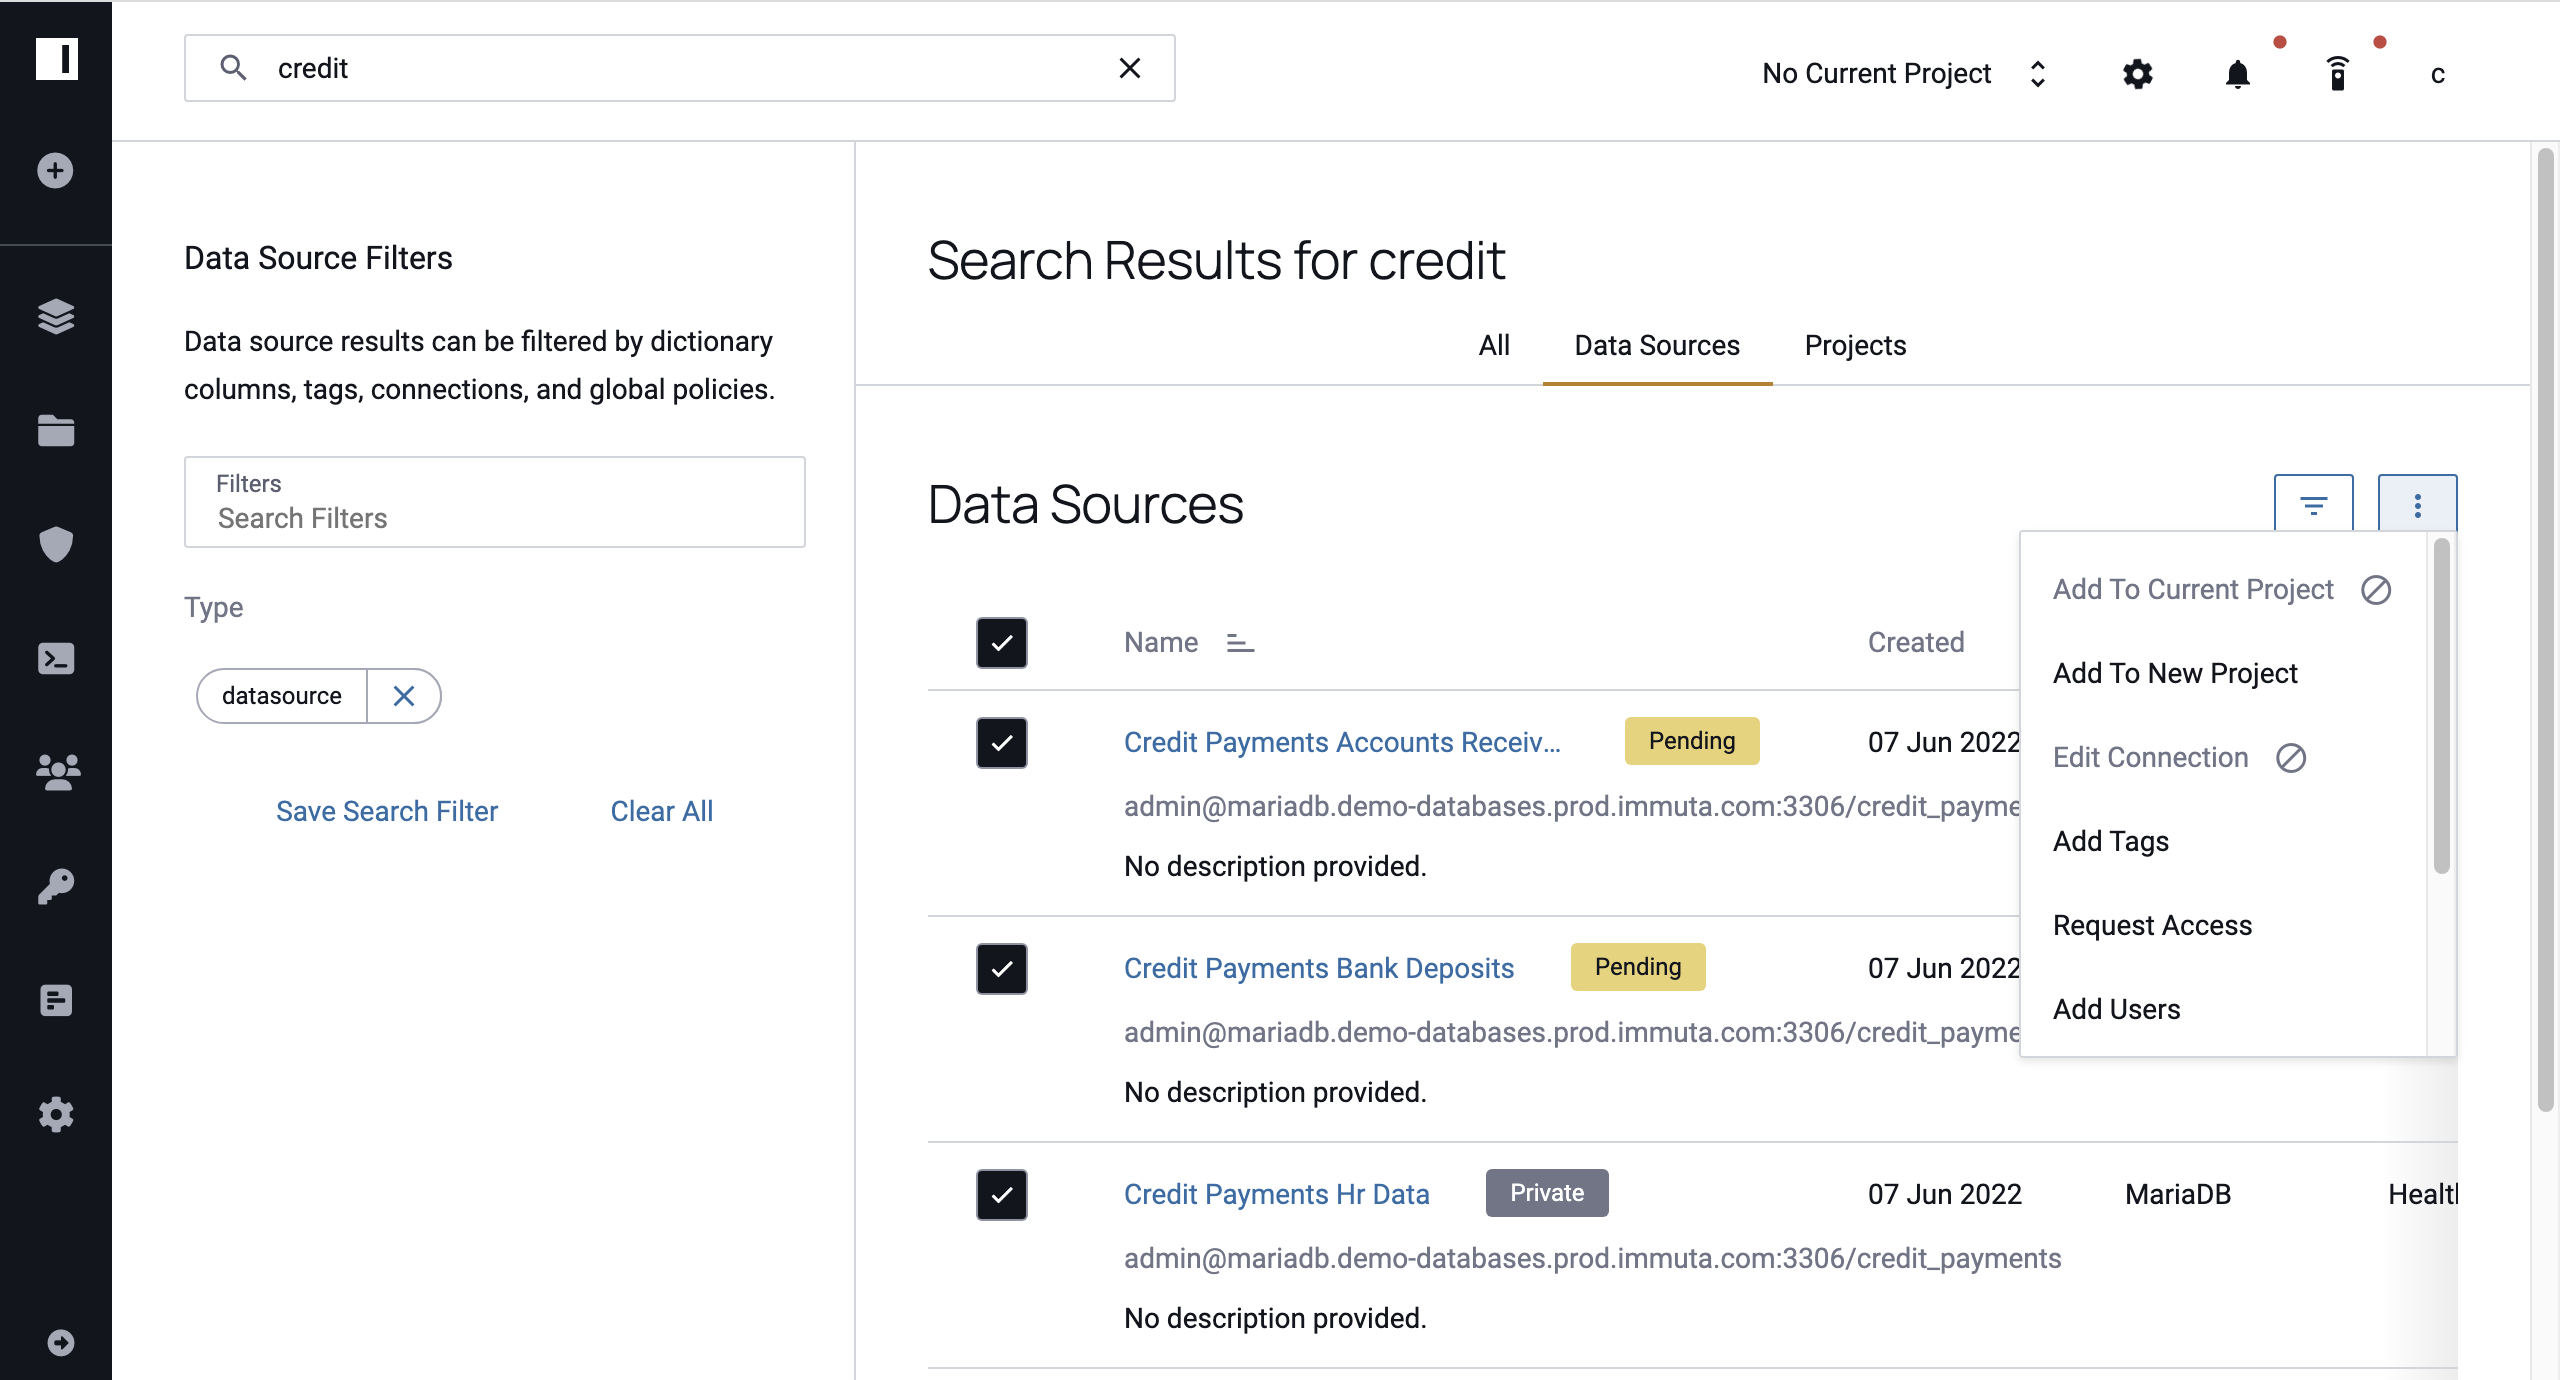
- Search by tag name, column name, Global Policy, or connection string in the search box in the top left corner of the console. After selecting from the dropdown menu, you will automatically navigate to the Search page, where all relevant data sources will appear.
- Select the data sources you want to add users to by clicking the checkbox next to the data source.
-
Click the dropdown menu in the top right corner of the results page and select Add Users.
-
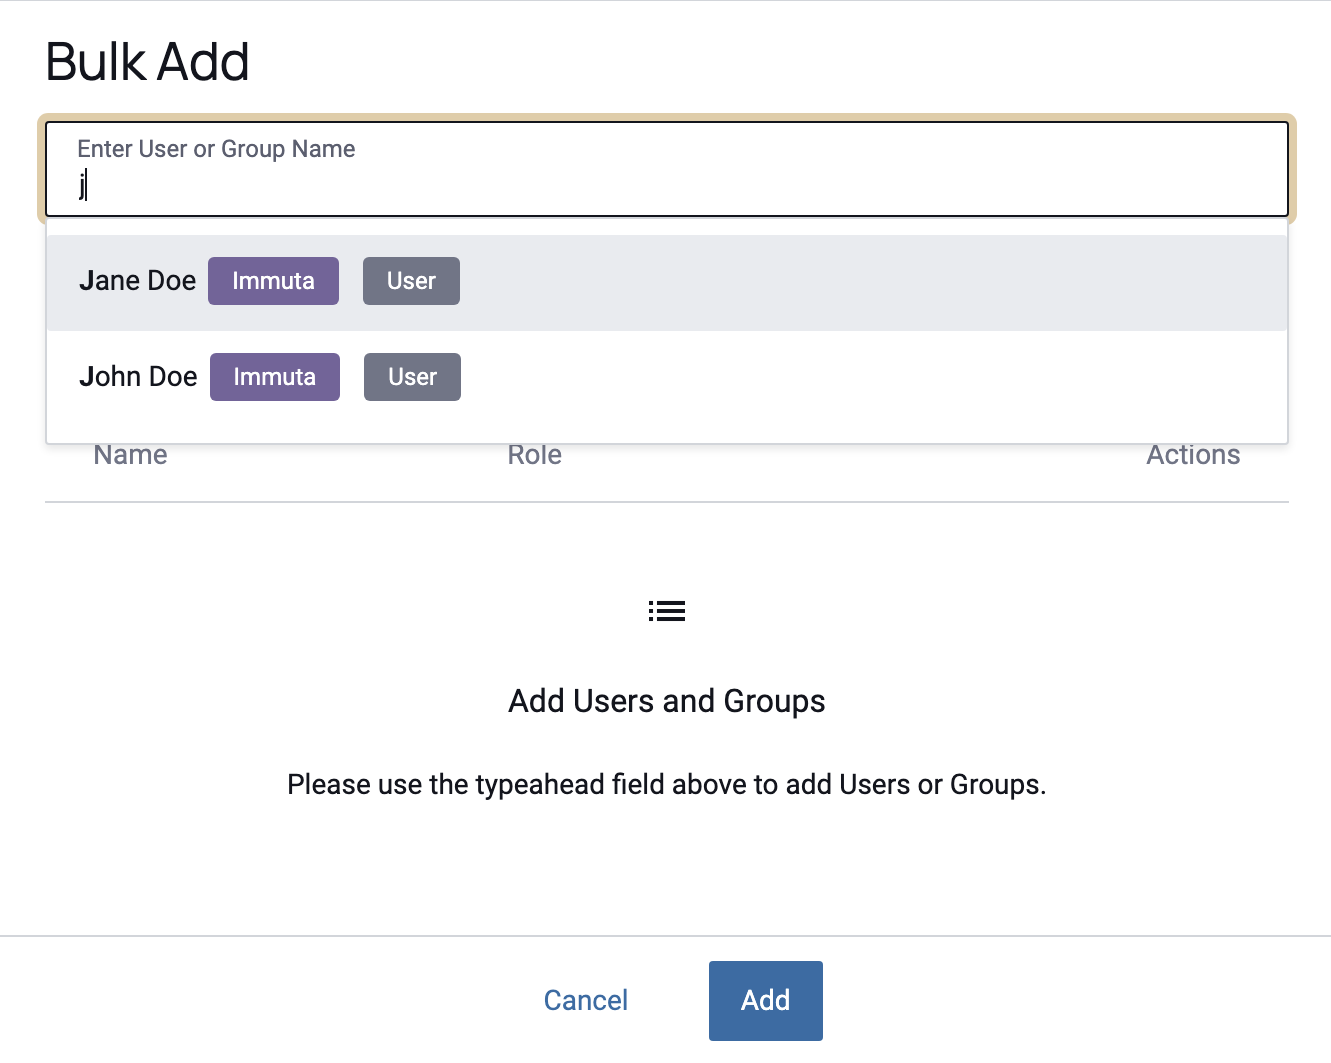
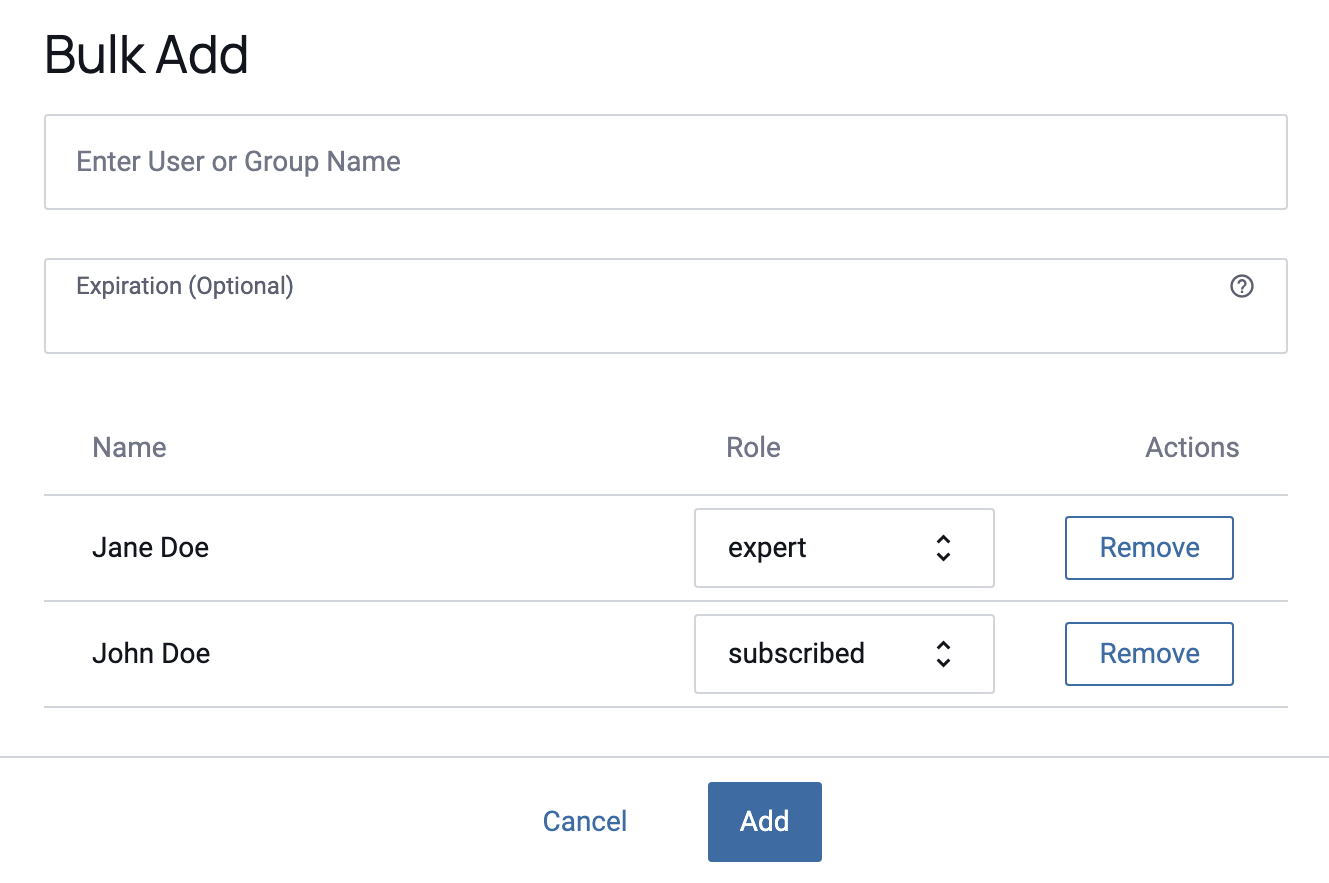
In the modal, type the user name or group name in the Enter User Name or Group Name field and select the user or group you would like to add from the dropdown menu.
-
Opt to set an Expiration for the users' subscriptions. Additionally, you can change the role from Subscriber to Expert or Owner for the users or groups using the dropdown menu in the Actions column.
-
Click Add. All users and groups will be added to the data sources you selected.
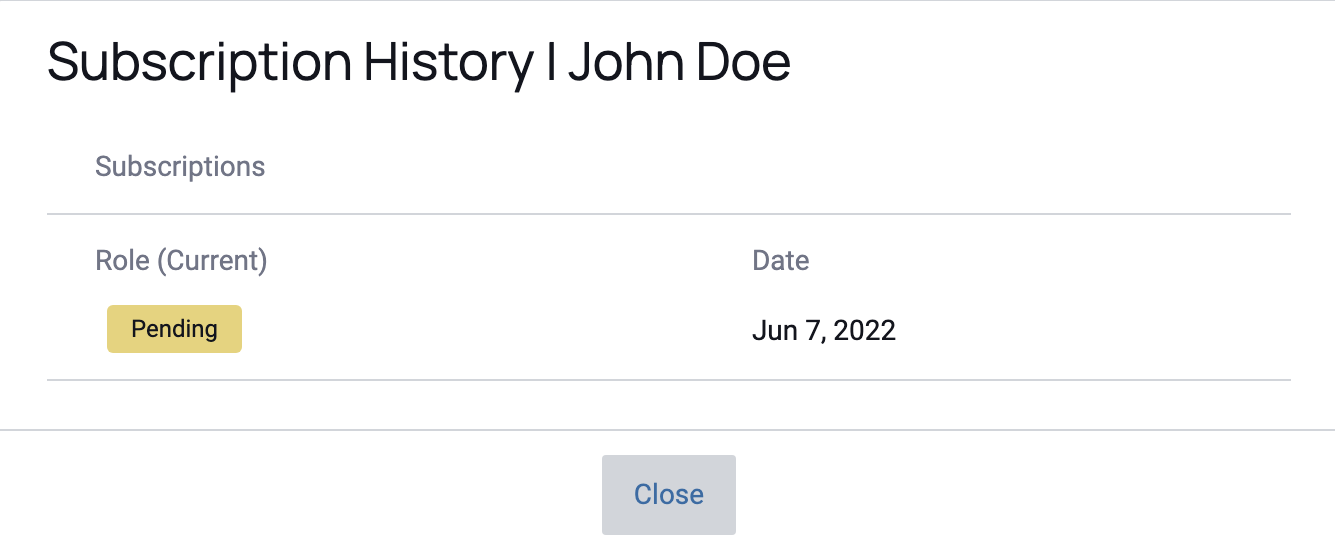
View User or Group Subscription History
- Navigate to the Members tab.
-
Click the Name of the user or group whose history you want to review.
Remove Users or Groups from a Data Source
As a Data Owner, you can deny access to any users or groups at any time.
- Navigate to the Members tab.
-
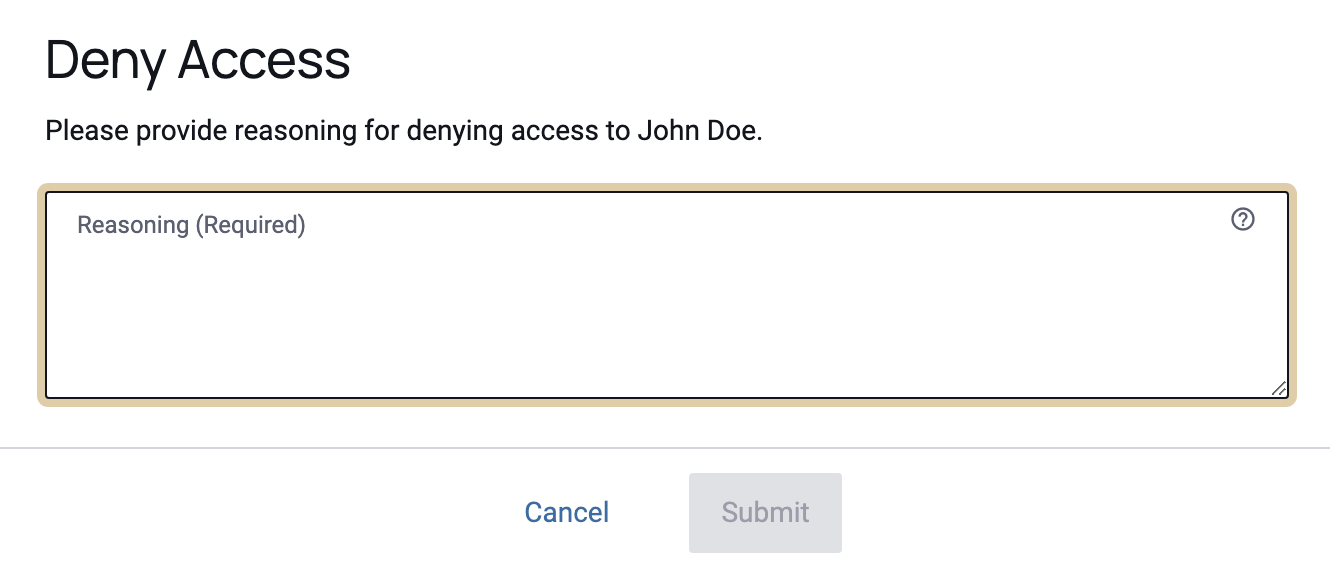
To remove a user or group from a data source, click Deny in the Actions column next to the user or group you want to remove.

-
Complete the Deny Access form, including a reason for revoking the access.
-
This action will immediately update users' or groups' subscription status, and they will no longer have any access to the data source.
- Notifications will be sent to the affected users (as well as alternative Data Owners) informing them of the change in subscription status.
This value can be updated at any time before the user’s access expires.
Manage the Data Dictionary
For query-backed data sources,
-
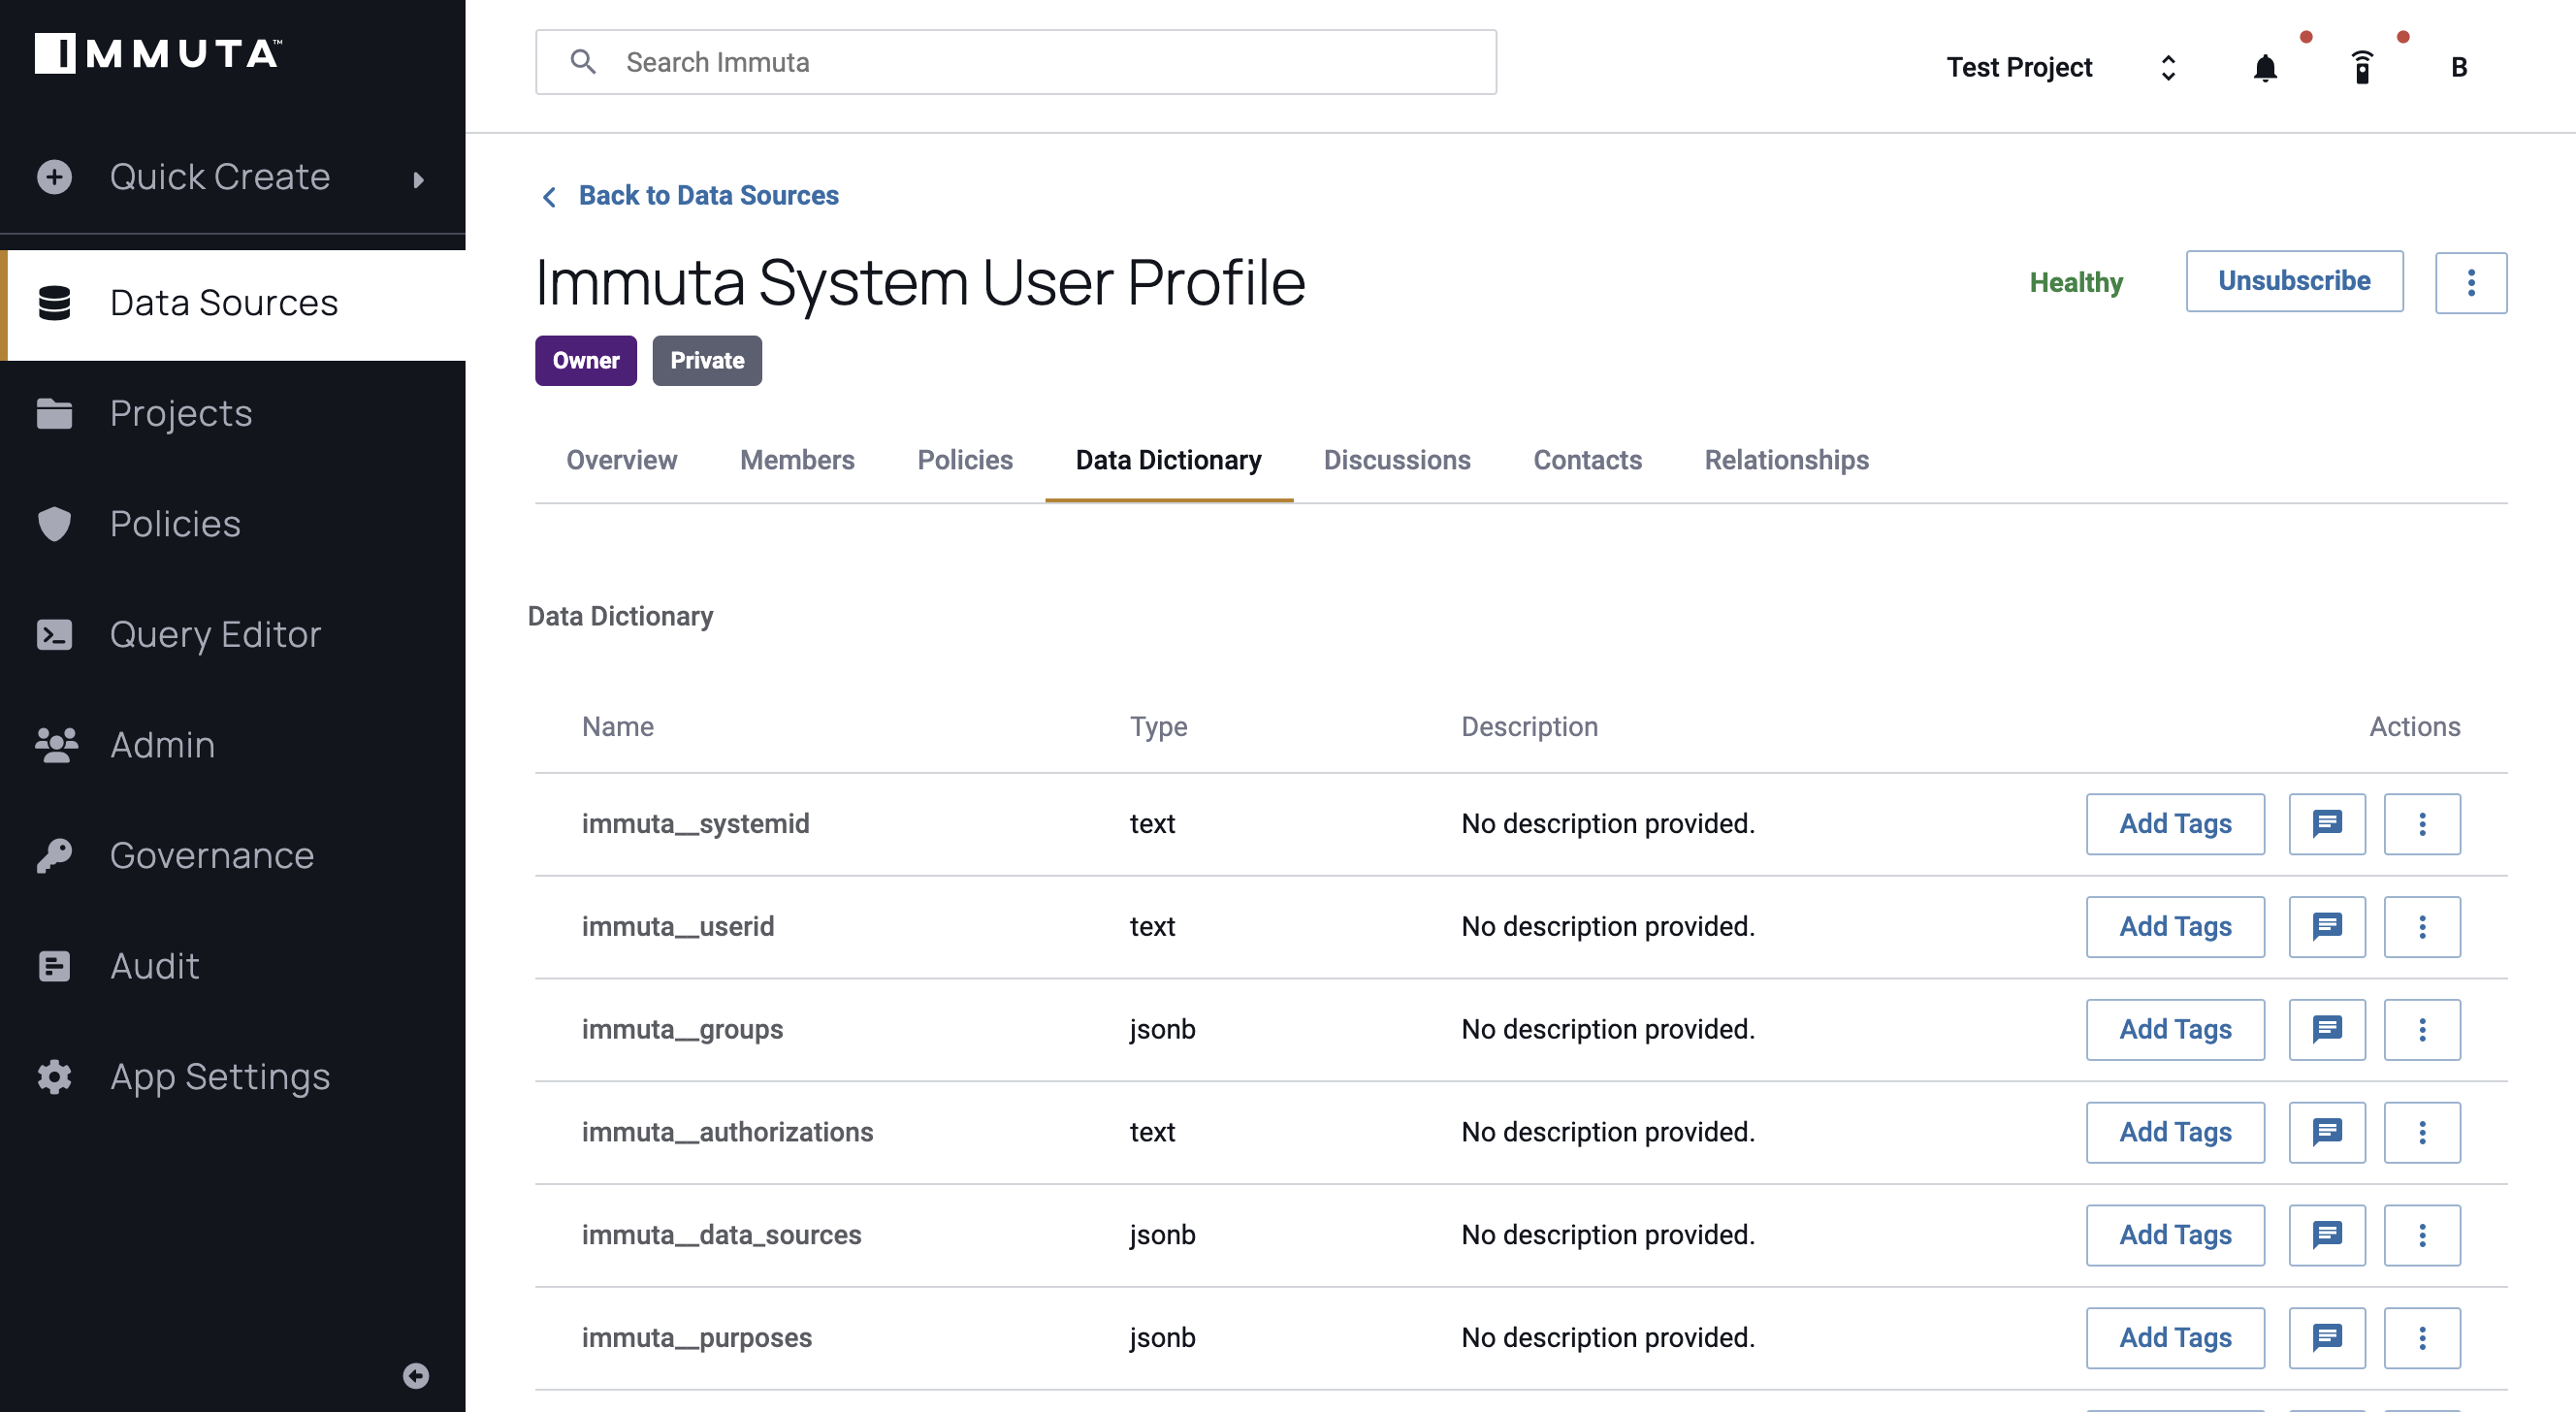
Navigate to the Data Dictionary tab.
-
To add or edit alternative column names and definitions, click the menu icon in the Actions column next to the entry you want to change and select Edit.
-
Complete the fields in the form that appears, and then click Save.
For object-backed data sources,
-
Navigate to the Data Dictionary tab. There will be no default entries in the Data Dictionary for an object-backed data source.
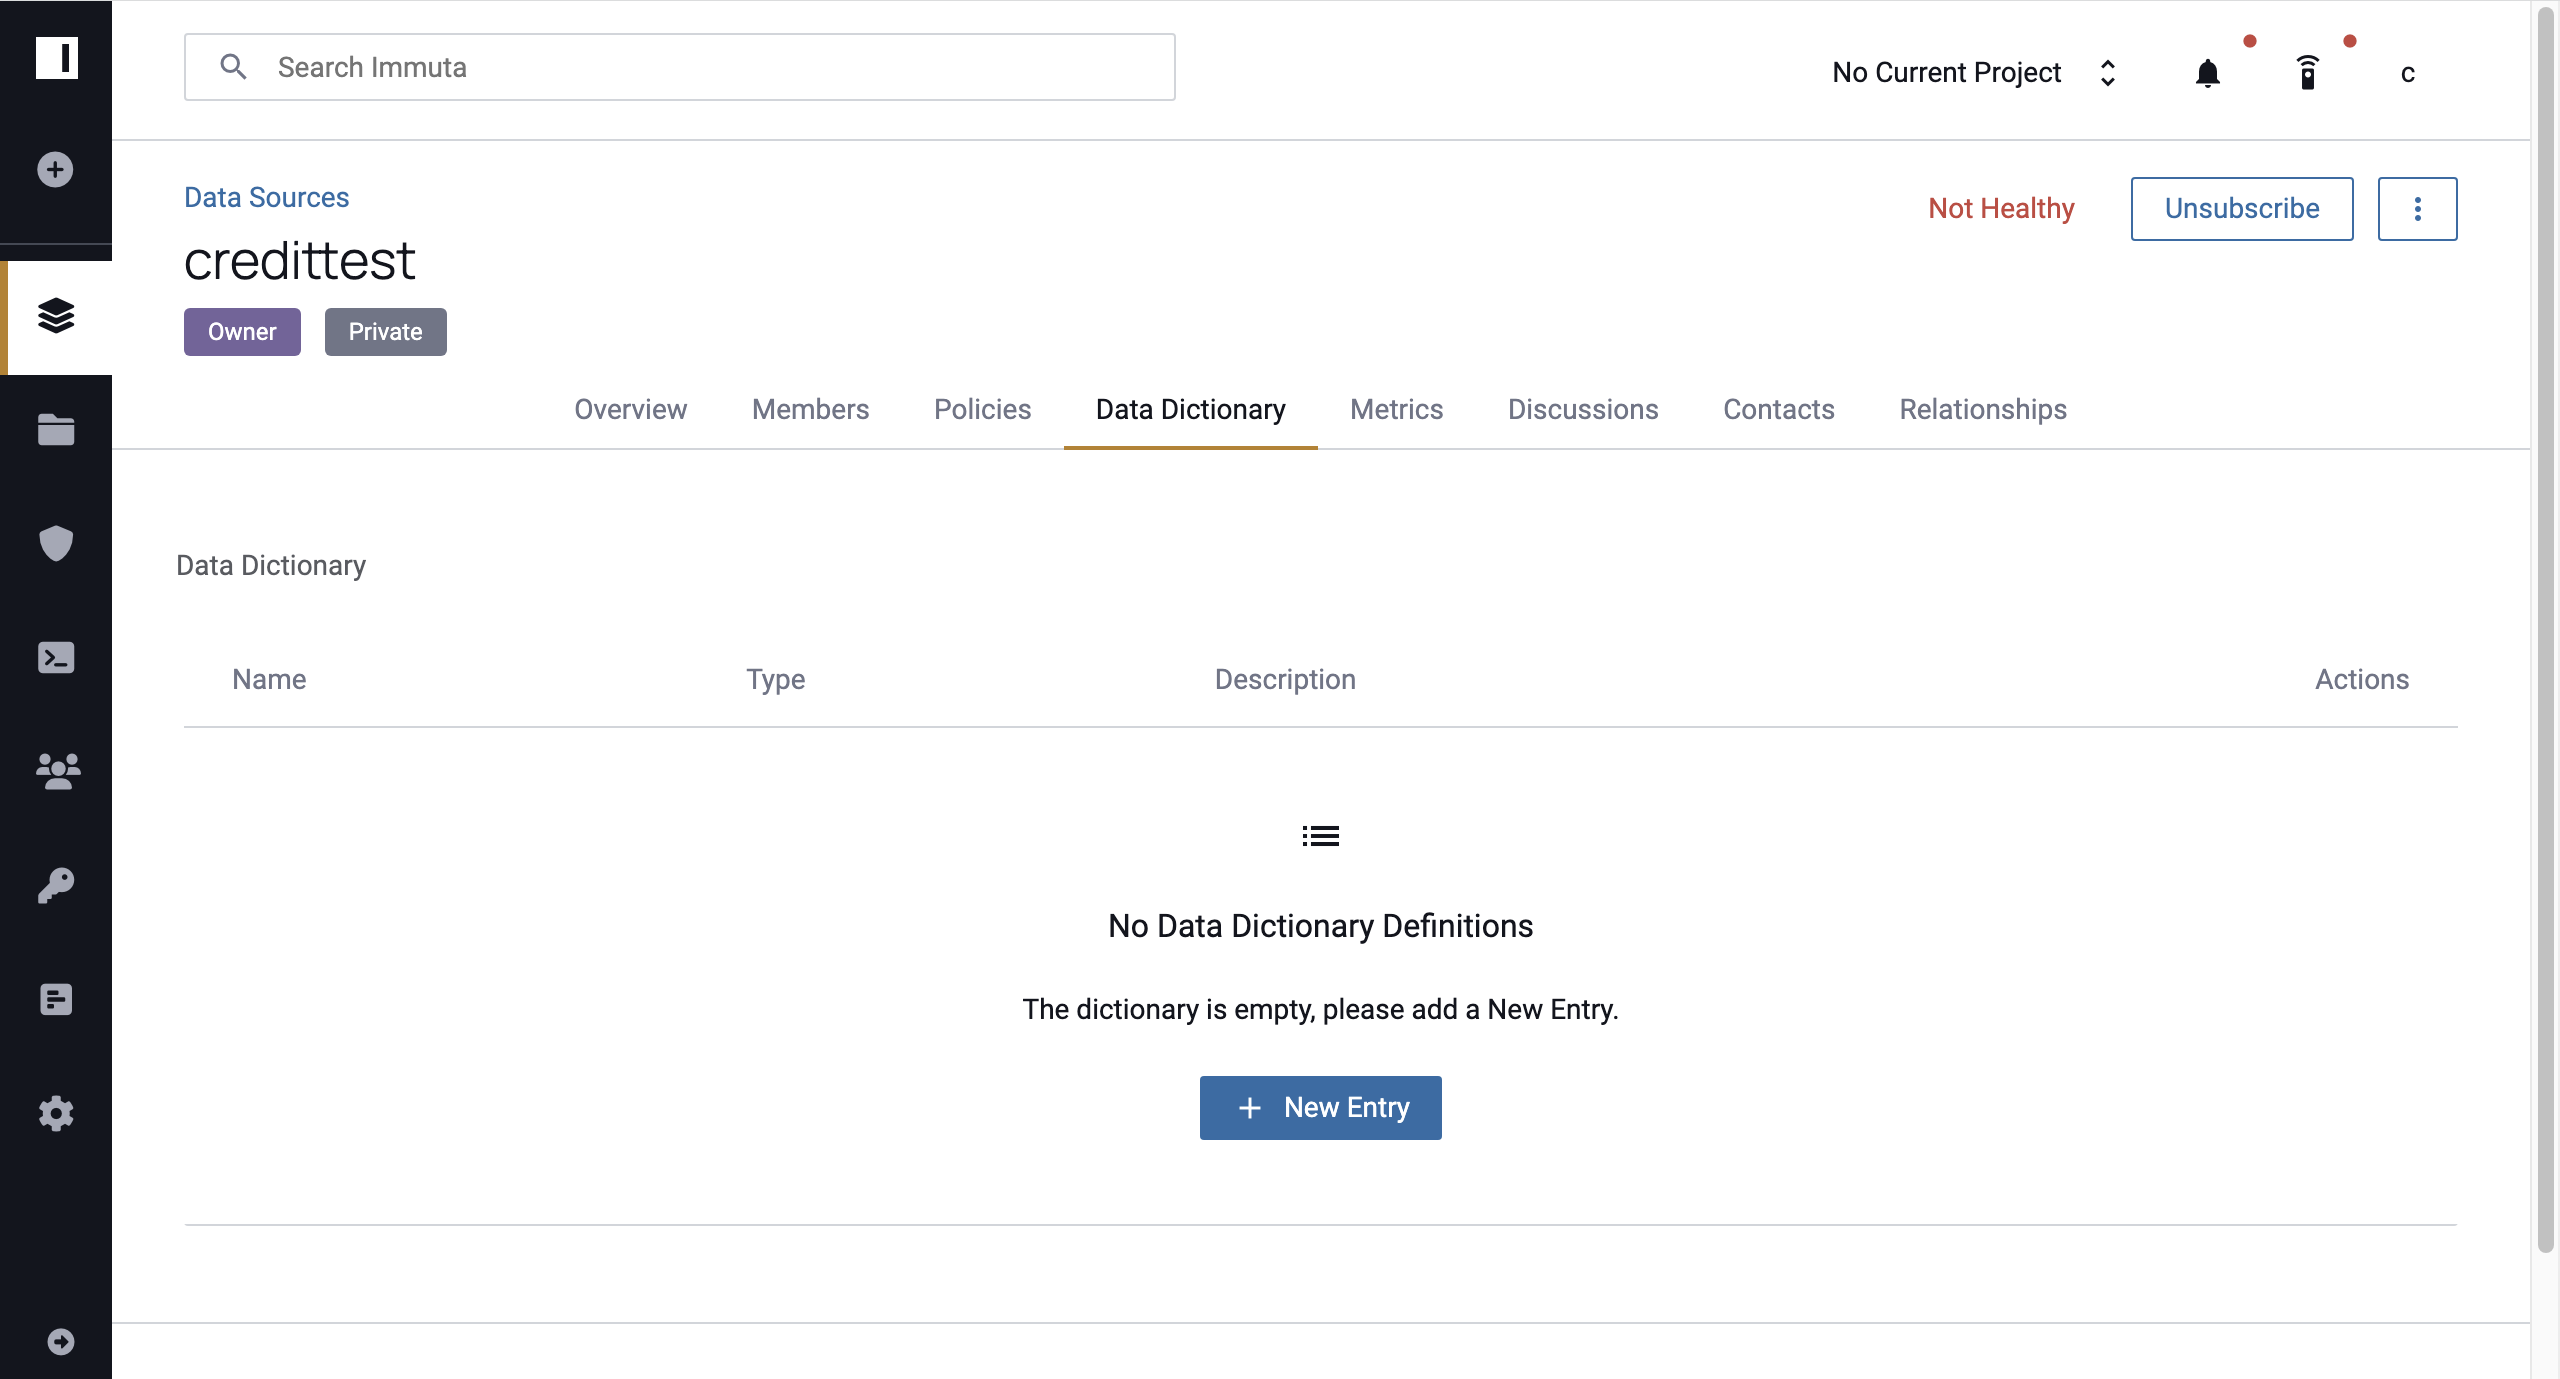
-
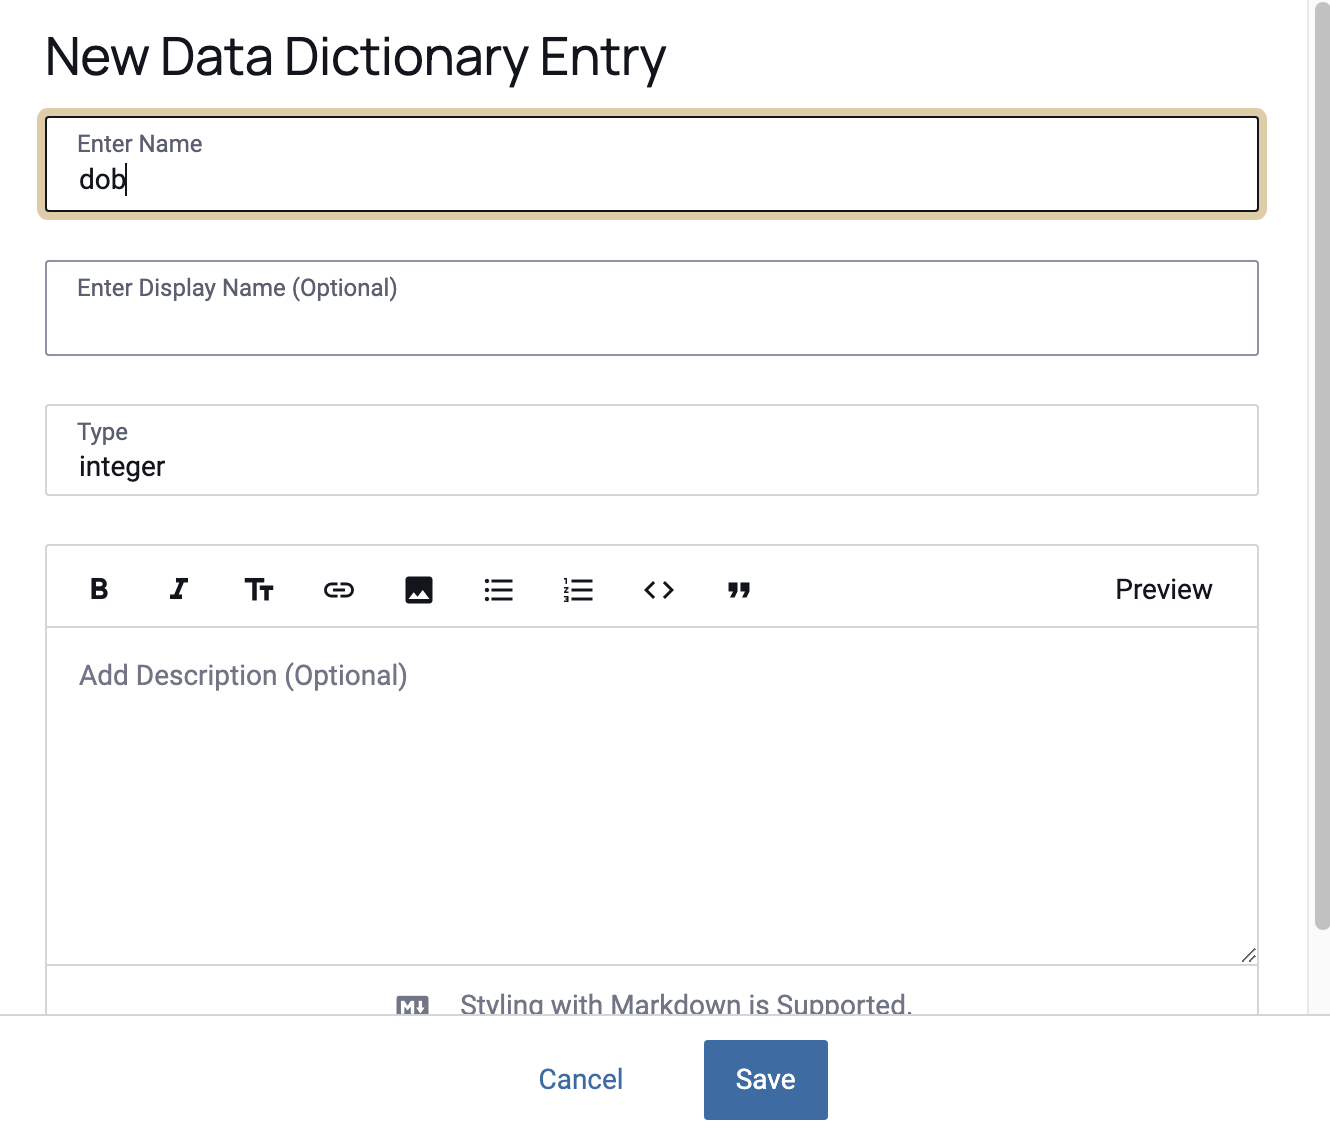
To add additional columns, click New Entry.
-
Complete the fields in the form that appears, and then click Save.
-
To add or edit alternative column names and definitions, click the menu icon in the Actions column next to the entry you want to change and select Edit.
-
To add child definitions, click the menu icon in the Actions column next to the entry you want to change and select Add Child Entry. Fill out the nested column name, type, and definition.
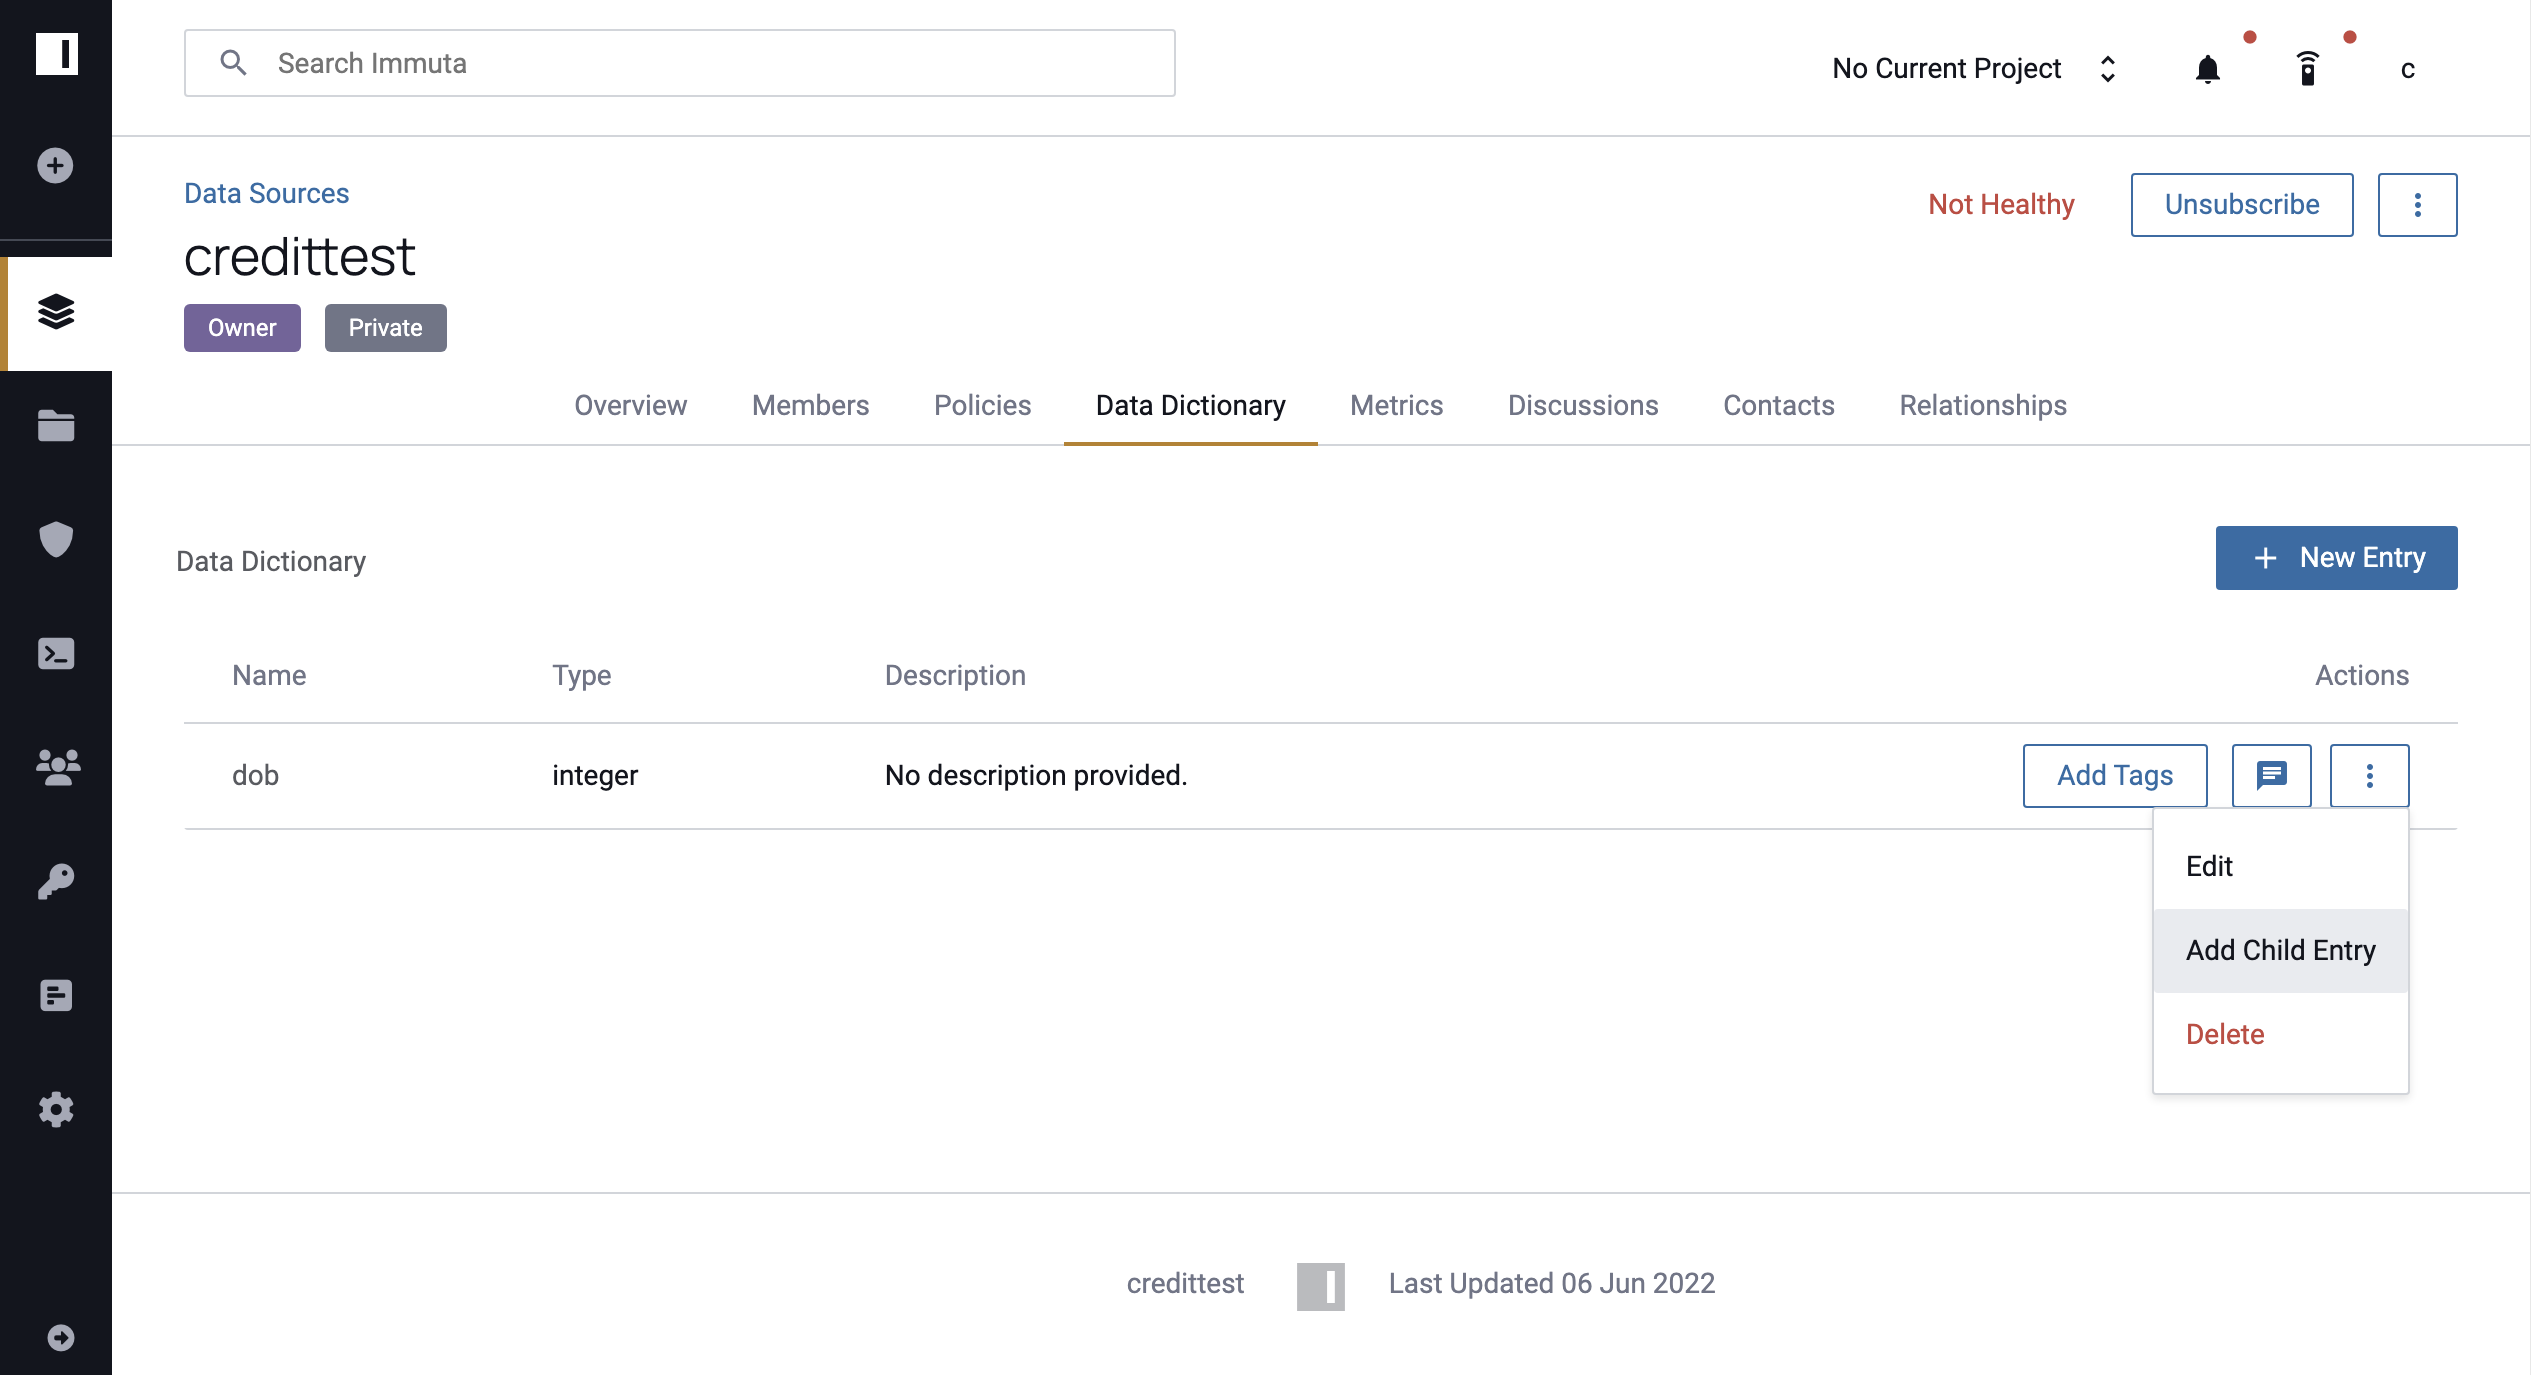
-
To remove a column, click the menu icon in the Actions column next to the entry you want to change and select Delete.
For details on Dictionary discussions, see Commenting on Dictionary Discussions.
Manage Tasks
If users make an Unmask request, a Tasks tab will appear on the Data Source Overview page for the user making the request and the user receiving the request. From this tab, users can view and manage two different task views:
- Your Created Tasks: This page lists the status and information of the Unmask requests you've submitted.
- Tasks For You: This page lists the status and information of the Unmask requests that have been submitted to you.
To complete an Unmask task,
- Navigate to the Tasks tab from the Data Source Overview page, and then click the toggle at the top of the page to Tasks For You.
- Click the Unmask Values icon in the Actions column of the relevant task.
- A dialog box will appear with the masked and unmasked value. Click Close after you have accessed the value. Note: You can view information about this request, including the reason for the request and the date is was created, by clicking the Task Info button in the Actions column.
To delete a task,
- Navigate to the Tasks tab from the Data Source Overview page, and then click the toggle at the top of the page to Tasks For You.
- Click Delete Task in the Actions column of the relevant task.
Run Data Source Health Checks
Immuta data sources come equipped with health status indicators on the data source overview.
To determine the health of a data source, the following tests are run:
- List Files: Verifies that the data source's directory structure is functional (object-backed data sources only).
- Read Files: Verifies that blobs can be fetched from the data source (object-backed data sources only).
The health of a data source can be one of three states:
Healthy: All three health tests have run successfully.Not Healthy: One or more of the health tests failed.Health Unknown: Health tests could not be run. This can happen if the Data Owner does not have access to any data due to policy restrictions.
Health checks run automatically on the data source Overview tab. If you wish to re-run the health check, follow these instructions:
- Navigate to the Overview tab.
-
Click the health status in the top right corner. The status will either be green (healthy), orange (health unknown), or red (not healthy).
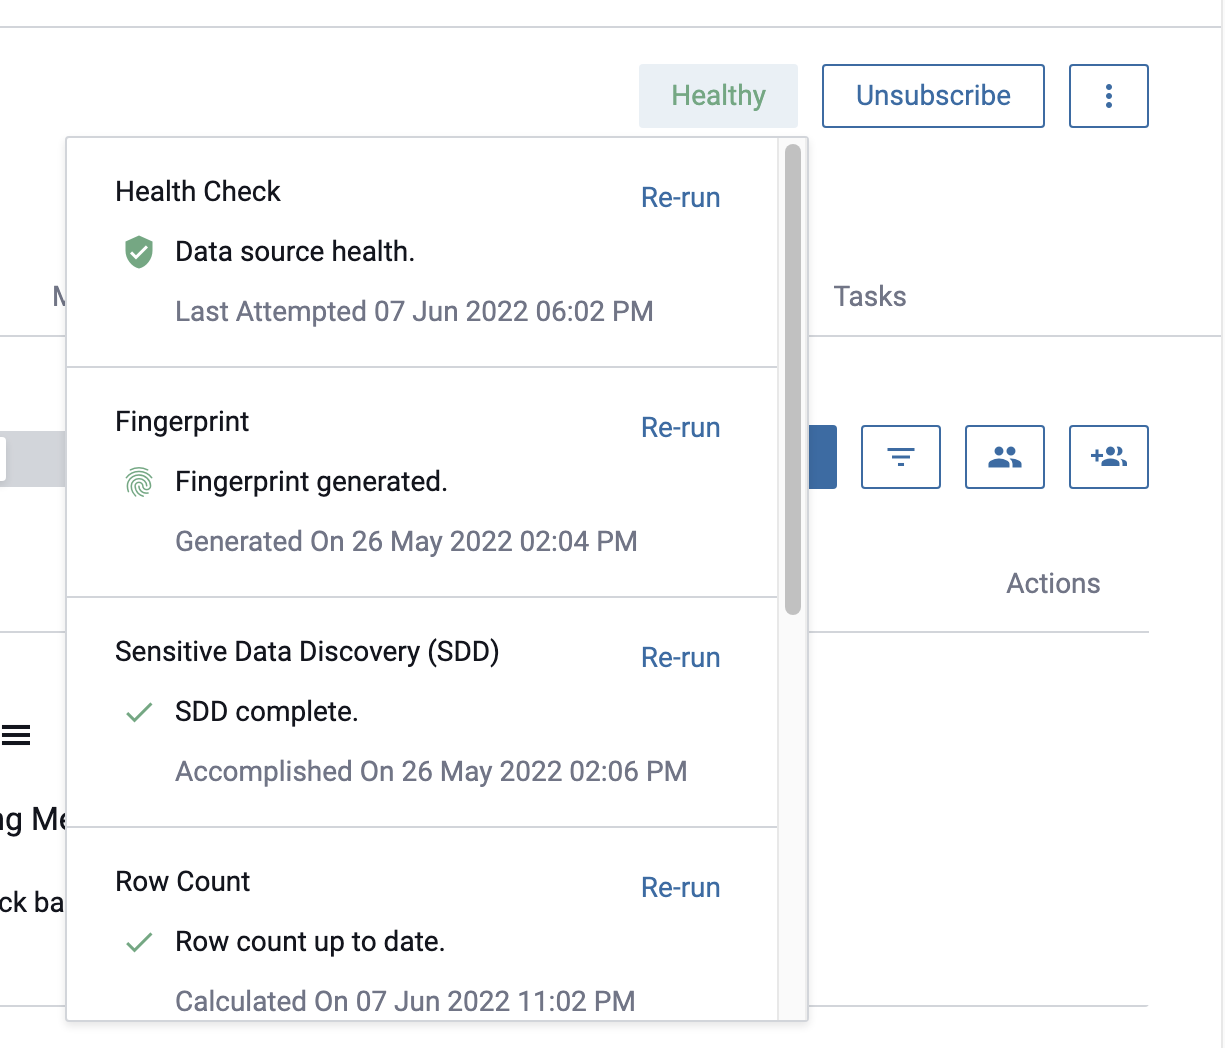
-
Click Re-run in the drop-down menu. The health status of the data source will be updated.
Disable a Data Source
Disabling a data source essentially hides it and its data from all users except the Data Owner. While in this state, the data source will display as disabled in the console for the Data Owner(s) and other users will not be able to see it at all. Data Owners can also continue to view their data through their SQL connection, but other users cannot; to them, it will appear as if the disabled data source no longer exists.
To disable a data source,
- Navigate to the Overview tab.
-
Click on the menu icon in the upper right corner and select Disable.
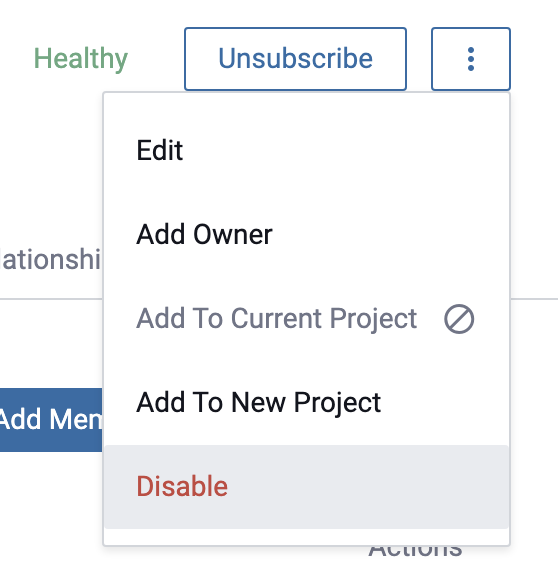
A label will appear next to the data source indicating it is now disabled, and a notification will be sent to all users of the data source informing them that the data source has been disabled.
Enabling a Disabled Data Source
- Navigate to the Overview tab.
-
Click on the menu icon in the upper right corner and select Enable.
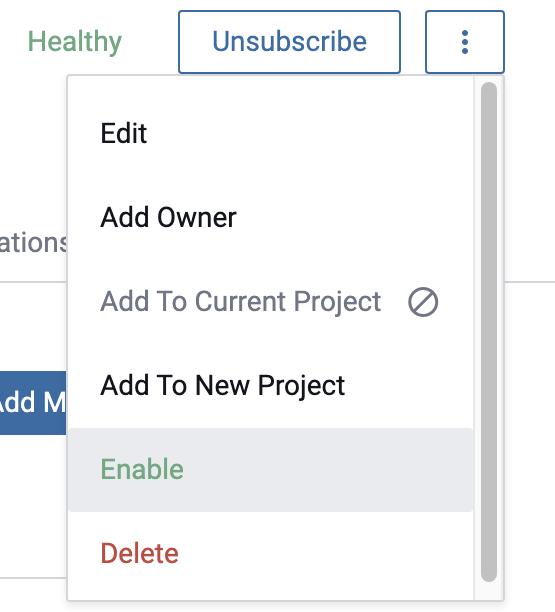
A notification will be sent out to all users of the data source informing them that the data source has been enabled.
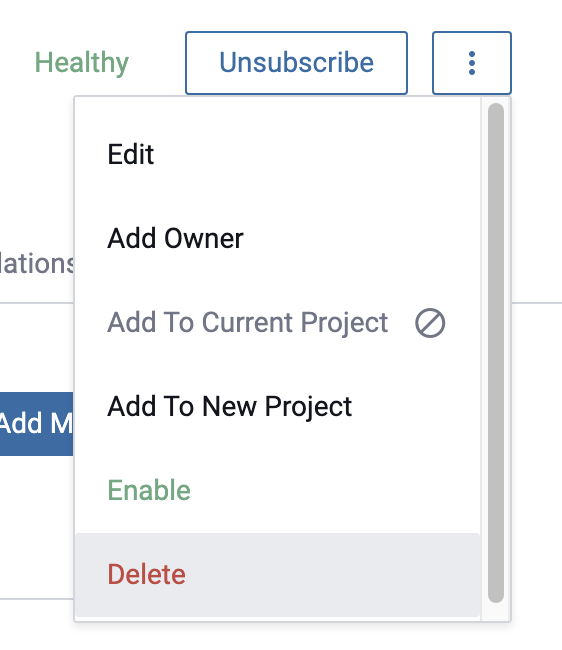
Delete a Data Source
Deleting a data source permanently removes it from Immuta. Data sources must first be disabled before they can be deleted.
- Assuming you have already disabled the data source, navigate to the Overview tab.
-
Click on the menu icon in the upper right corner and select Delete.
-
Confirm that the data source should be deleted by clicking Delete.
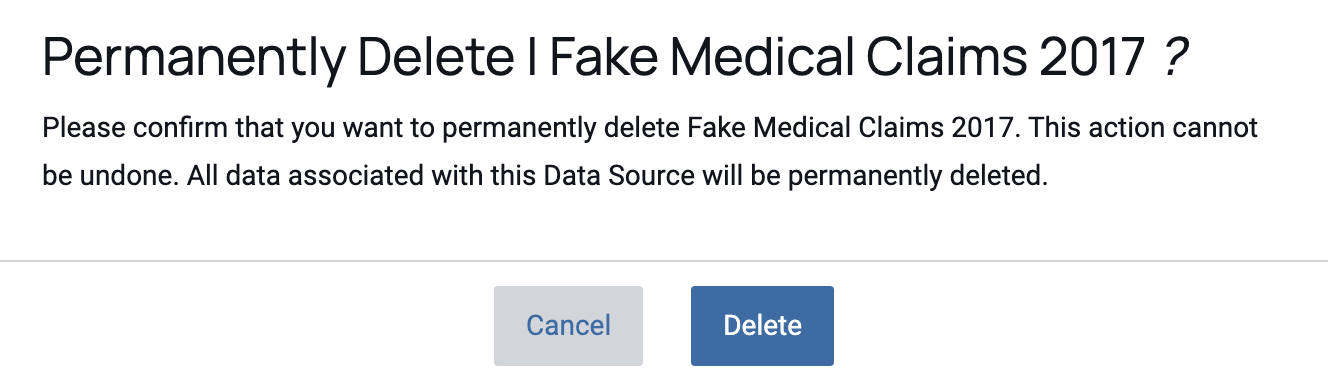
A notification will be sent out to all users of the data source informing them that the data source has been deleted.
Add Tags to a Data Source
Data Owners in Immuta have the ability to apply tags to data sources and specific columns within data sources. To add a tag, that tag must have already been created by an Immuta Governor. For more details, see the Tags section.
To add a tag to a data source,
-
Navigate to the Overview tab, scroll to the Tags section, and click Add Tags.
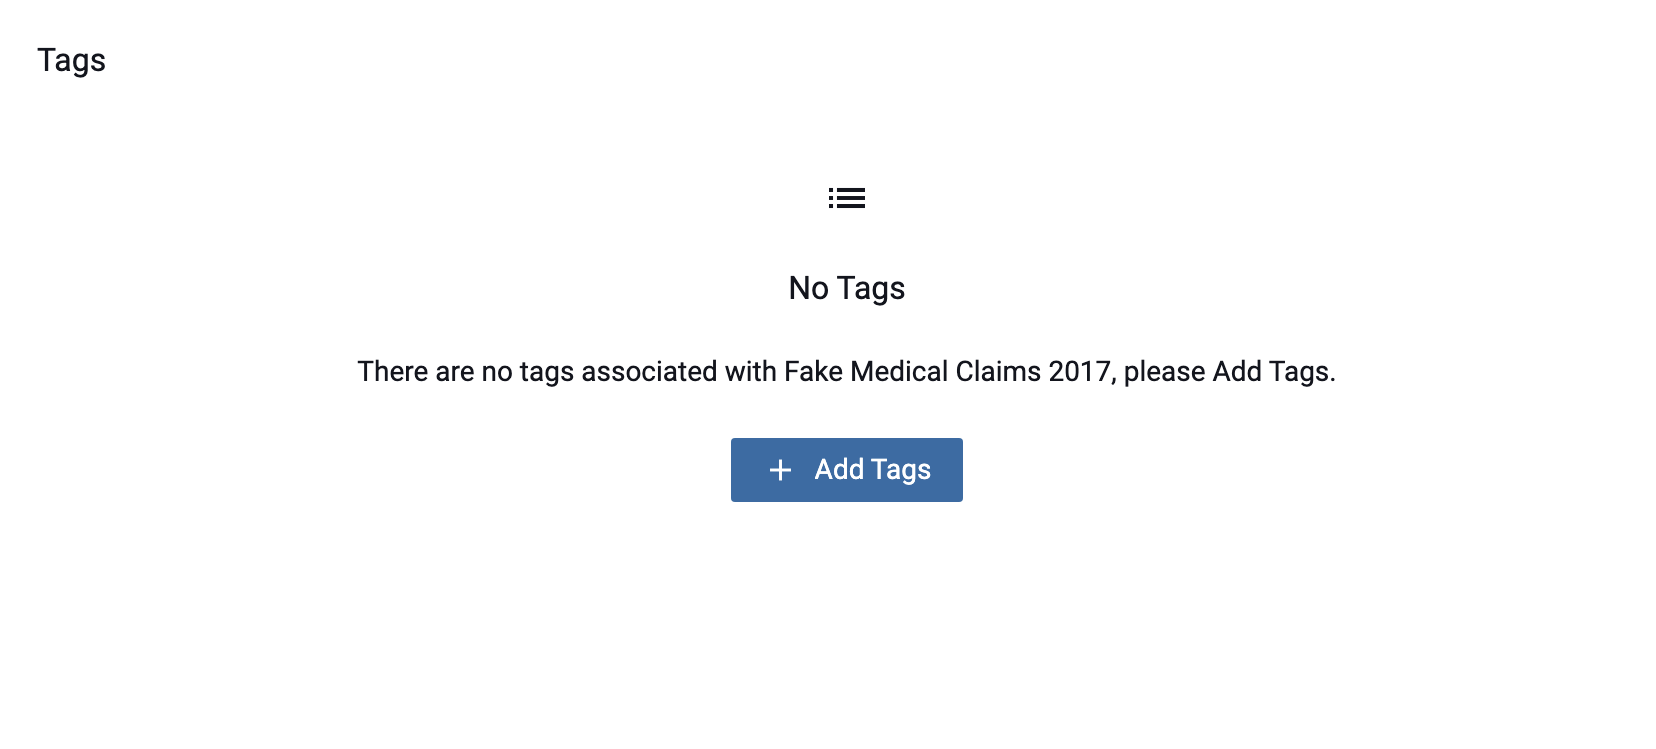
-
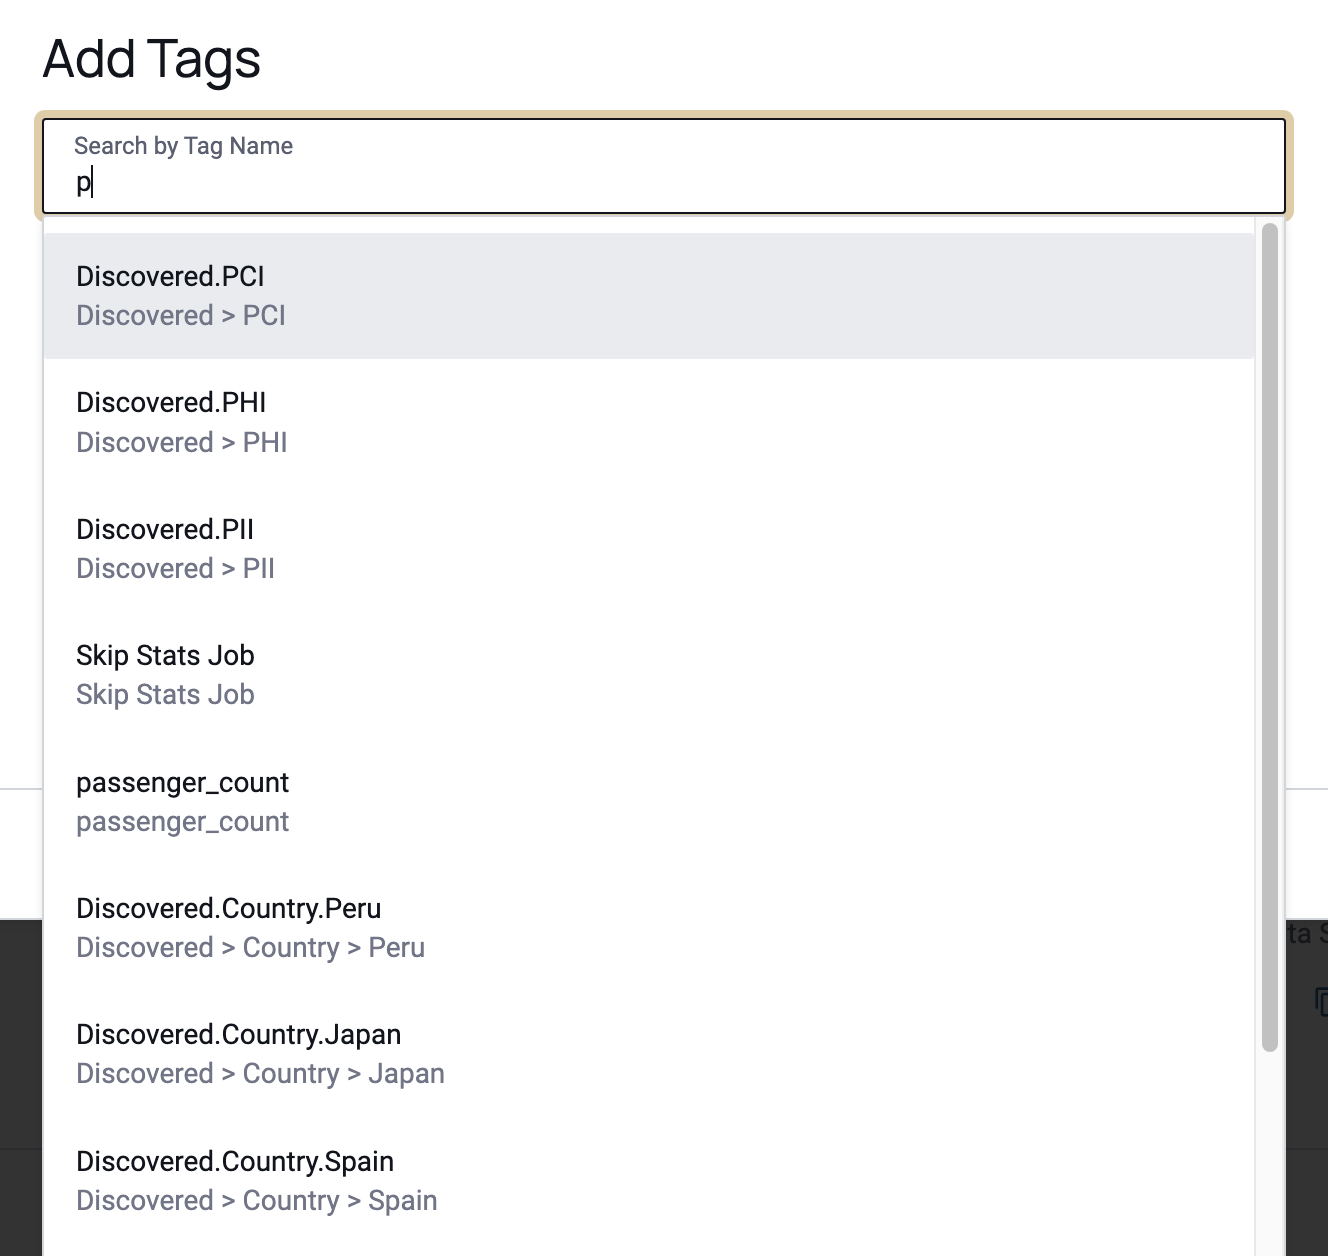
In the resulting pop-up window, search for tags that you want to add to the data source. You can apply multiple tags at once. When complete, Click Add at the bottom of the window.
You can now view the tags that have been applied to this data source in the Overview tab.

To add a tag to a specific column within a data source,
- Navigate to the Data Dictionary tab.
-
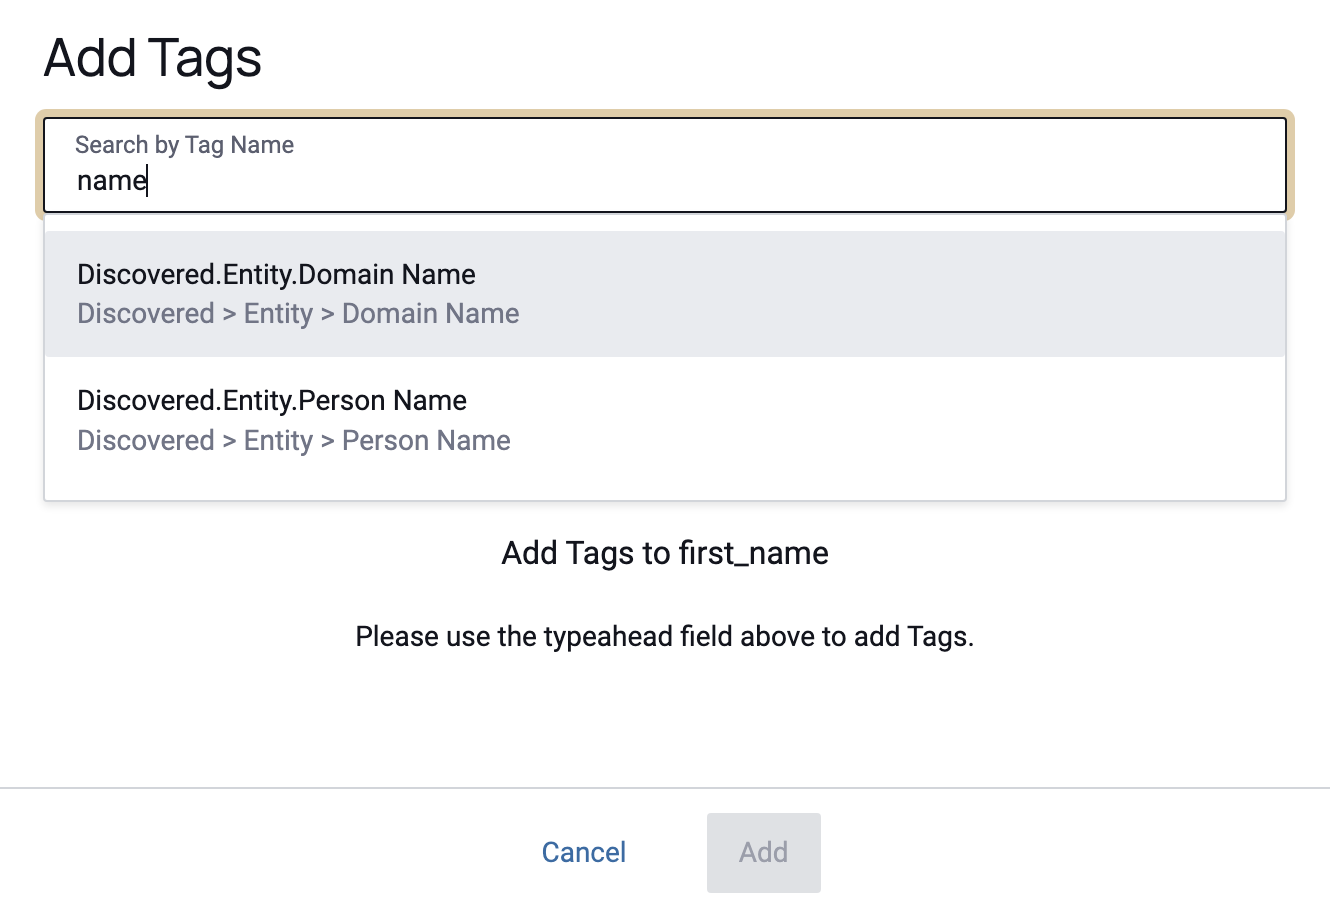
In the Data Dictionary tab, find the column(s) that you want to tag, and click the Add Tags for that column on the right side of the page.

-
In the resulting pop-up window, search for tags that you want to add to the column. You can apply multiple tags at once. When complete, Click Add at the bottom of the window.
You can now view the tags that have been applied to this column in the Data Dictionary tab.

Bulk Edit Data Sources
Data Owners can bulk edit data sources that contain the same connection information.
To complete a bulk edit,
-
Navigate to the Data Source Overview page and click View Parent Server in the top of the panel at the right of the page, or type the connection string in the search box in the top left of the UI and select your connection string from the list of auto-completed results.
All data sources created from this Parent Server will display in the center pane.
-
Select the data sources you would like to edit by clicking the checkbox to the left of each data source.
- Click the Bulk Actions menu in the top right corner of the center pane and select the change you would like to make from the dropdown menu.
- Confirm your edits by following the prompts in the modals that appear.
Now that you know how to manage your data sources, see Local Policy Overview.