Create a Derived Data Source
Audience: Project Owners and members
Content Summary: This page outlines how to create a derived data source to share data you have written back to Immuta.
After workspaces are configured by a System Administrator, users with the CREATE_PROJECT permission can enable workspaces within their projects. This feature allows project members to write data back to Immuta and share this data with other users as derived data sources.
Prerequisites:
- project workspaces have been configured by an Application Admin.
- data has been written back to a project workspace.
Additional Tutorials Contents:
- Change Project Contexts
- Comment on General Project Discussions
- Create a Project-based API Key
- Create Project-based SQL Connections
- Leave a Project
- Manage Project Data Sources
- Search for Projects
Use Case
Compliance Requirement: Users can only WRITE to specified locations in Dev, and these users need to share this data with other Dev users.
After Dev users have analyzed data and have written data back to the native workspace in dev_my_project, they
need to be able to share it with other Dev users. To do so,
these users will create a derived data source. The steps below use
Snowflake to illustrate this process, but the same steps tutorial can be followed to create derived data sources
in Hadoop and Databricks native workspaces.
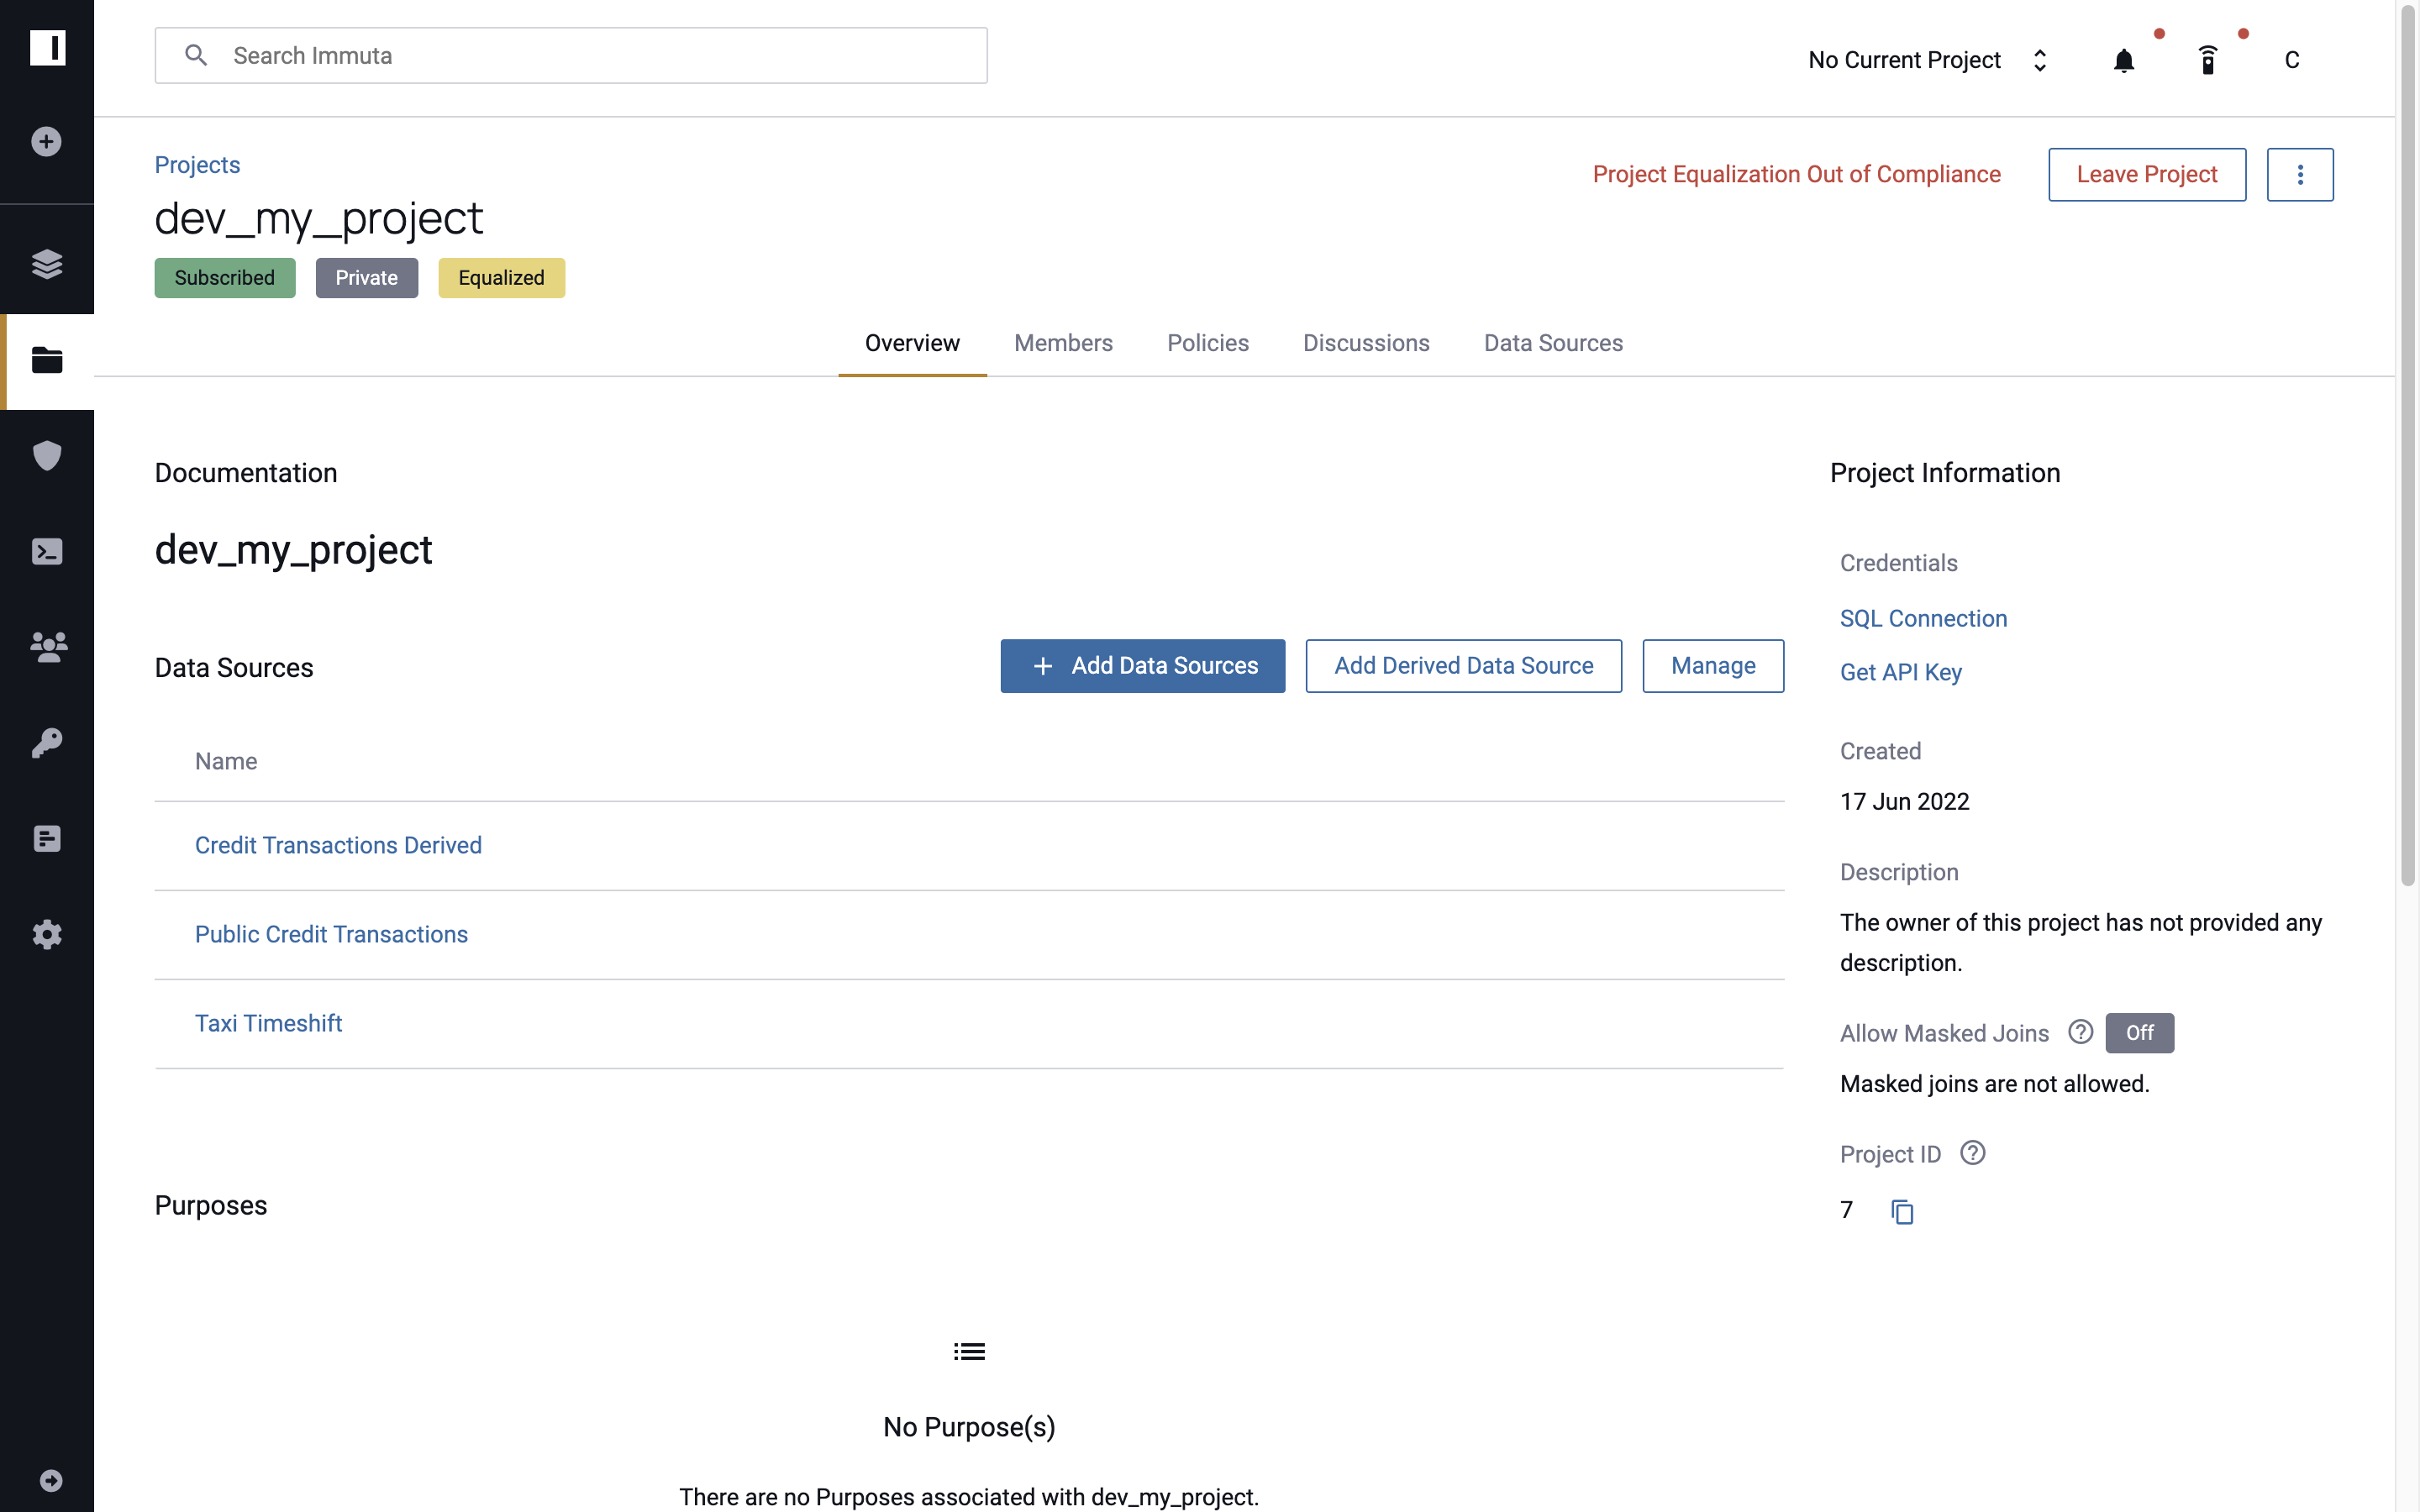
1 - Select a Project
From the My Projects page, select dev_my_project and click Add Derived Data Source on the Overview or
Data Sources tab.
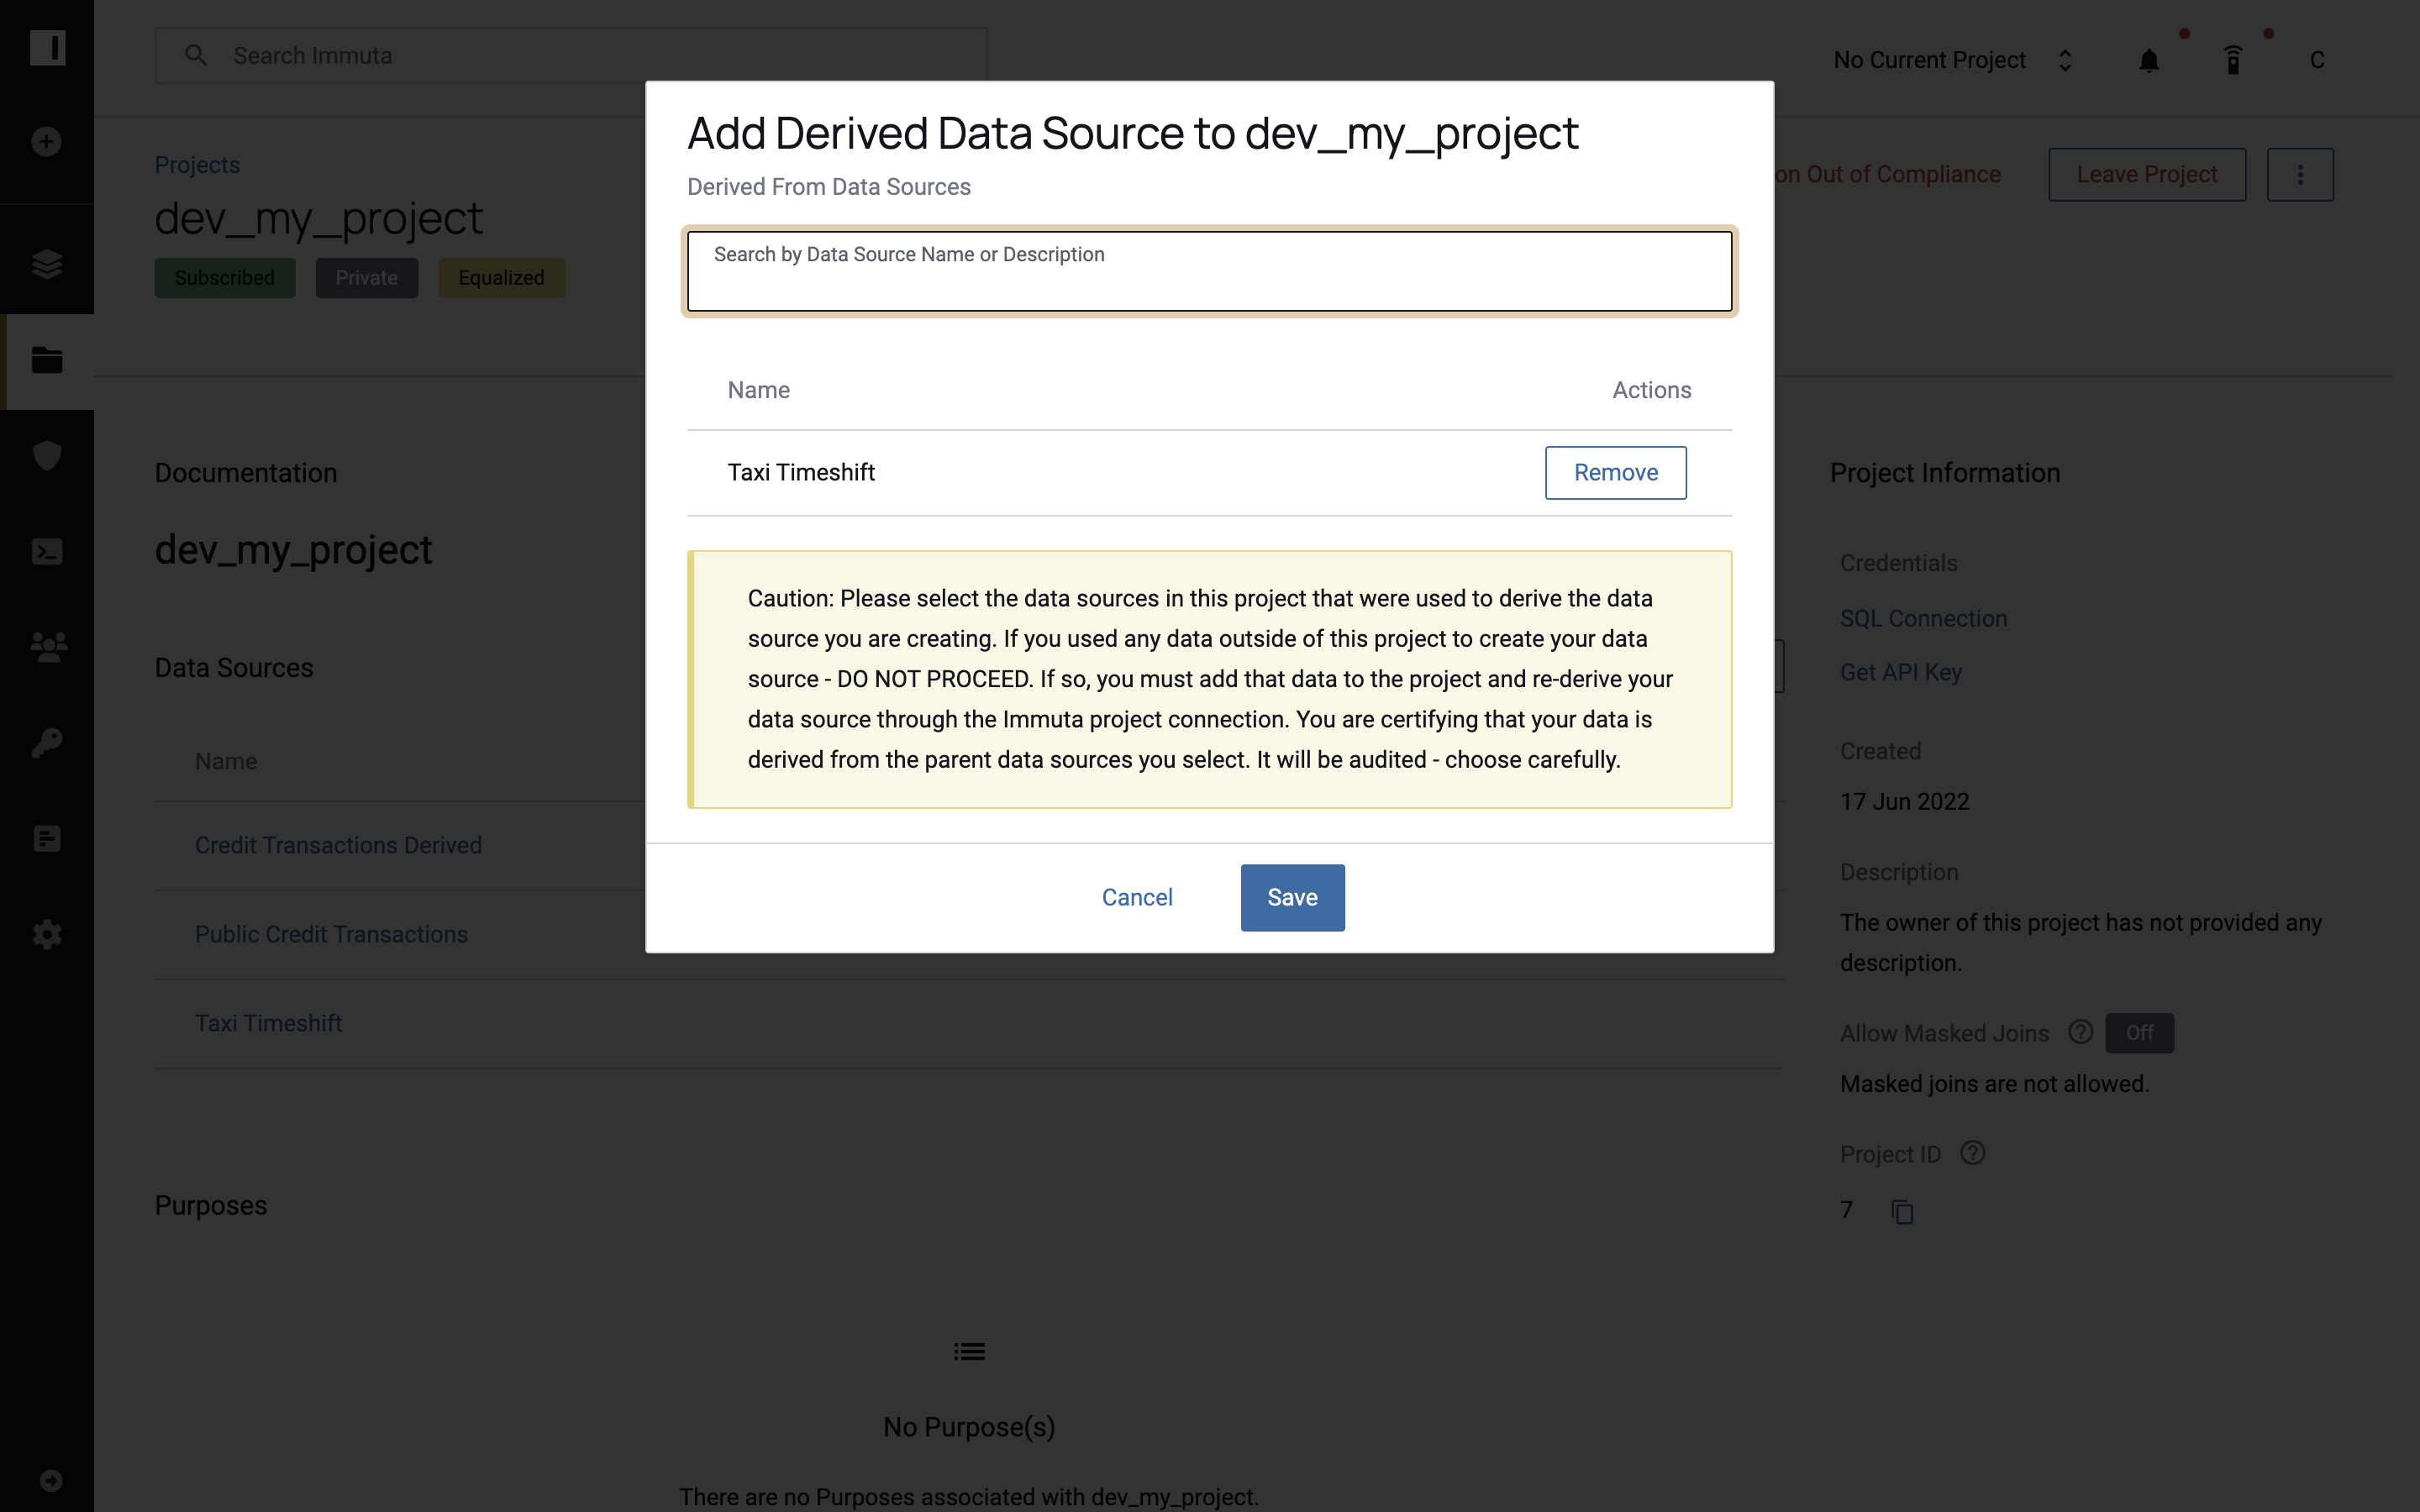
2 - Select the Parent Source
Select the data source from which the new data was created (in this scenario, the Taxi_Timeshift table).
Note: You will not need to enter connection information when creating a data source within a native workspace.
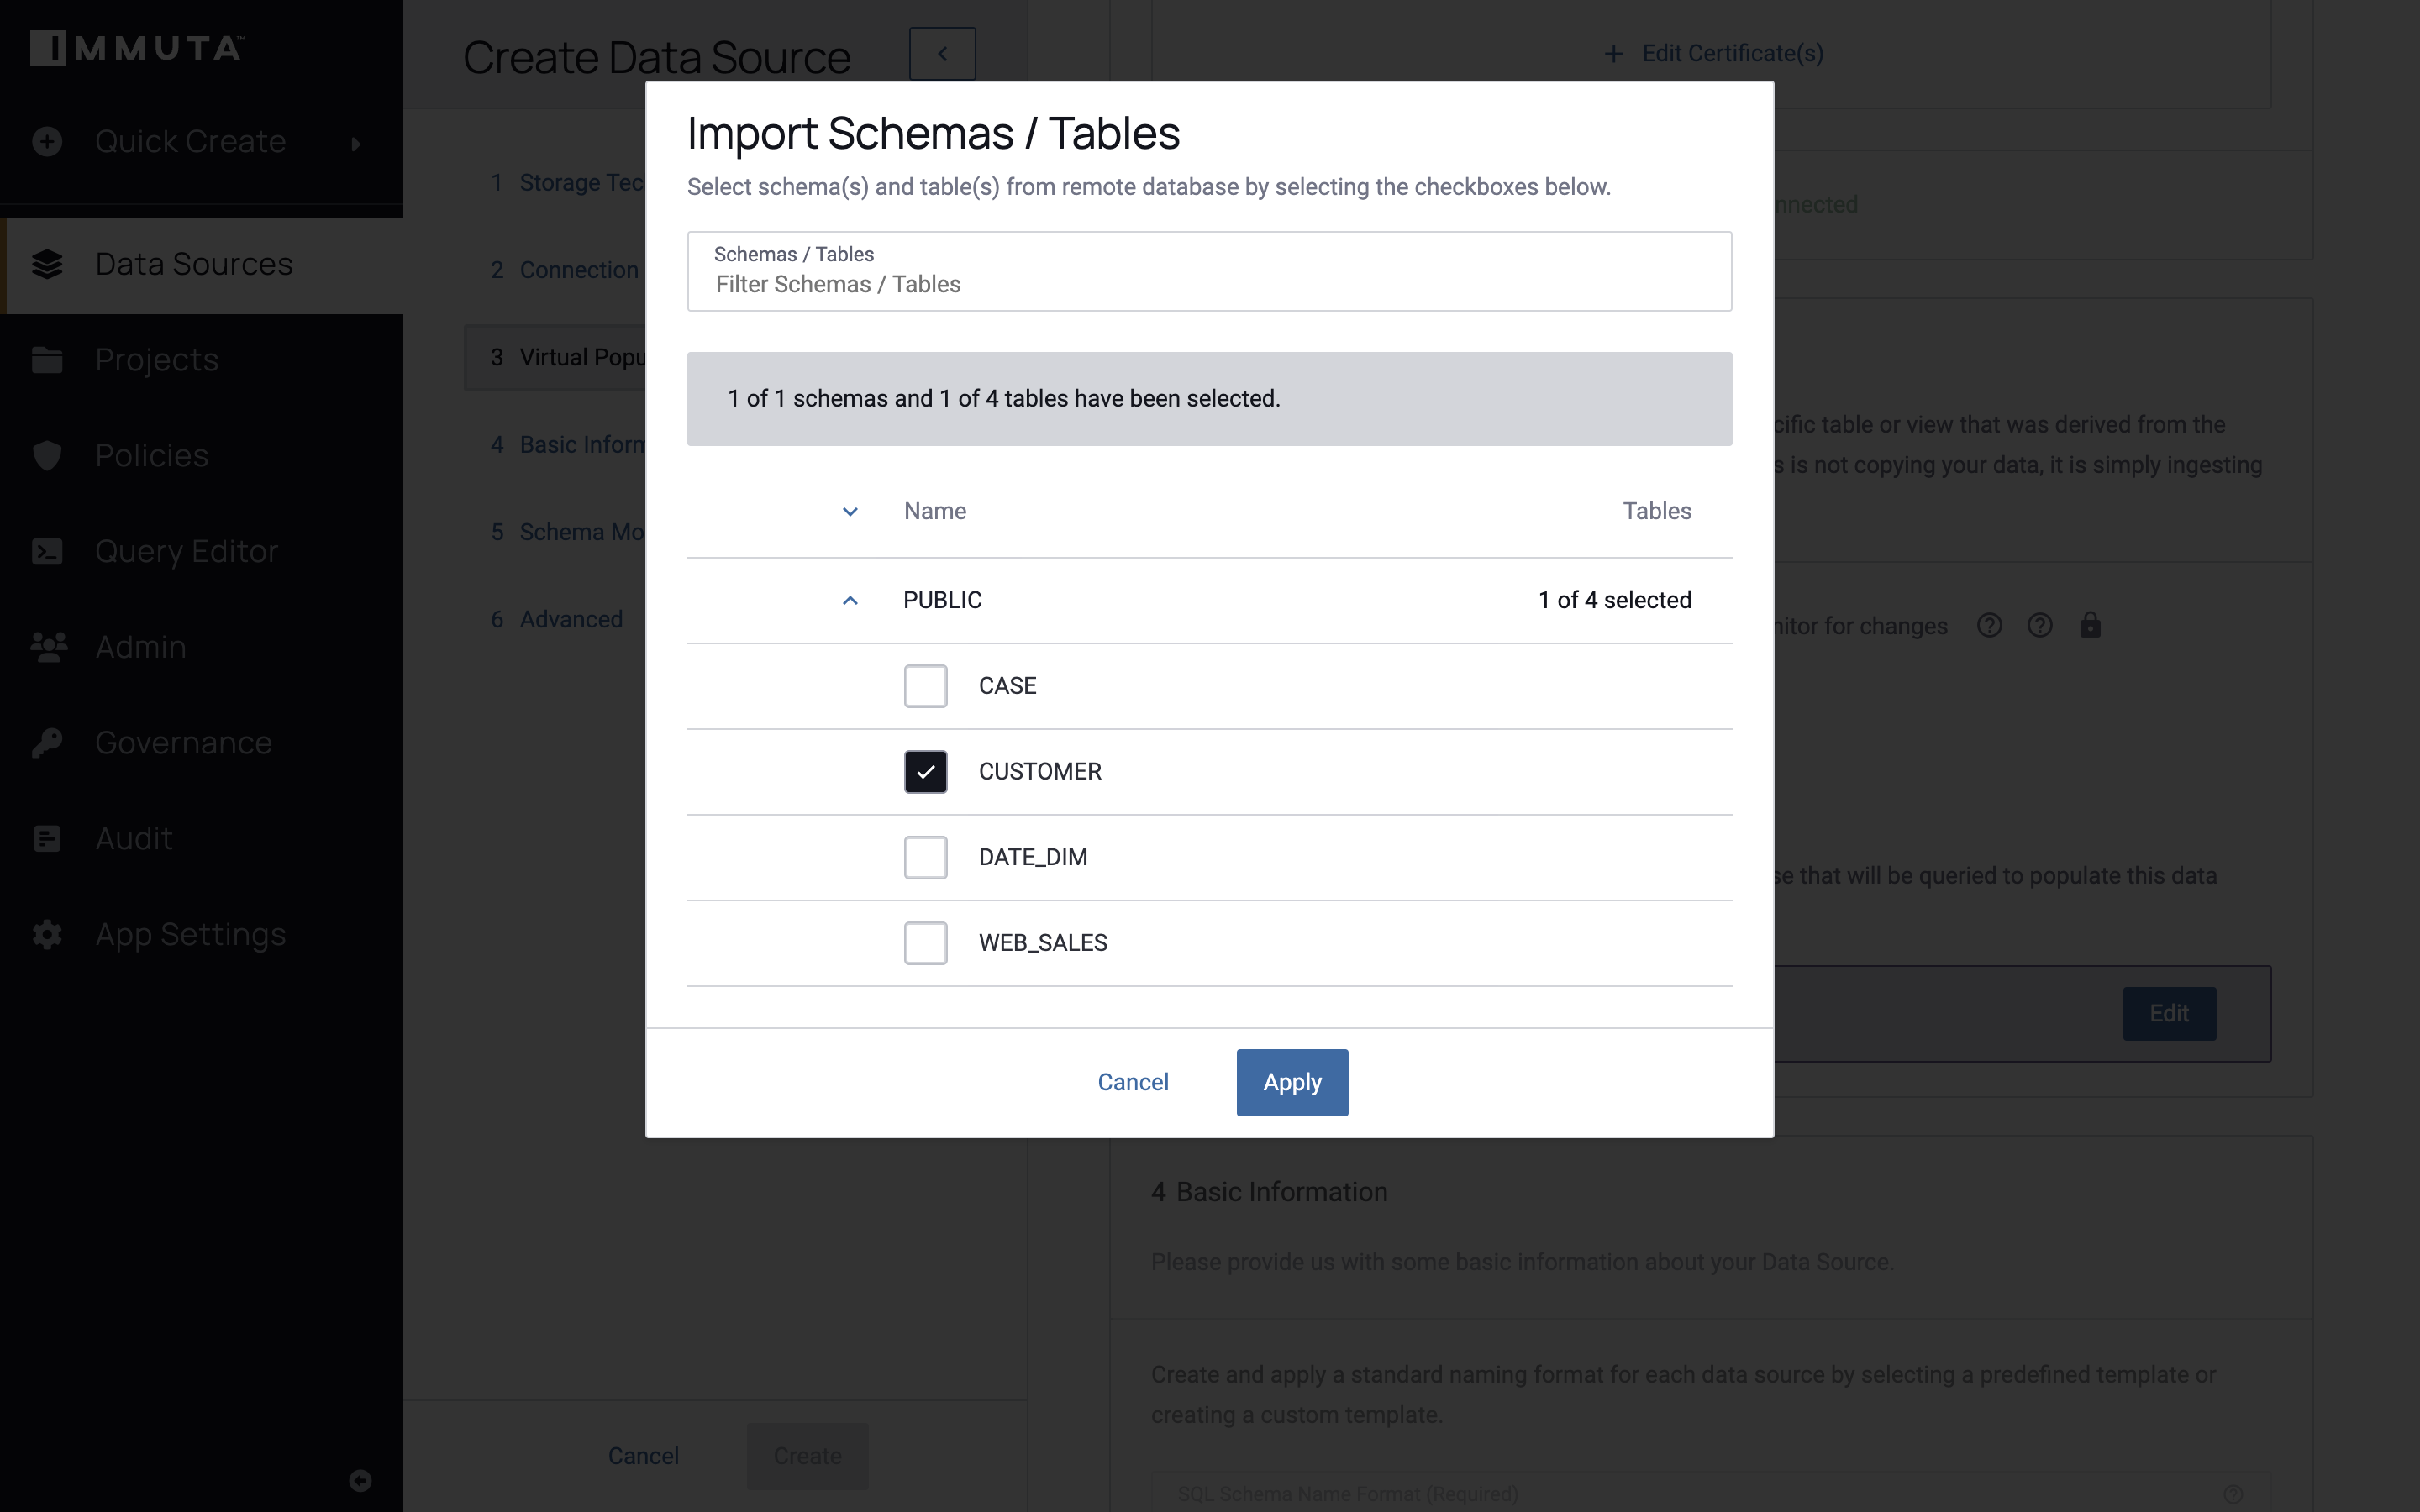
3 - Create the Derived Data Source
-
Select Table for the Virtual Population option. Note: For a derived data source, you cannot change the backing Storage Technology from the parent source.
-
Click Edit and select the table(s) you created in Snowflake, and click Apply.
-
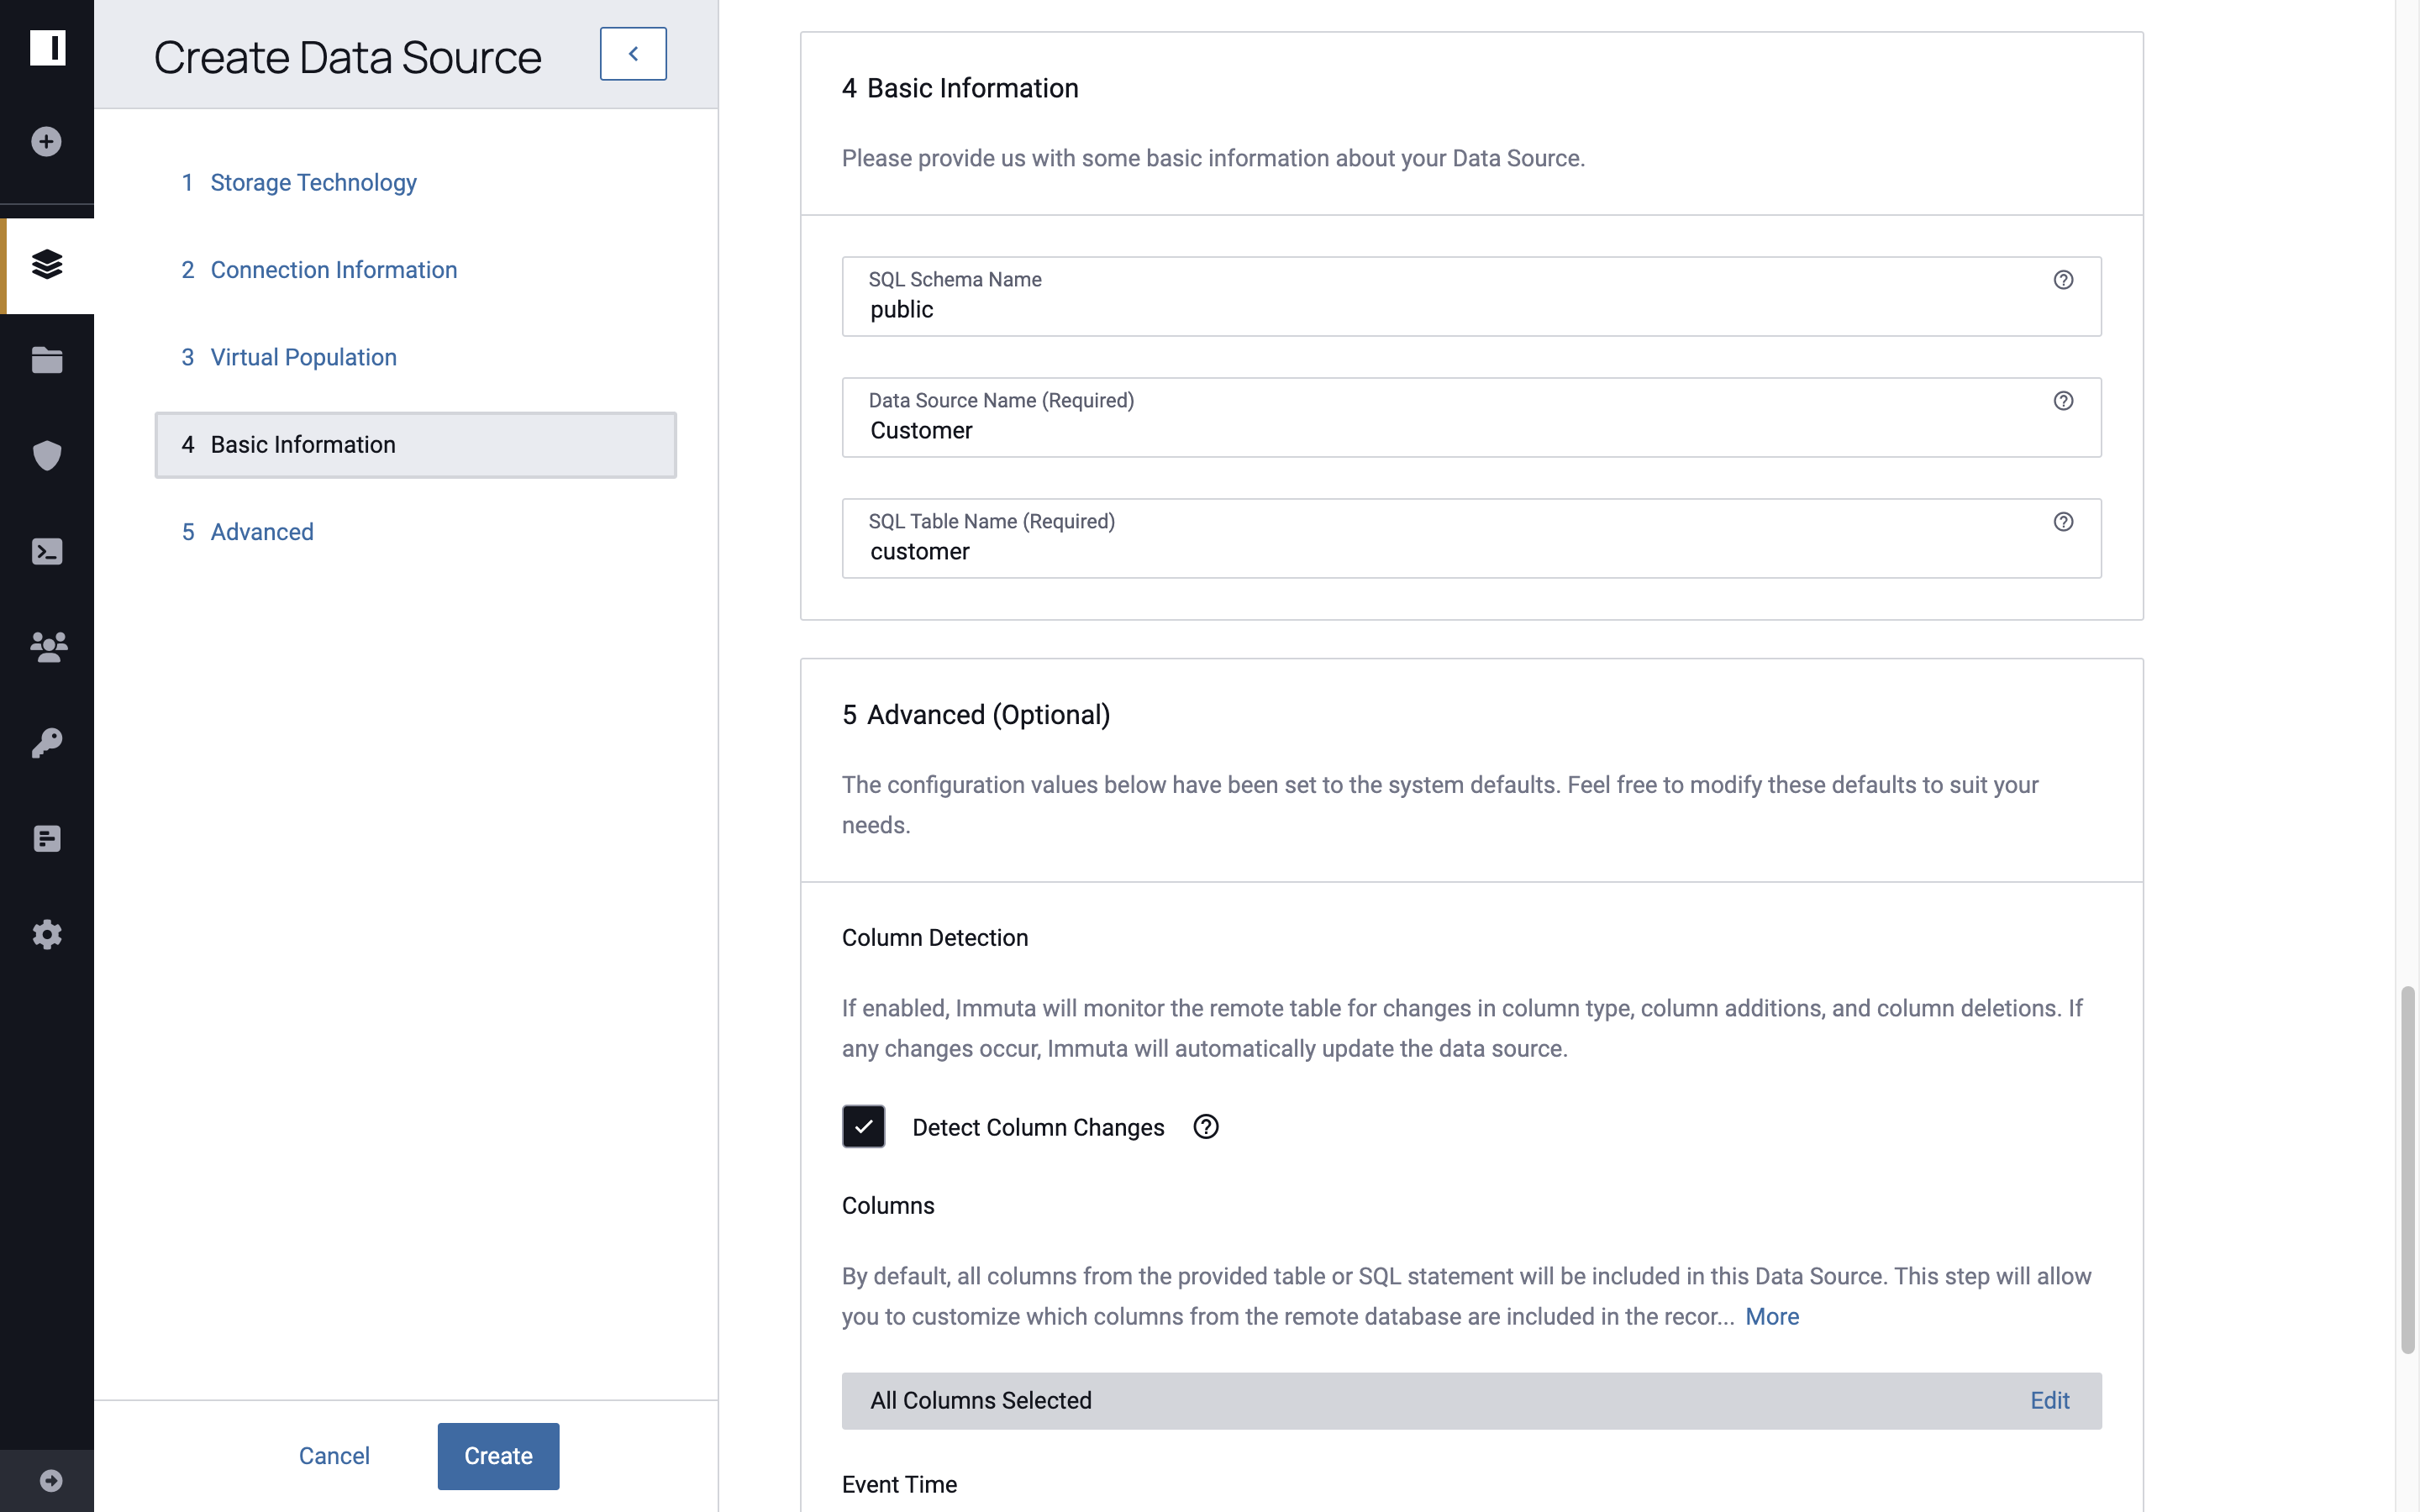
Opt to edit the Basic Information fields, and then click Create.
Results
The Snowflake table that was created is now available to share with other Dev users as a derived data source in Immuta.
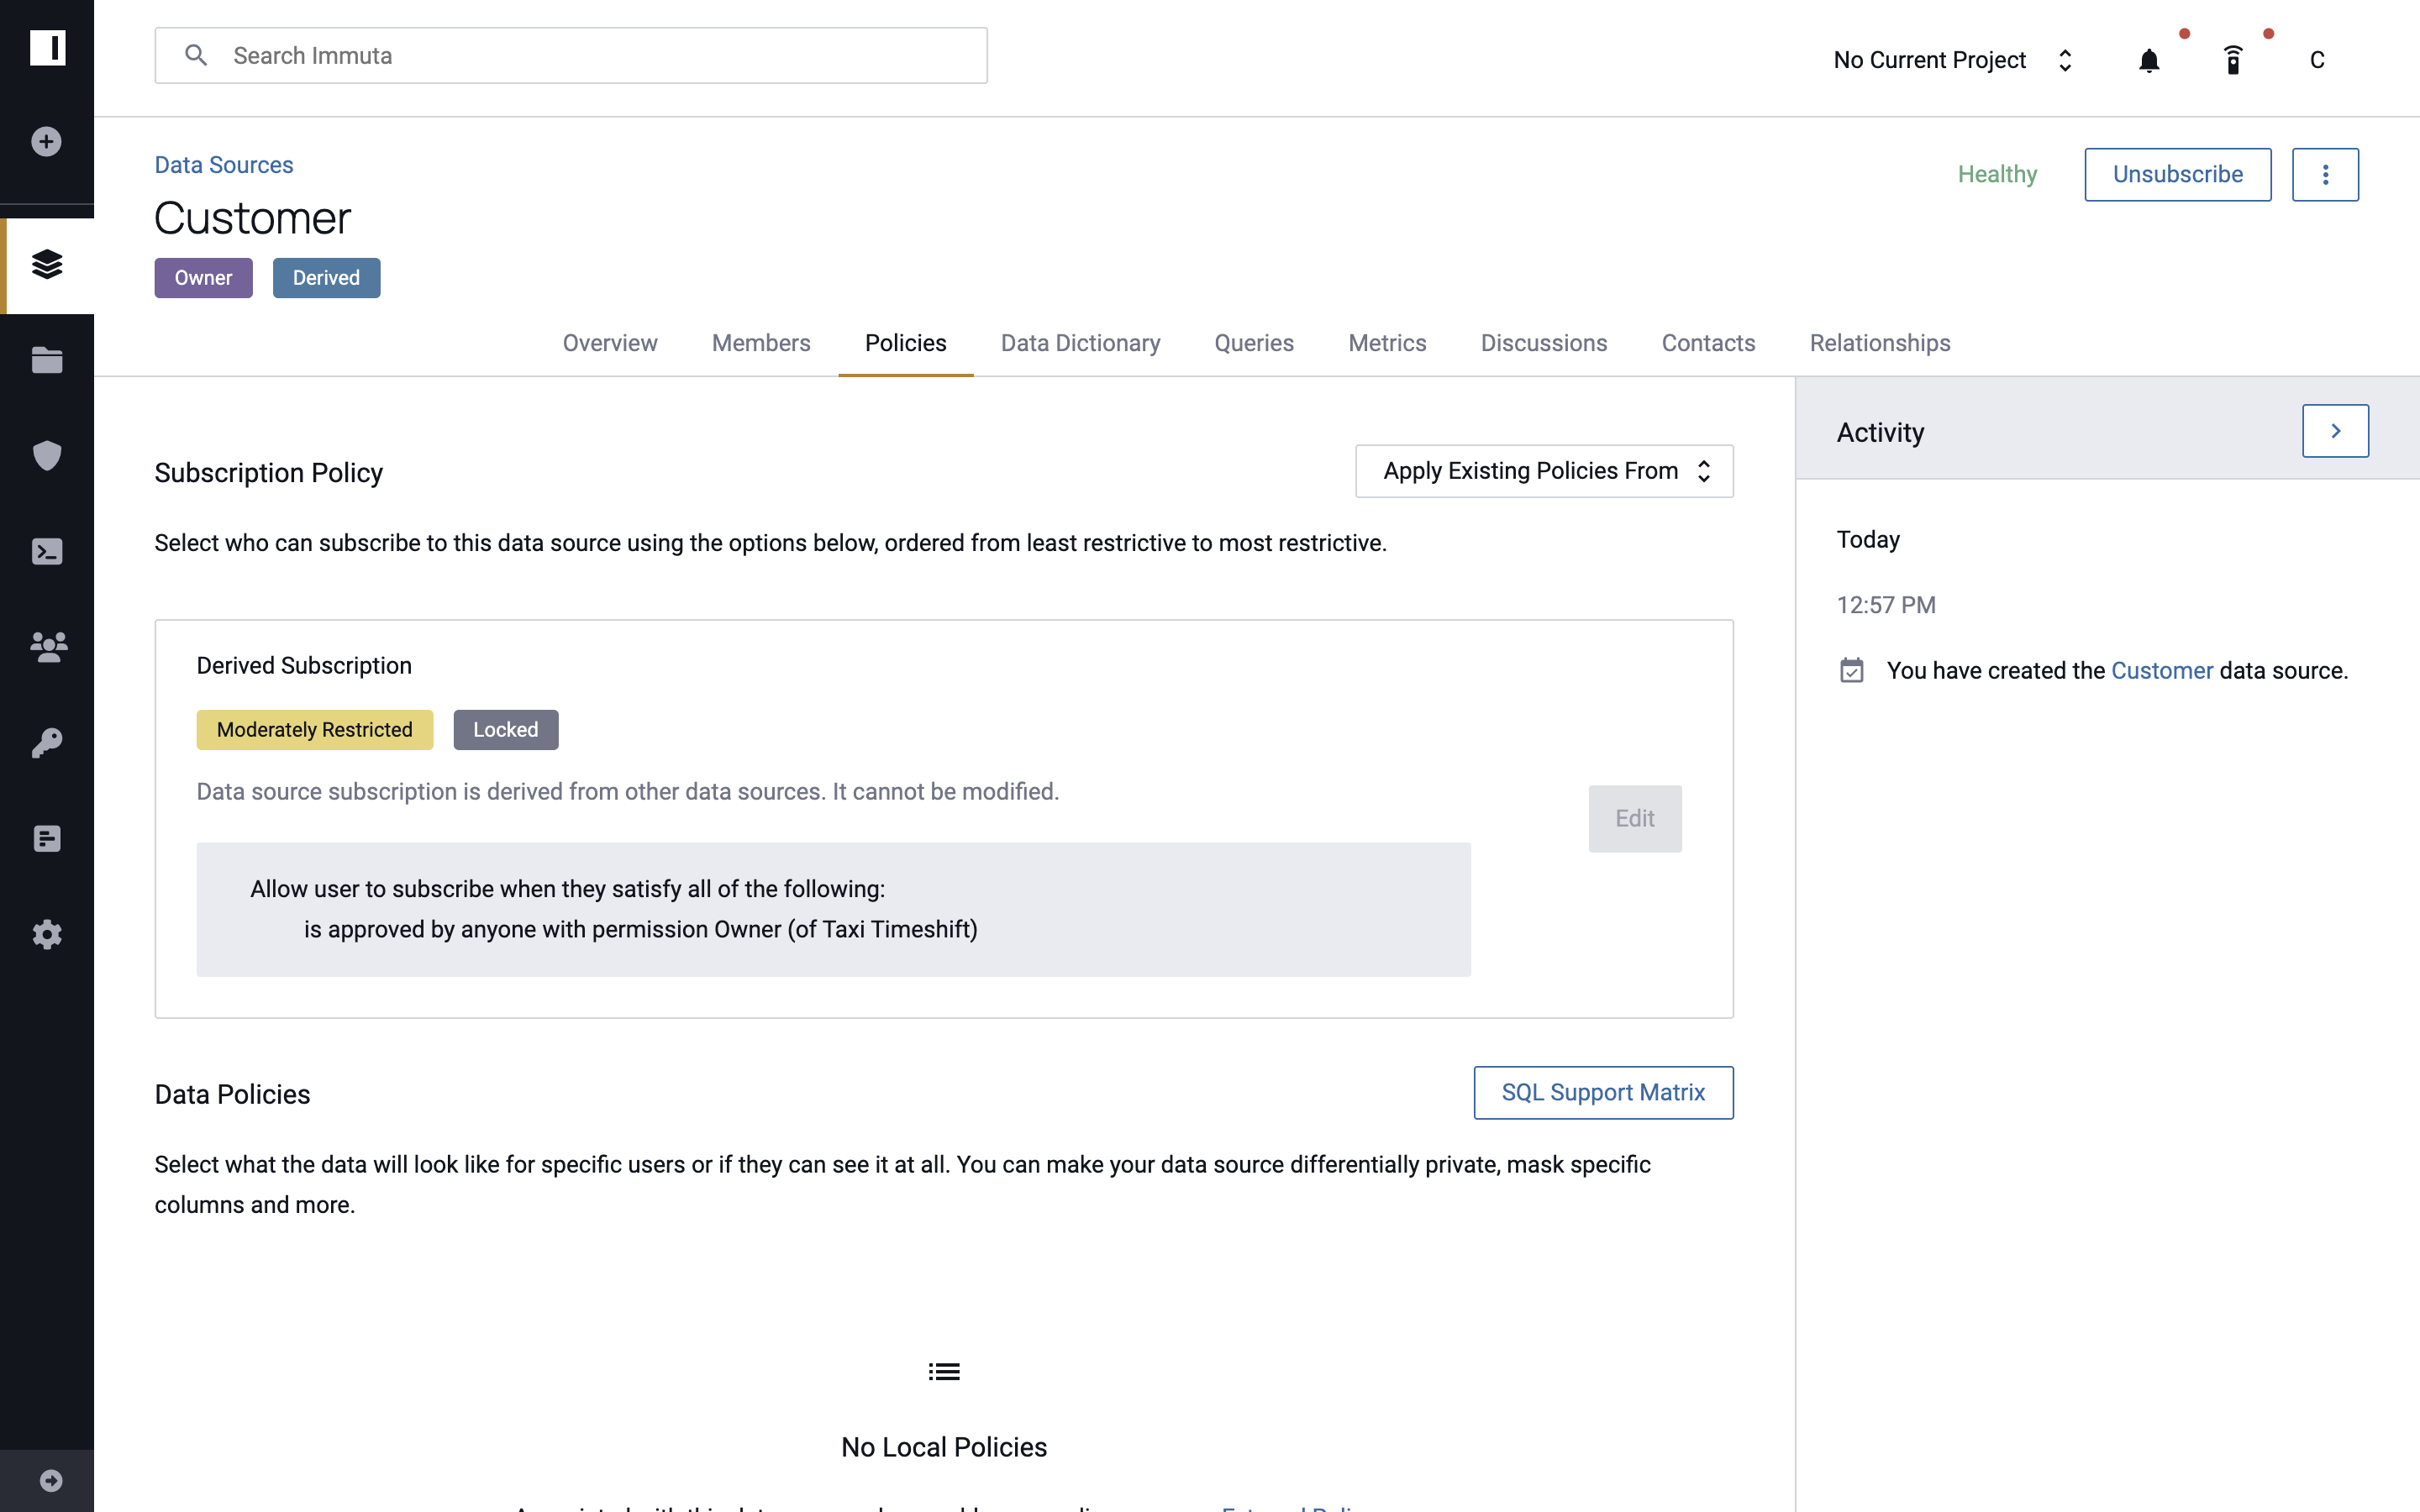
Note: The new data source inherited the Subscription and Data Policies from its parent source, Taxi_Timeshift.
Additional Project Member Tutorials
You may need to take other actions within a project as a member. Click the tabs below for specific tutorials on other project member capabilities.
Change Project Contexts
-
Click the dropdown menu in the top right corner of the console.
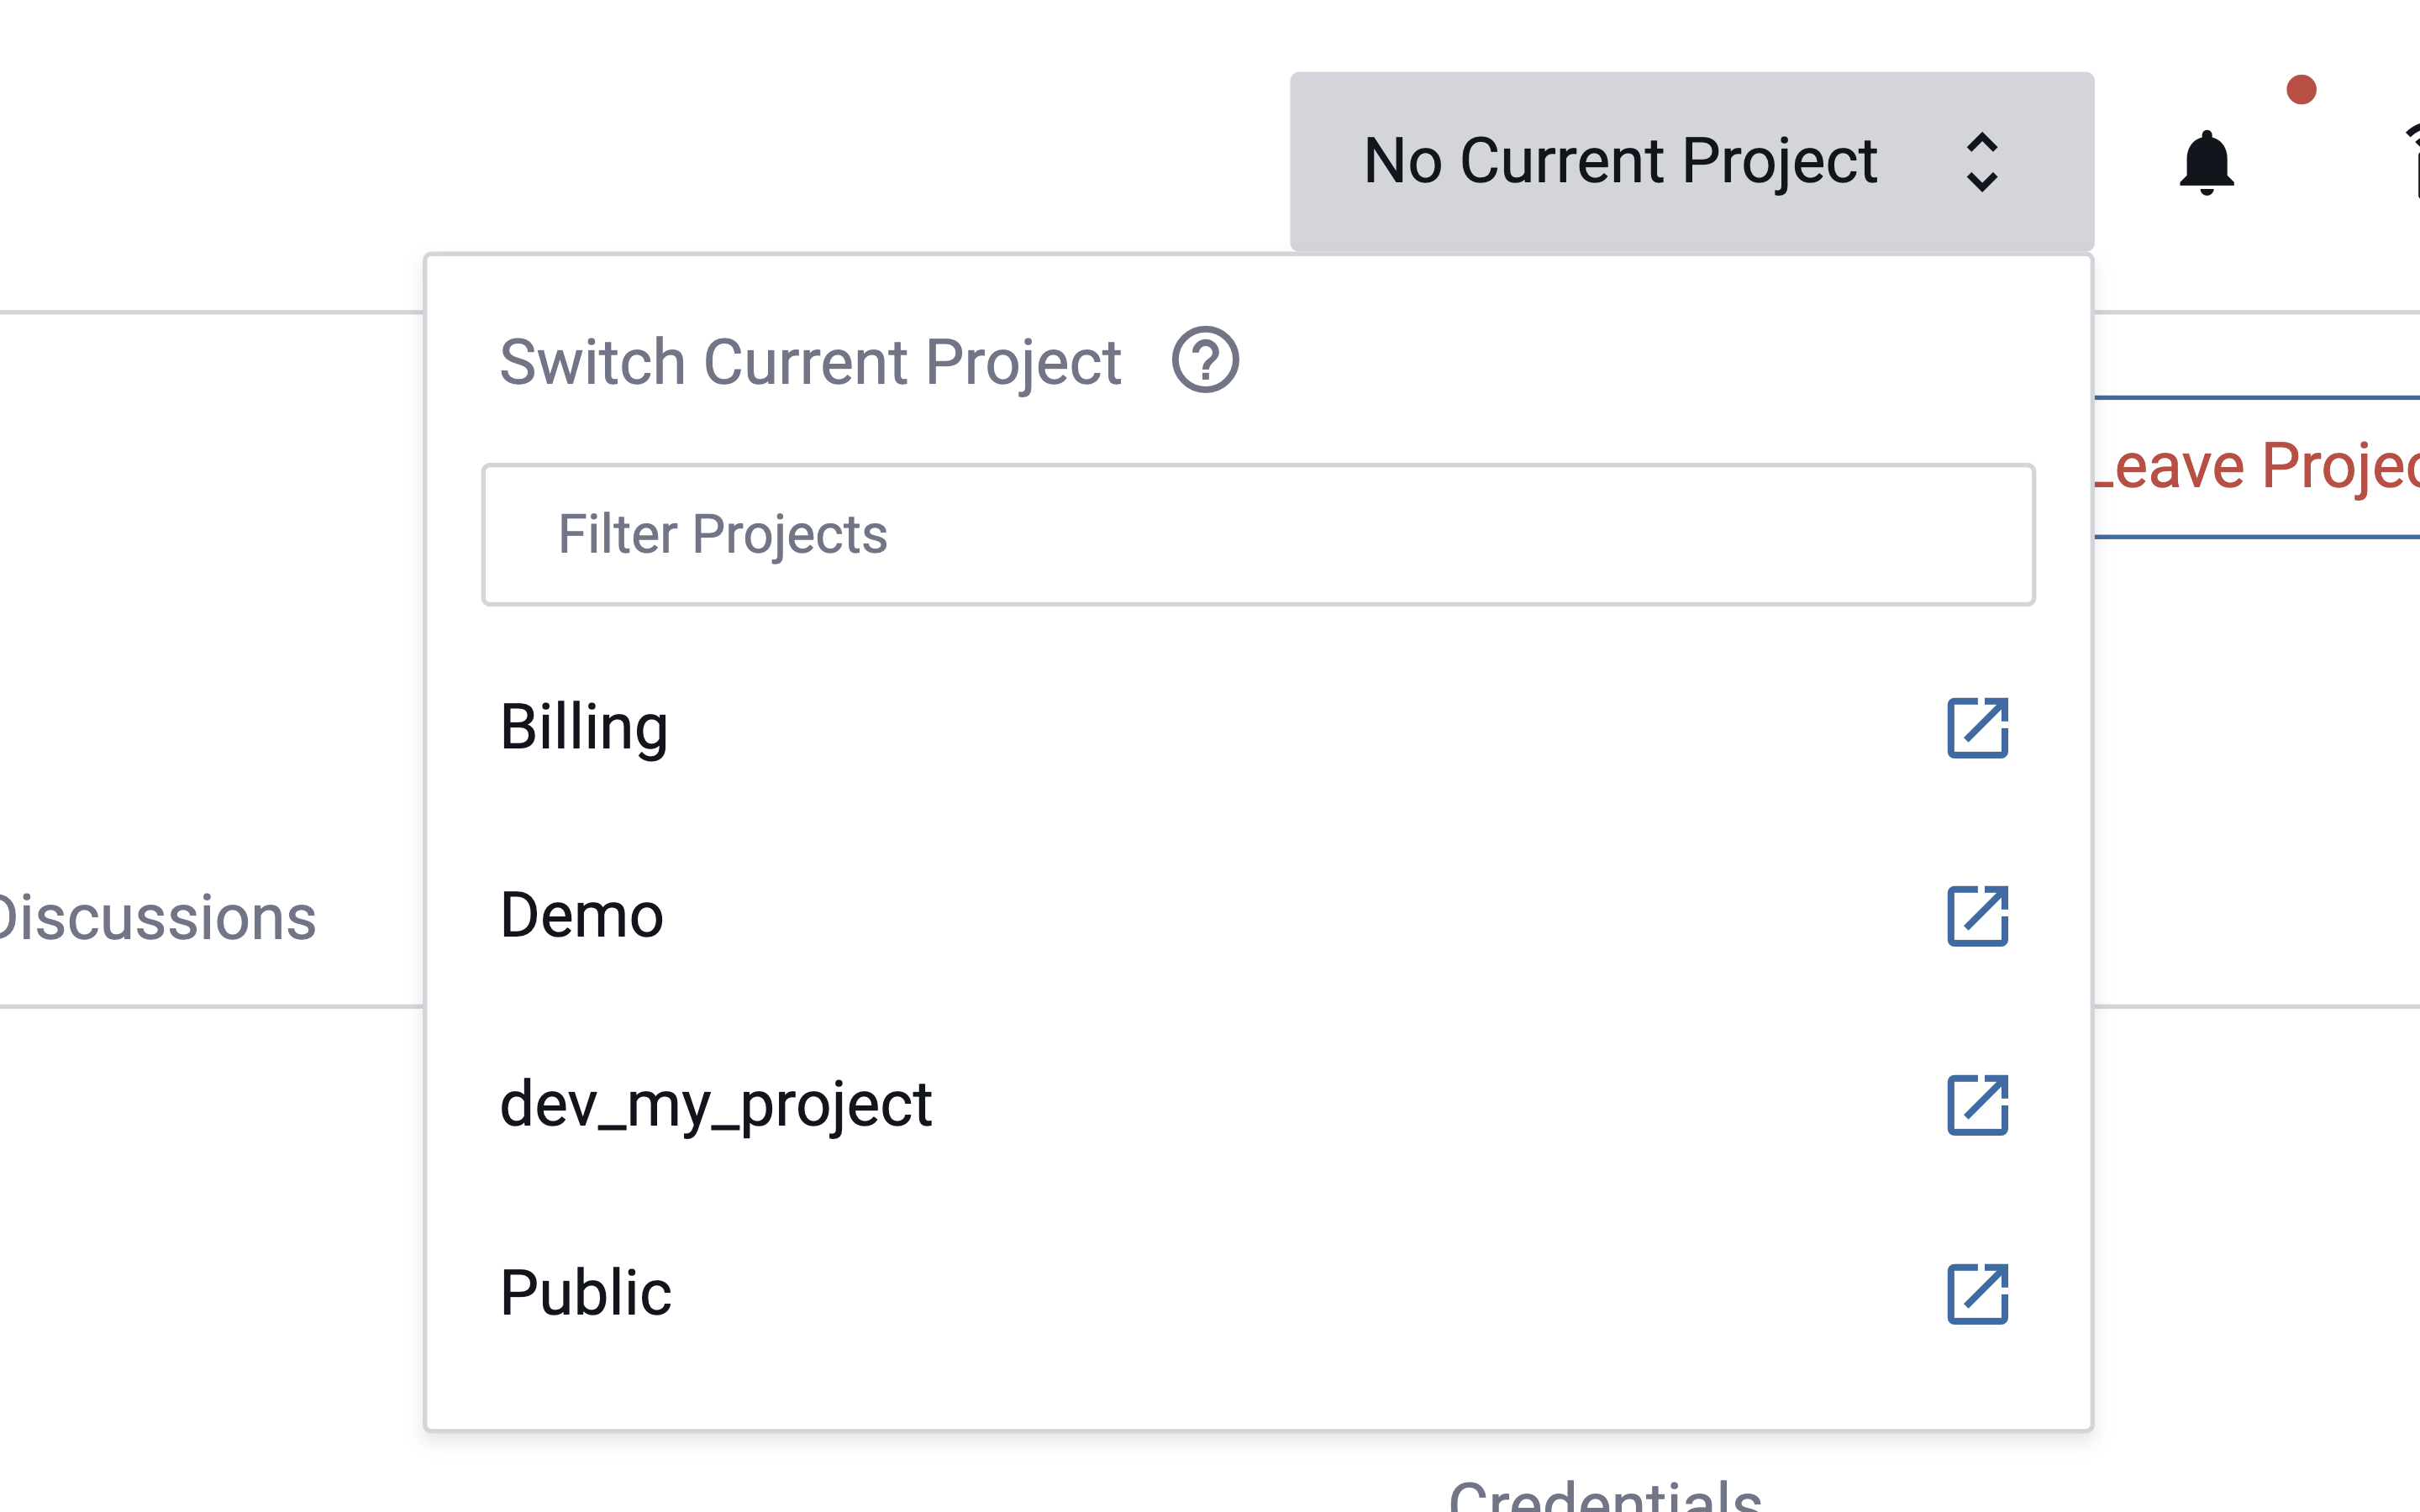
-
Select a project. Once selected, the current project will display at all times in the top right corner of the console.

If you unsubscribe from the project, this display will default to No Current Project.
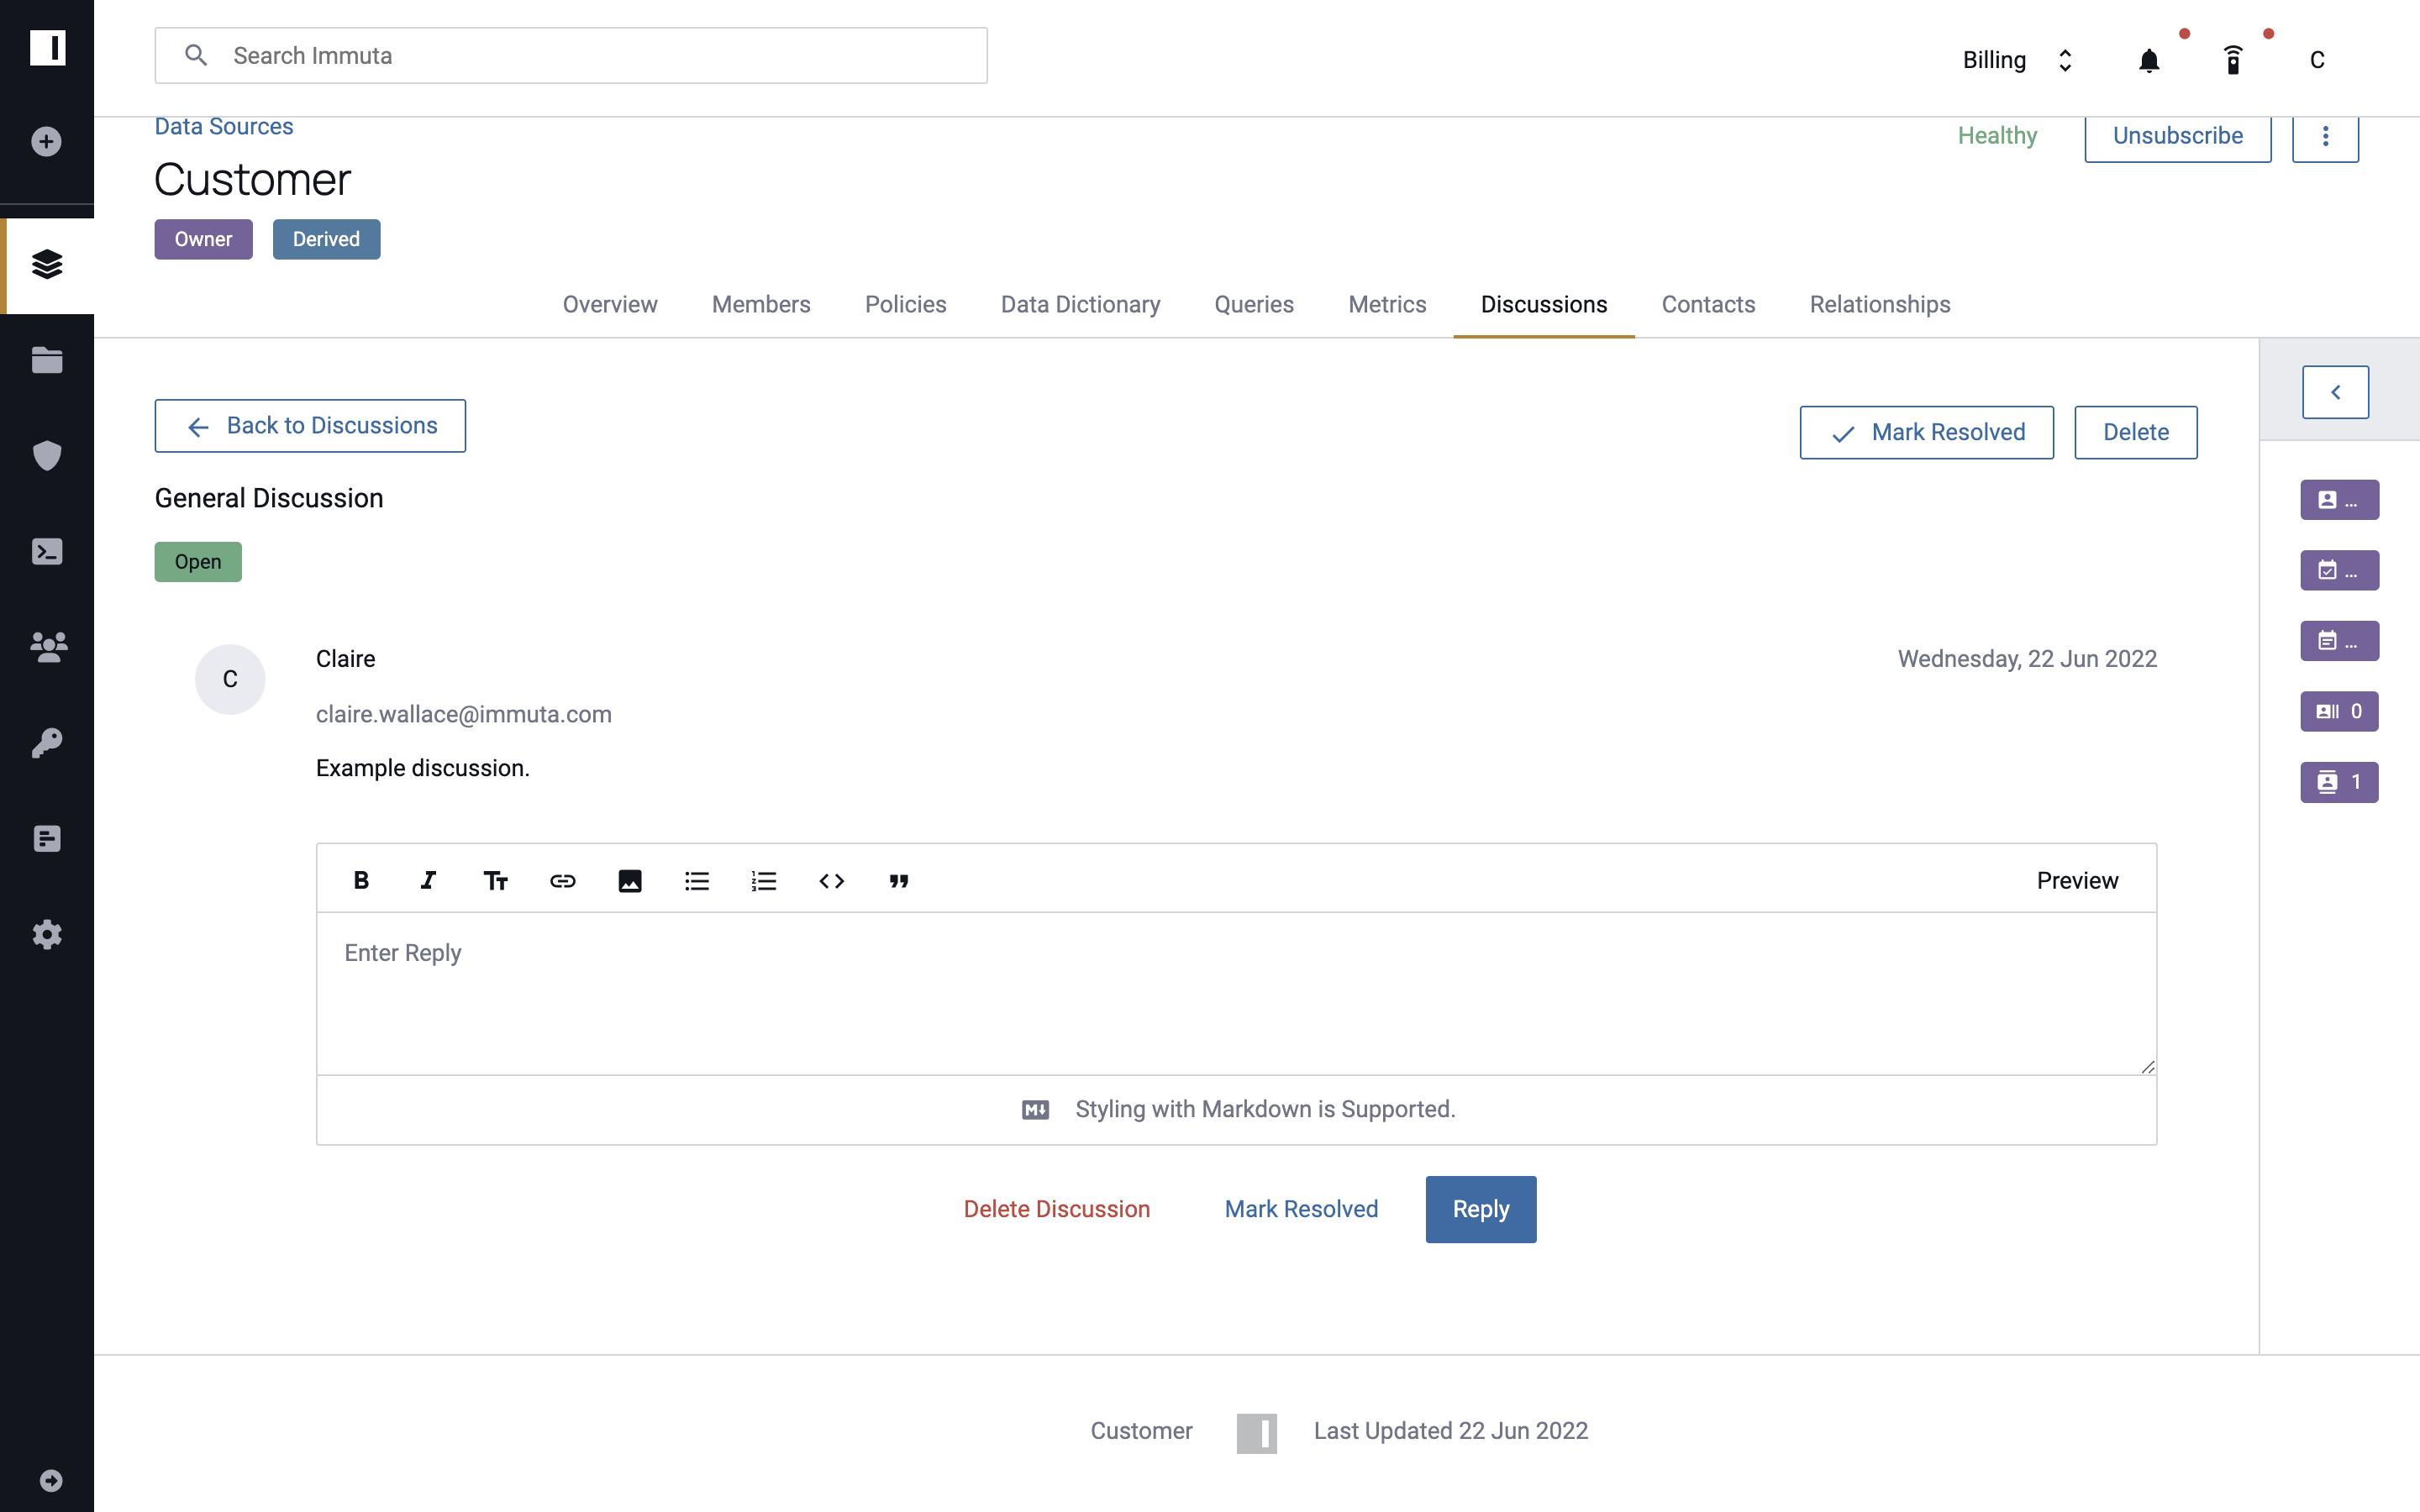
Comment on General Project Discussions
- Select a project and click the Discussions tab.
-
Click Open to view open discussions or Resolved to view resolved discussions.

-
Click a discussion to view comments.
-
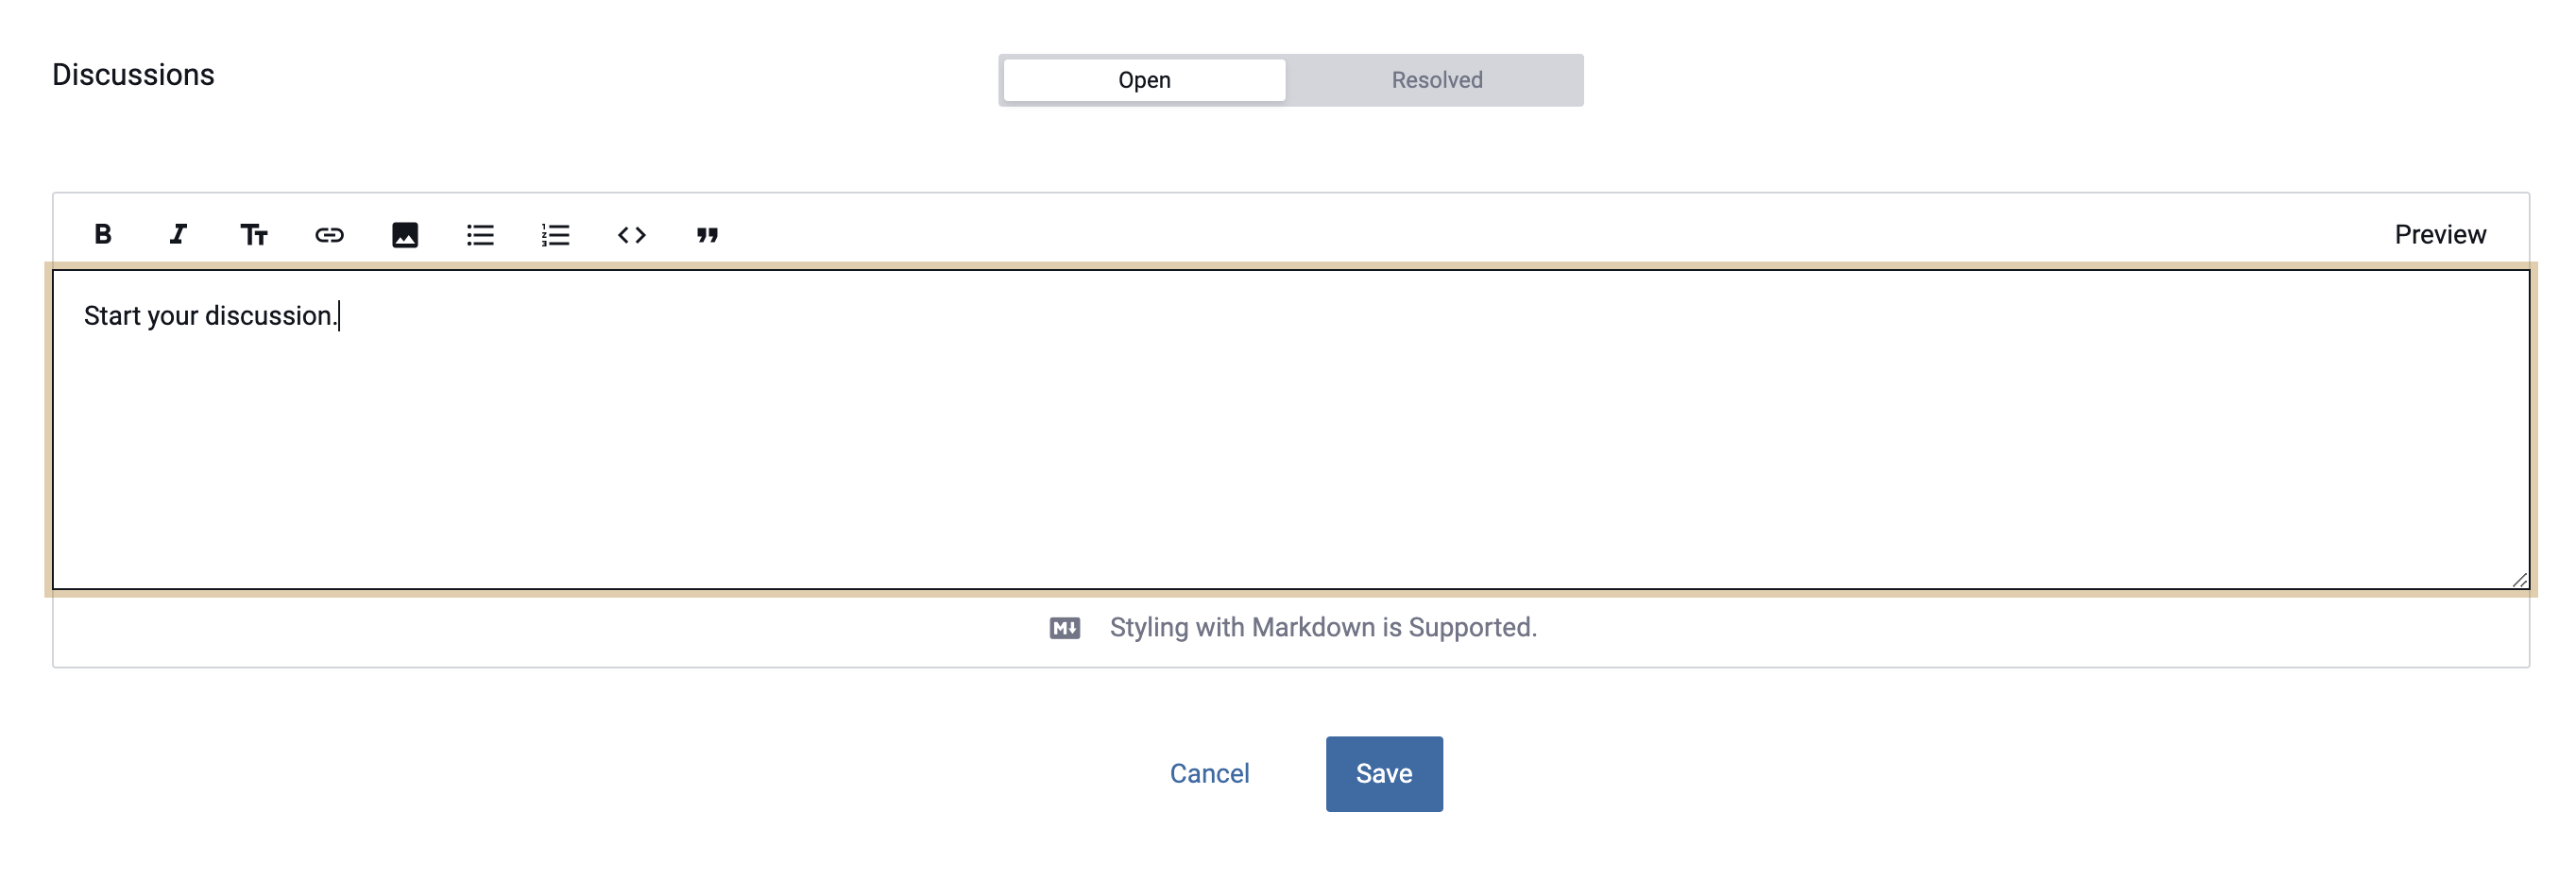
Click New Discussion to create a new discussion.
-
Type in your comment or question and click Save.
-
A notification will be sent to all project members so that they can view your comment or question and reply.
Delete a Discussion Thread or Reply
As a project member, you can only delete a discussion thread or reply that you have written.
To permanently delete your own discussion thread,
- Navigate to the Discussions tab and view open and/or resolved discussions by clicking the Open or Resolved button, respectively.
- Click the discussion thread you would like to delete, and then click Delete in the upper right corner of the discussion window.
-
Click Delete in the confirmation window that appears.
The discussion thread and all of its comments are now deleted.
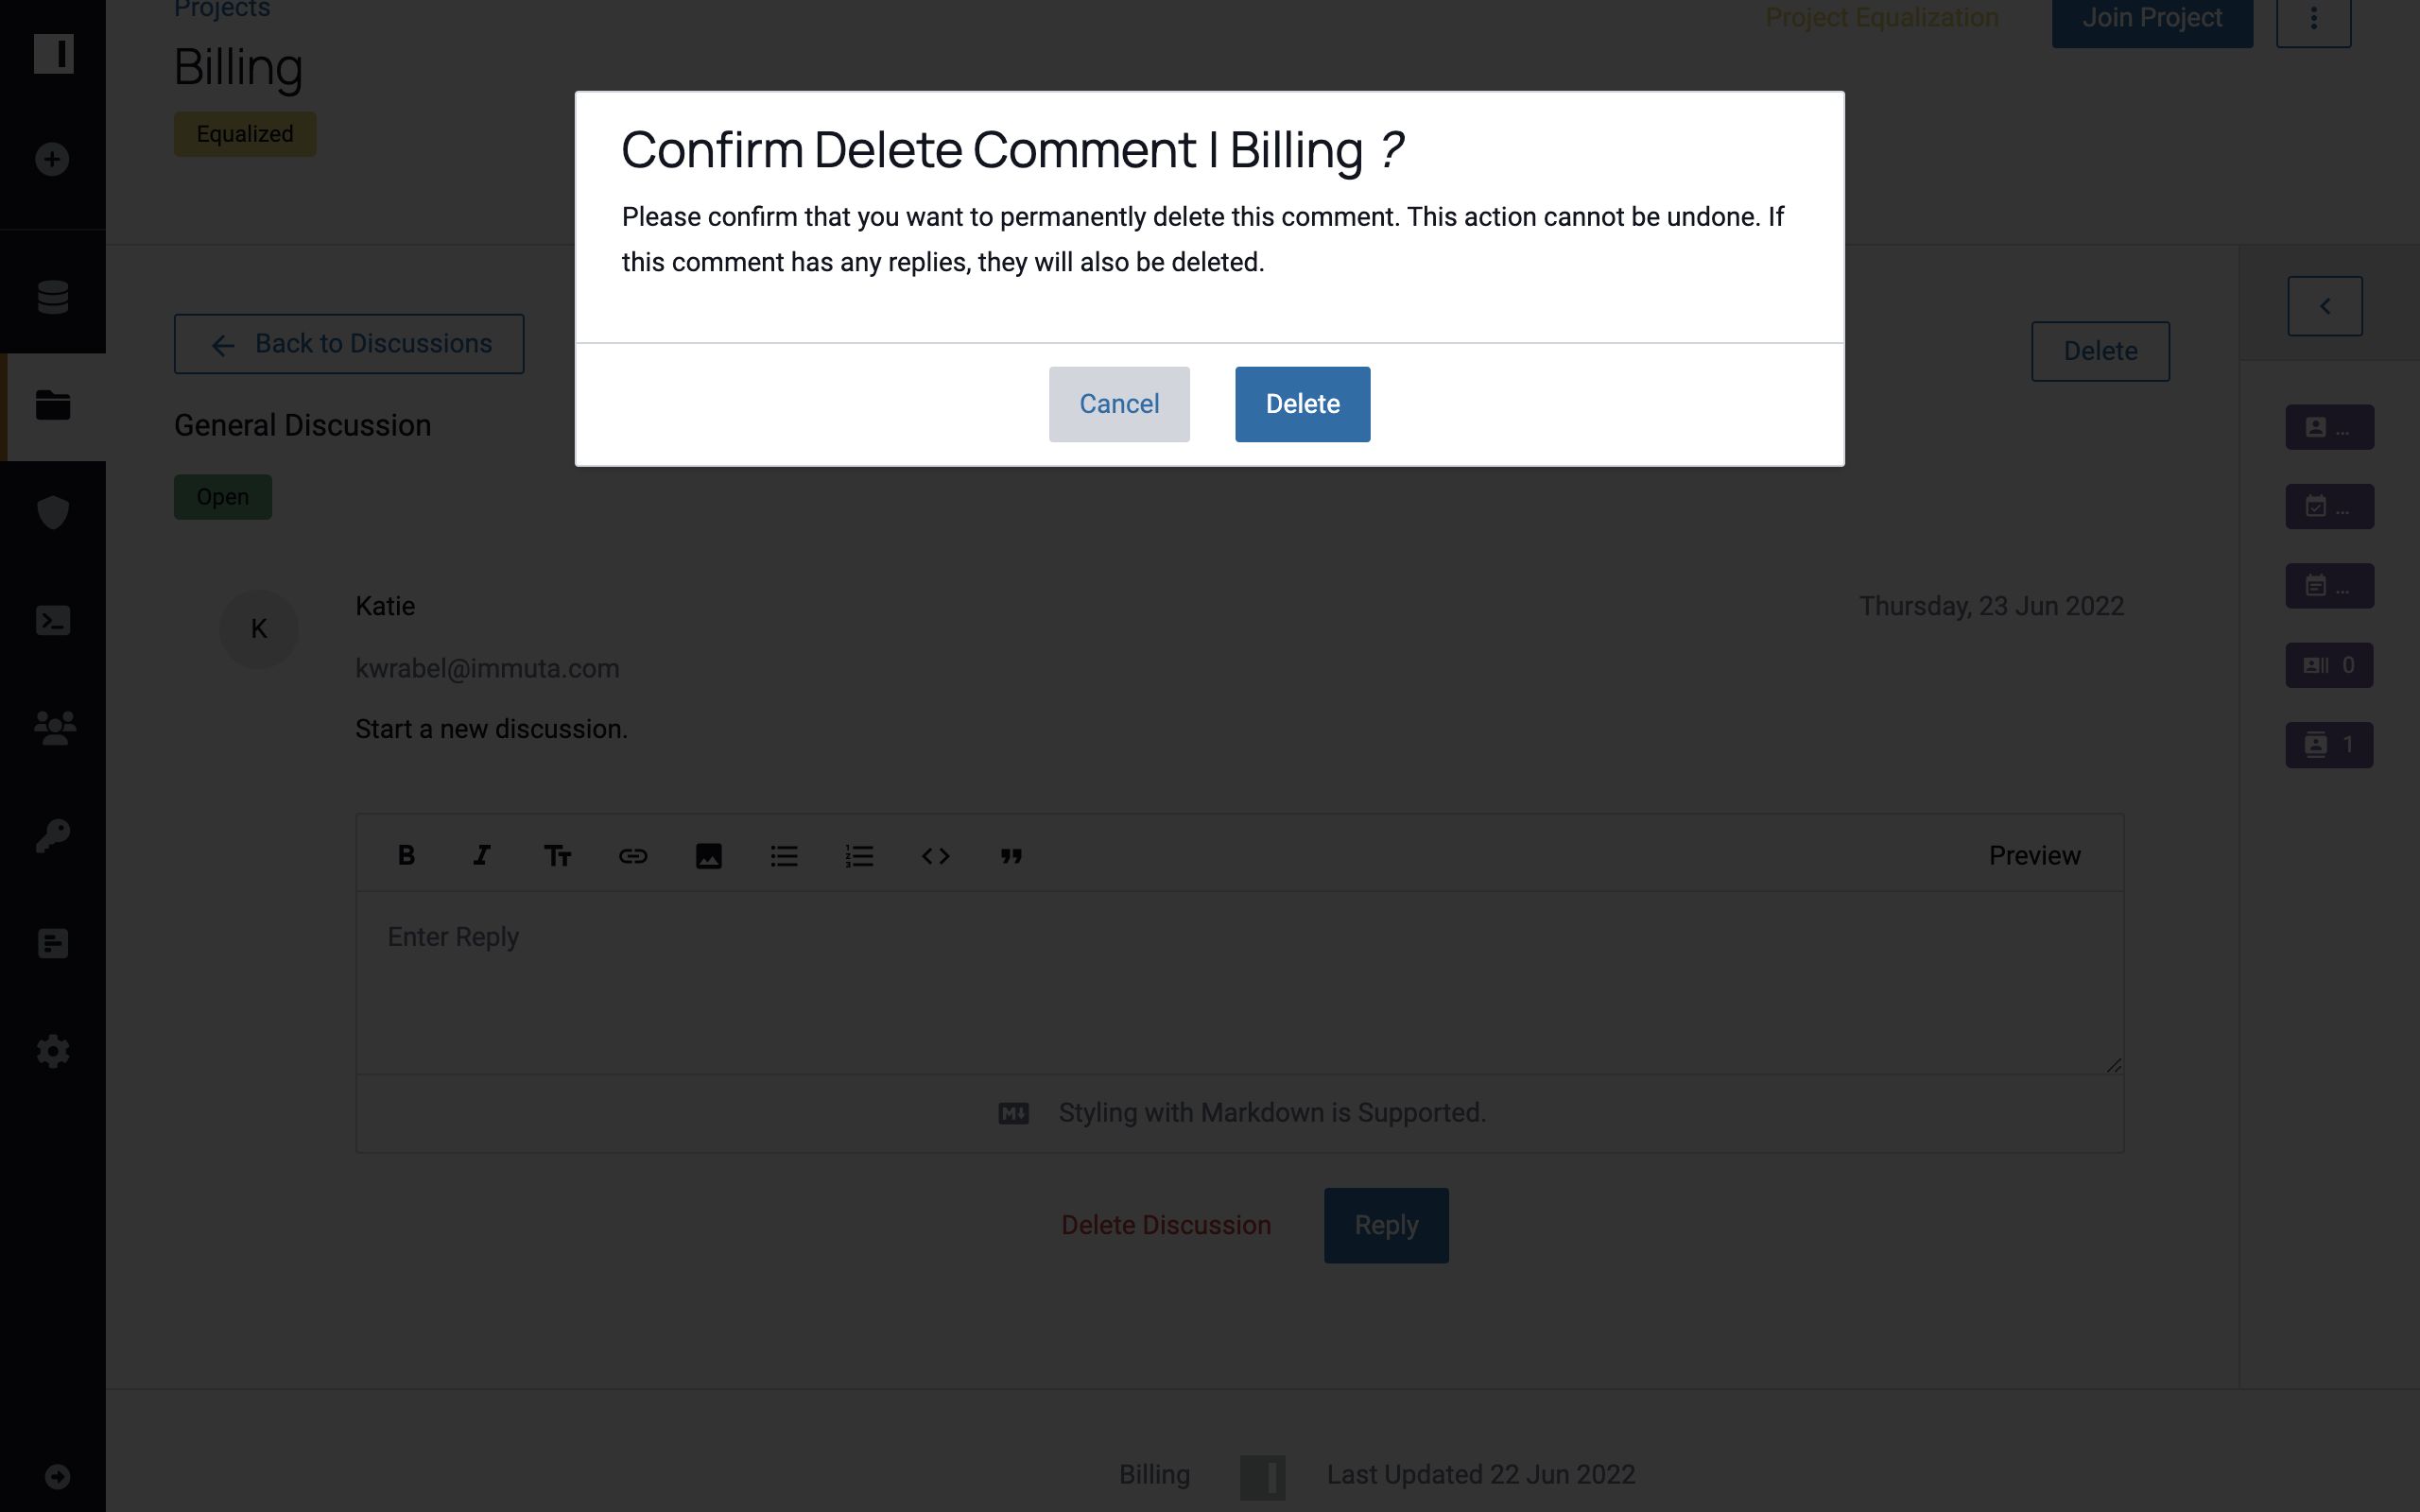
To delete your own reply,
- Select a discussion thread.
- Click Delete in the upper right corner of the reply or comment you would like to delete.
- Click Confirm to permanently delete the comment.
Create a Project-based API Key
Any project member can create project-based API keys, which are used for authenticating external tools with Immuta.
To create a project-based API key,
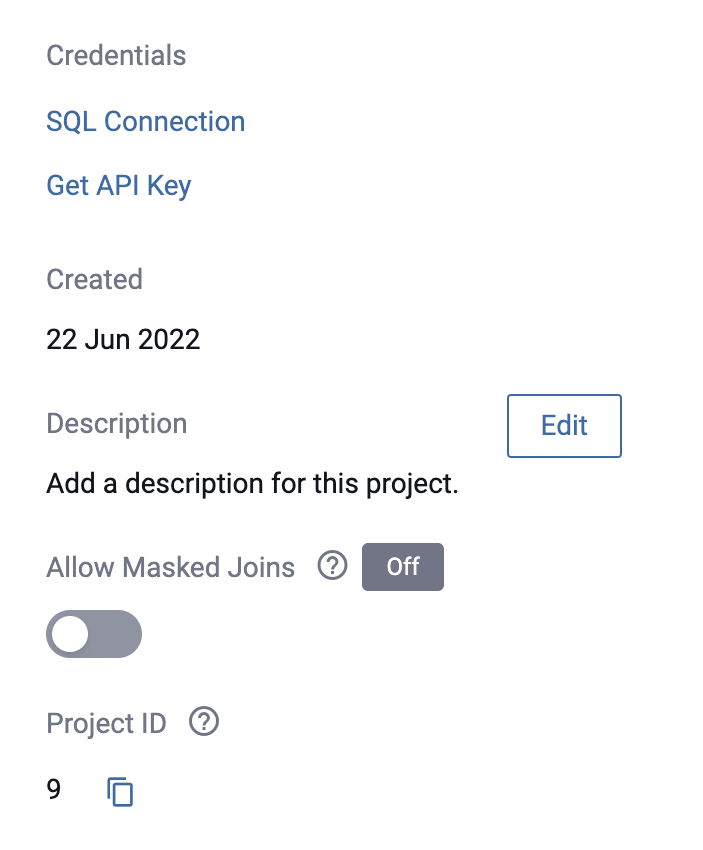
- Navigate to the Project Overview tab.
-
Click the Get API Key button at the bottom of the left panel.
-
An API Key modal will display with your requested information. Please store these credentials somewhere secure. If you misplace this information, you will have to generate a new key and re-authenticate all services connected to Immuta via this key.
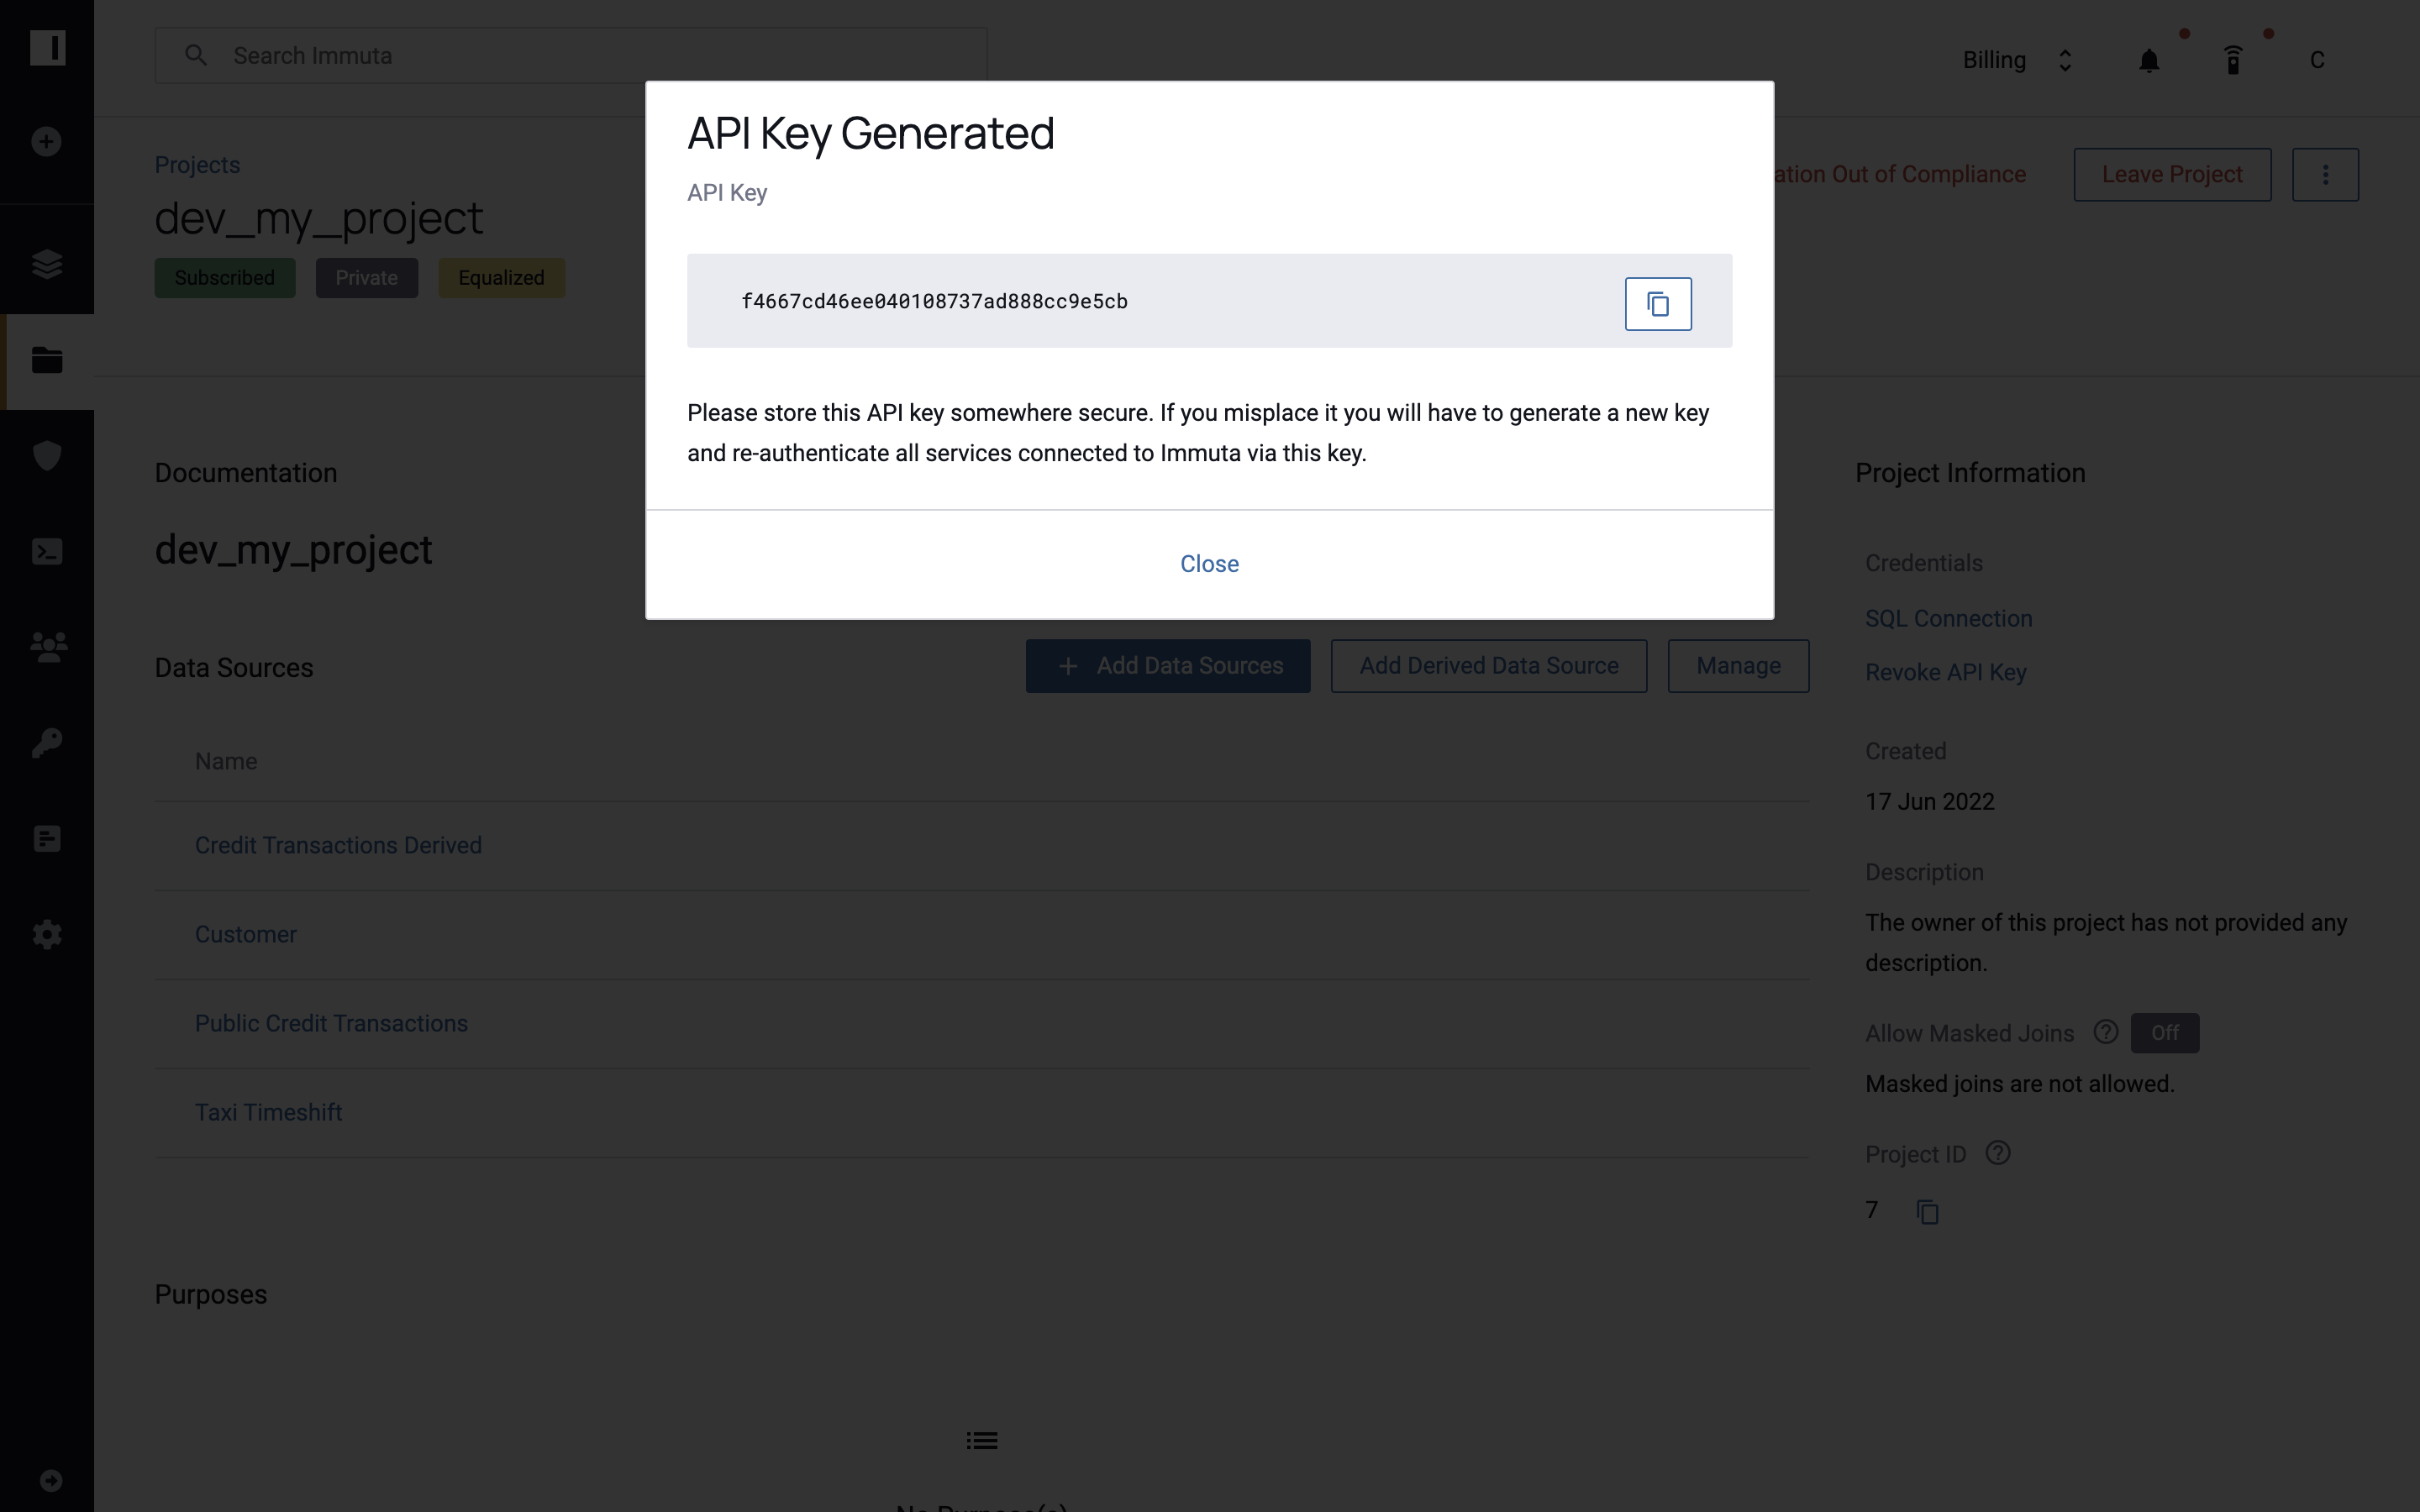
-
Click the Close button.
Create Project-based SQL Connections
Project SQL accounts are unique to each project and only provide access to the data sources in that project. Project SQL credentials cannot be retrieved from Immuta if they are lost. Credentials can only be re-generated using the instructions below. When a user generates new SQL credentials for a project, any existing SQL credentials for that project the user may have had are revoked.
To create a project-based SQL connection,
- Navigate to the Project Overview tab.
-
Click SQL Connection in the upper right corner.
-
A window will display with the connection information. Store these credentials somewhere secure. If you misplace them, you will have to generate a new account and re-authenticate all services connected to Immuta via this account.
-
Click Close.
Leave a Project
- Navigate to the Project Overview tab.
-
Click the Leave Project button in the upper right corner, and then click Confirm.
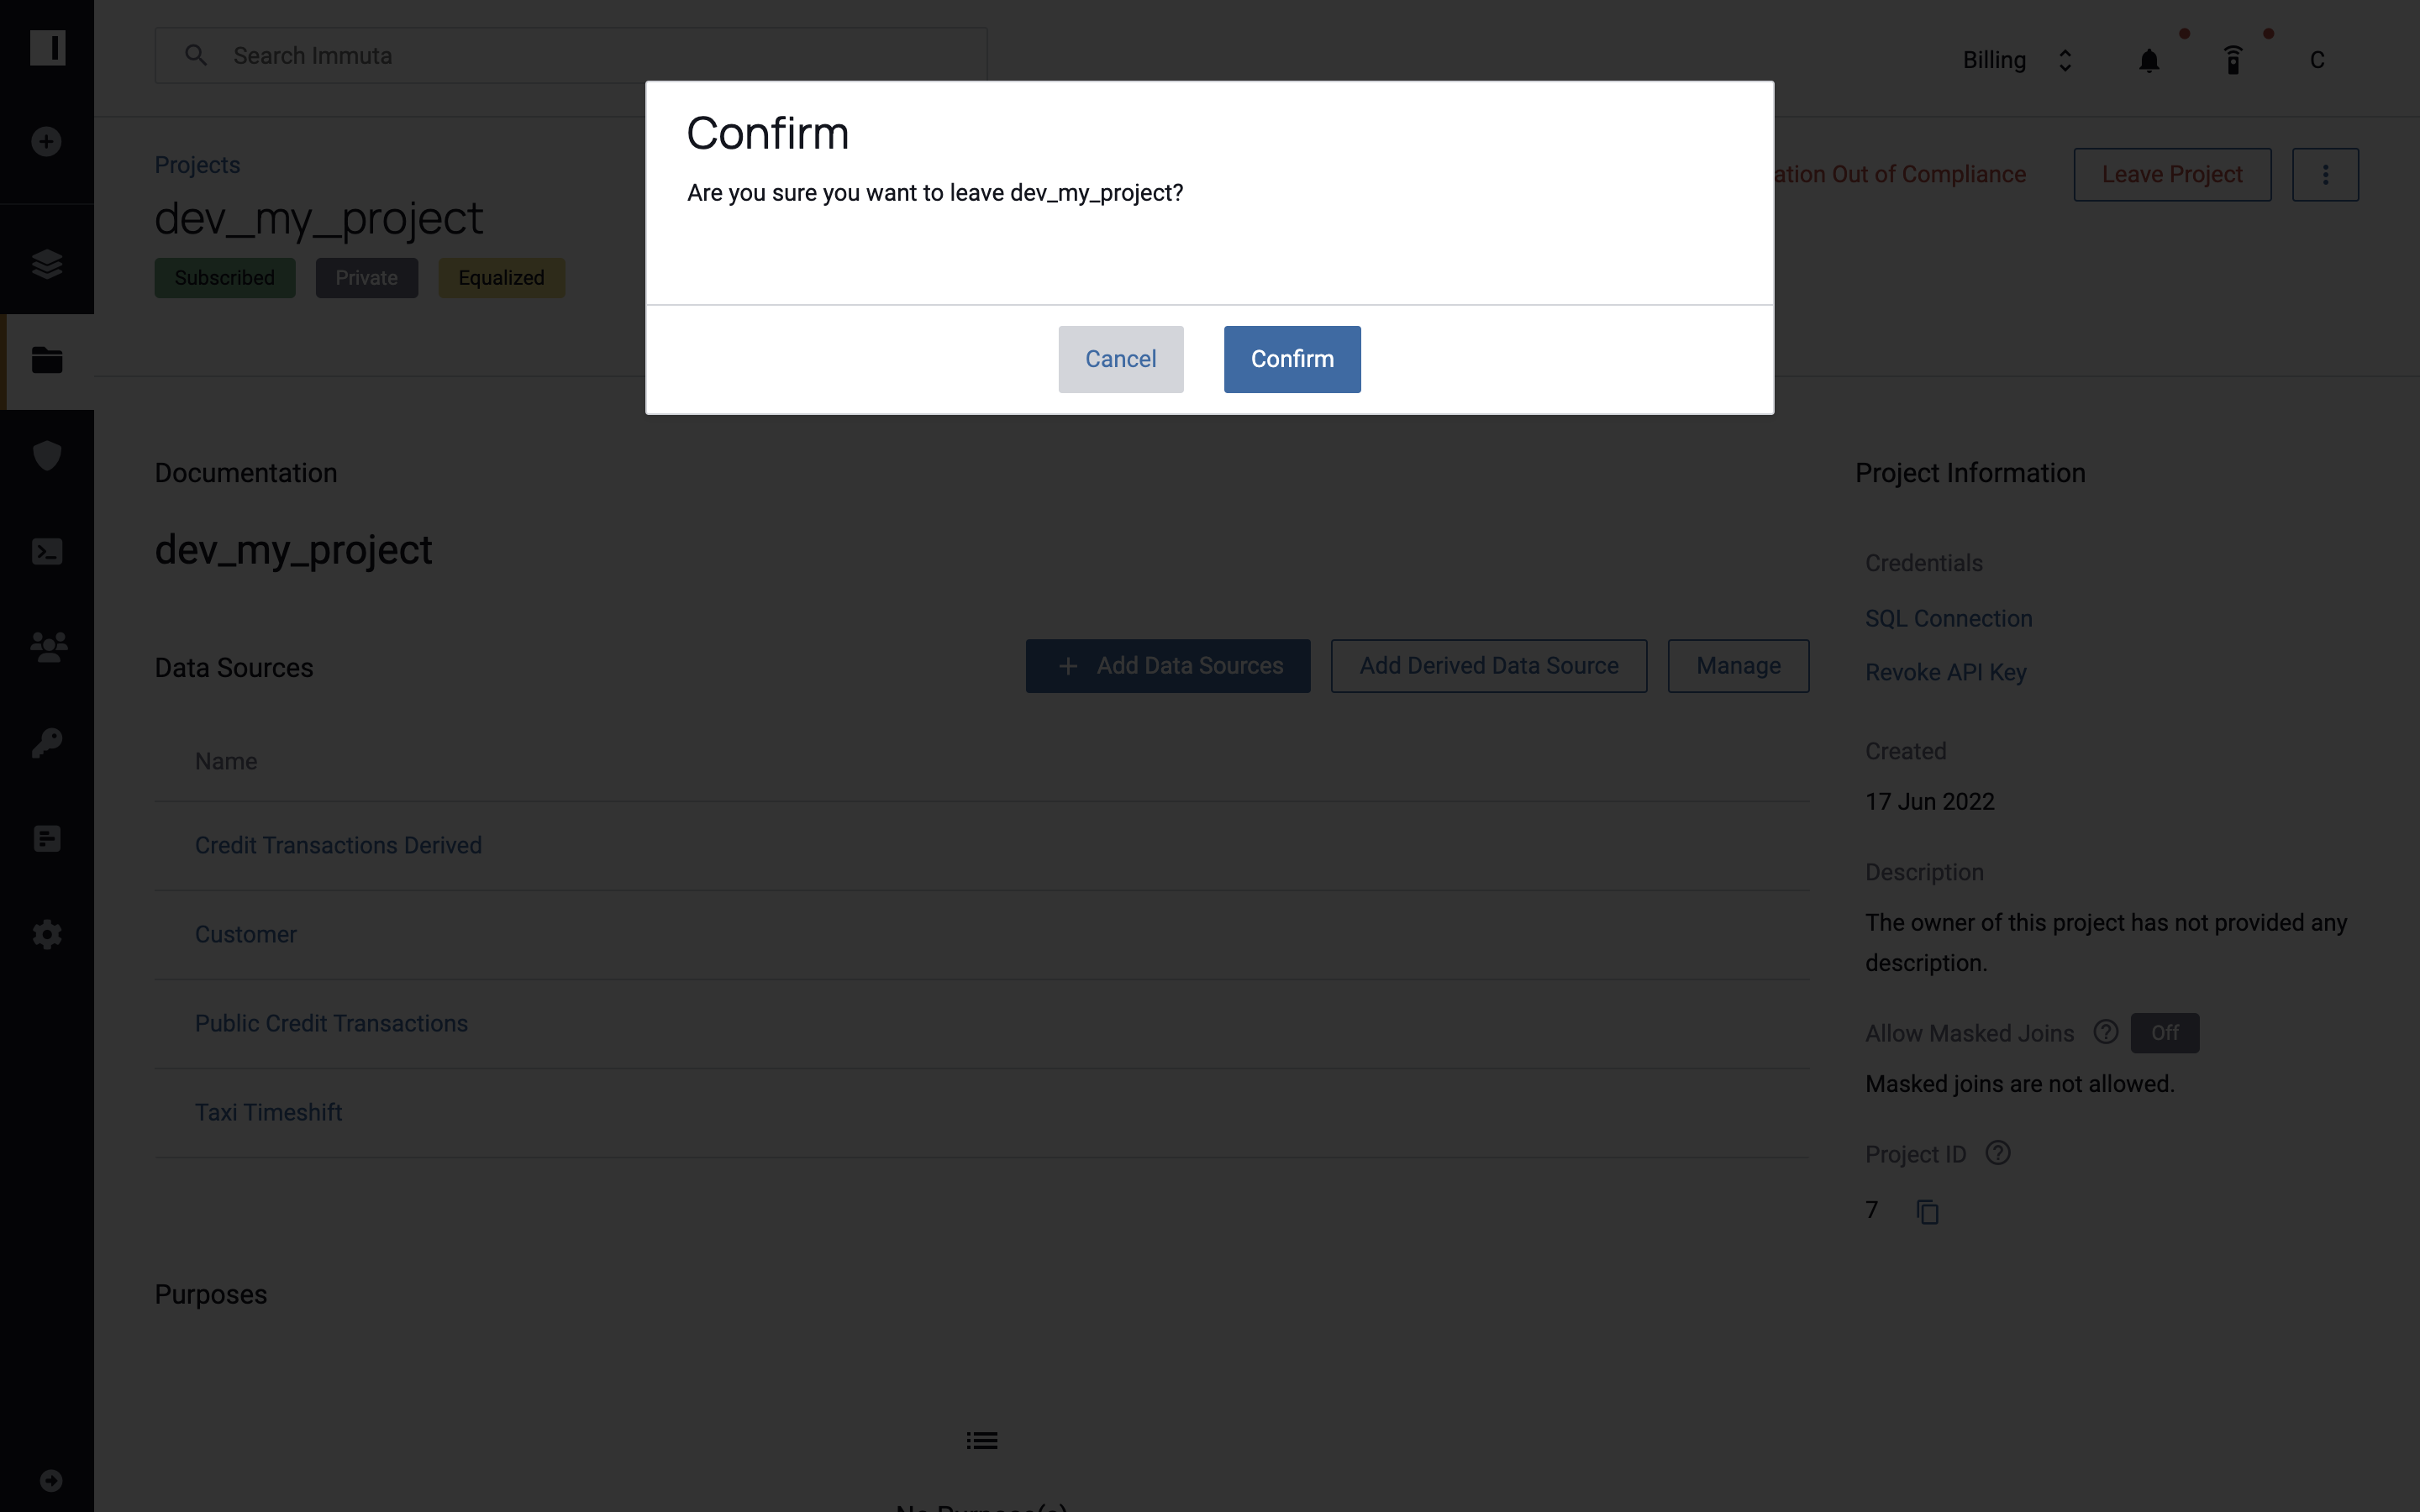
After leaving a project, that project is removed from the list in the My Projects tab.
Manage Project Data Sources
Add Data Sources to a Project
Any project member can add data sources to a project, unless the Project Equalization or Allow Masked Joins features are enabled; in those cases only project owners can add data sources to the project.
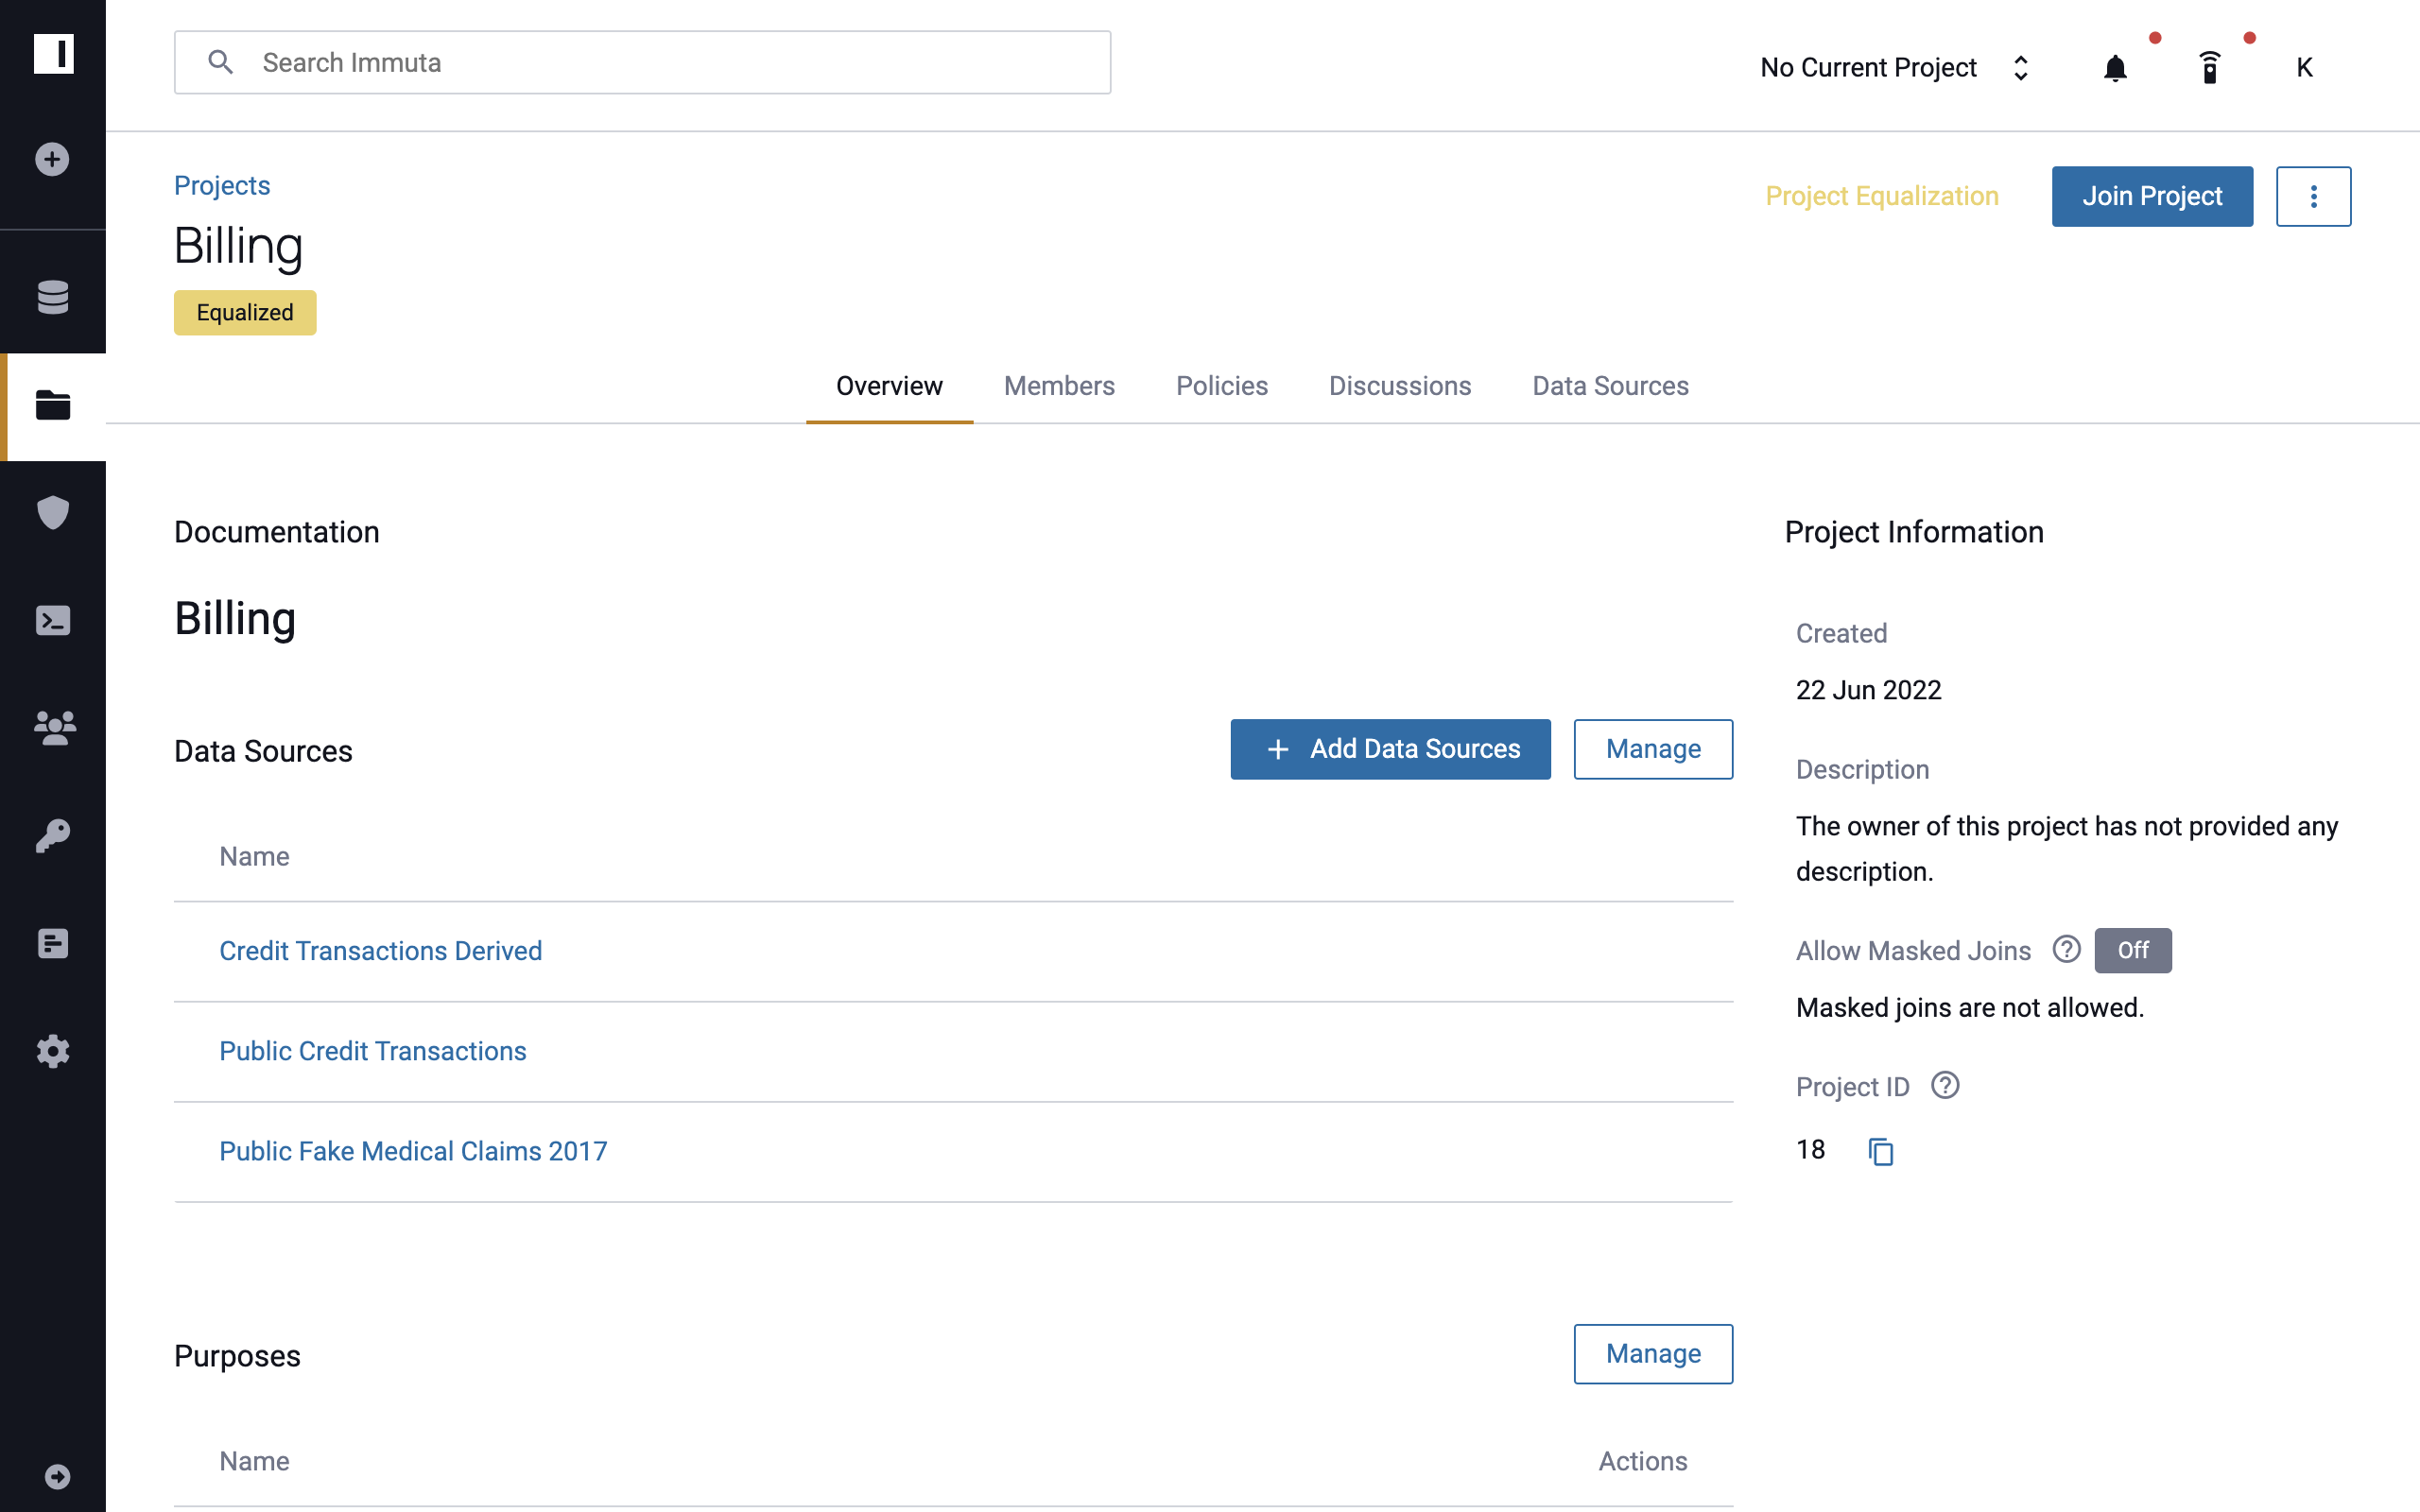
- Select the project, and then navigate to the Project Overview tab.
-
Click the Add Data Sources button in the Data Sources section in the center pane.
-
Start typing the name of a data source you'd like to include in the project.
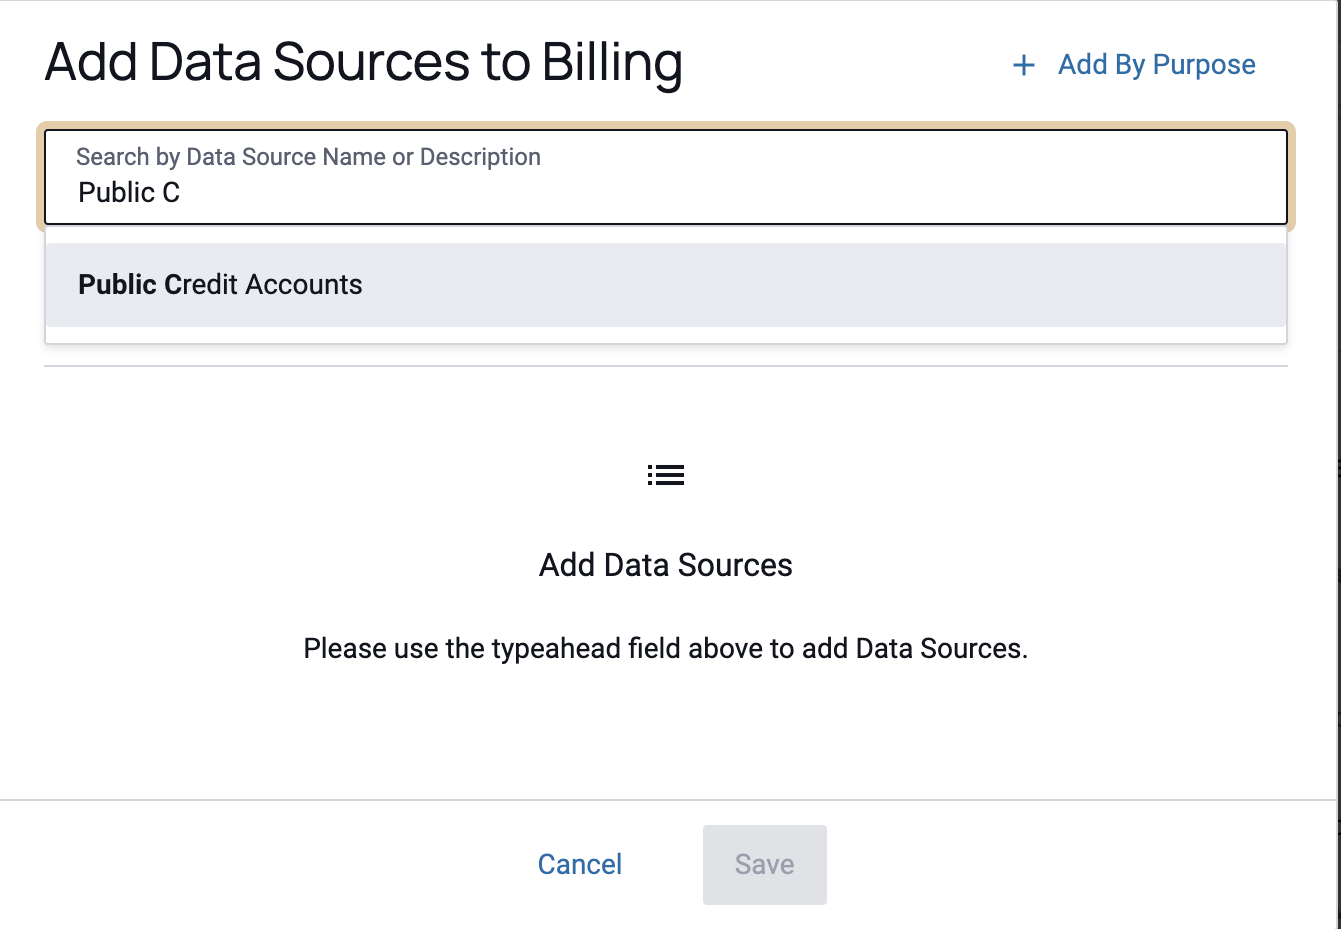
-
Select the data source from the list of auto-completed options in the dropdown menu.
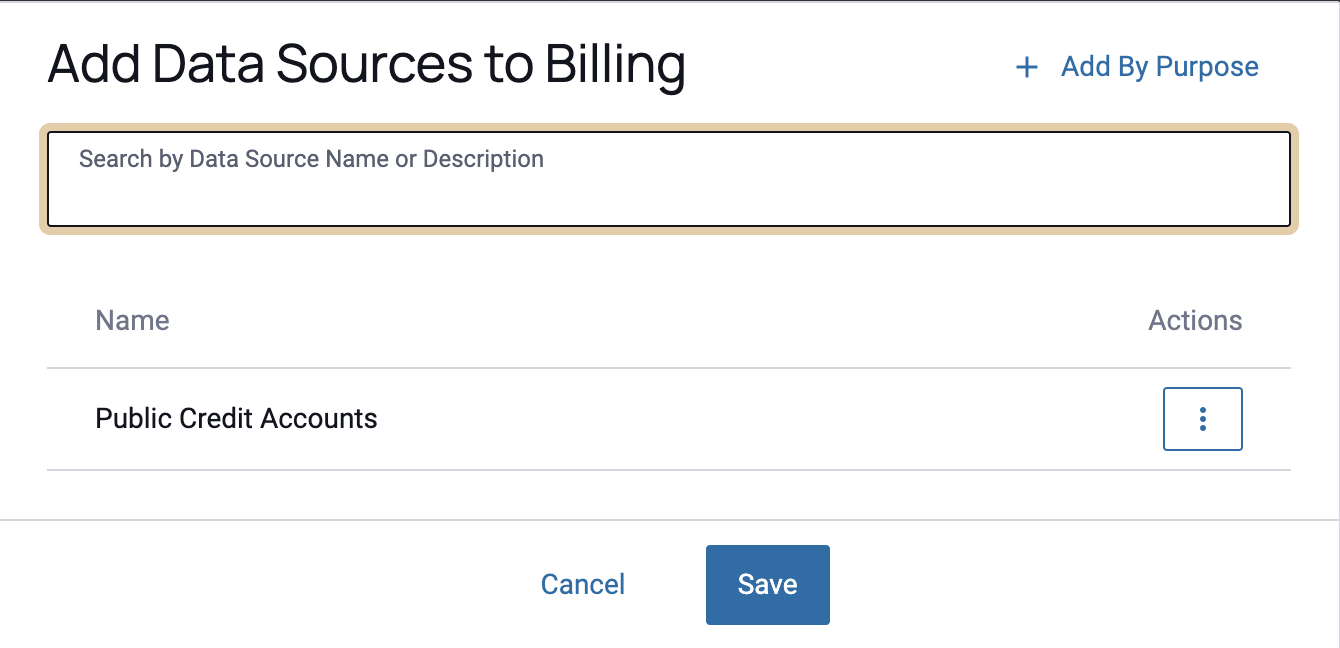
-
Repeat this process to add additional data sources to the list. Click Remove to remove them.
- When complete, click the Add button at the bottom of the list.
Add Data Sources by Purpose
You can automatically add all data sources to a project that contain a Limit usage to purpose policy that matches the purpose of that project.
-
Select a Project, and click the Add Data Sources button on the Data Sources tab.
-
Click Add By Purpose in the top right of the dialog.
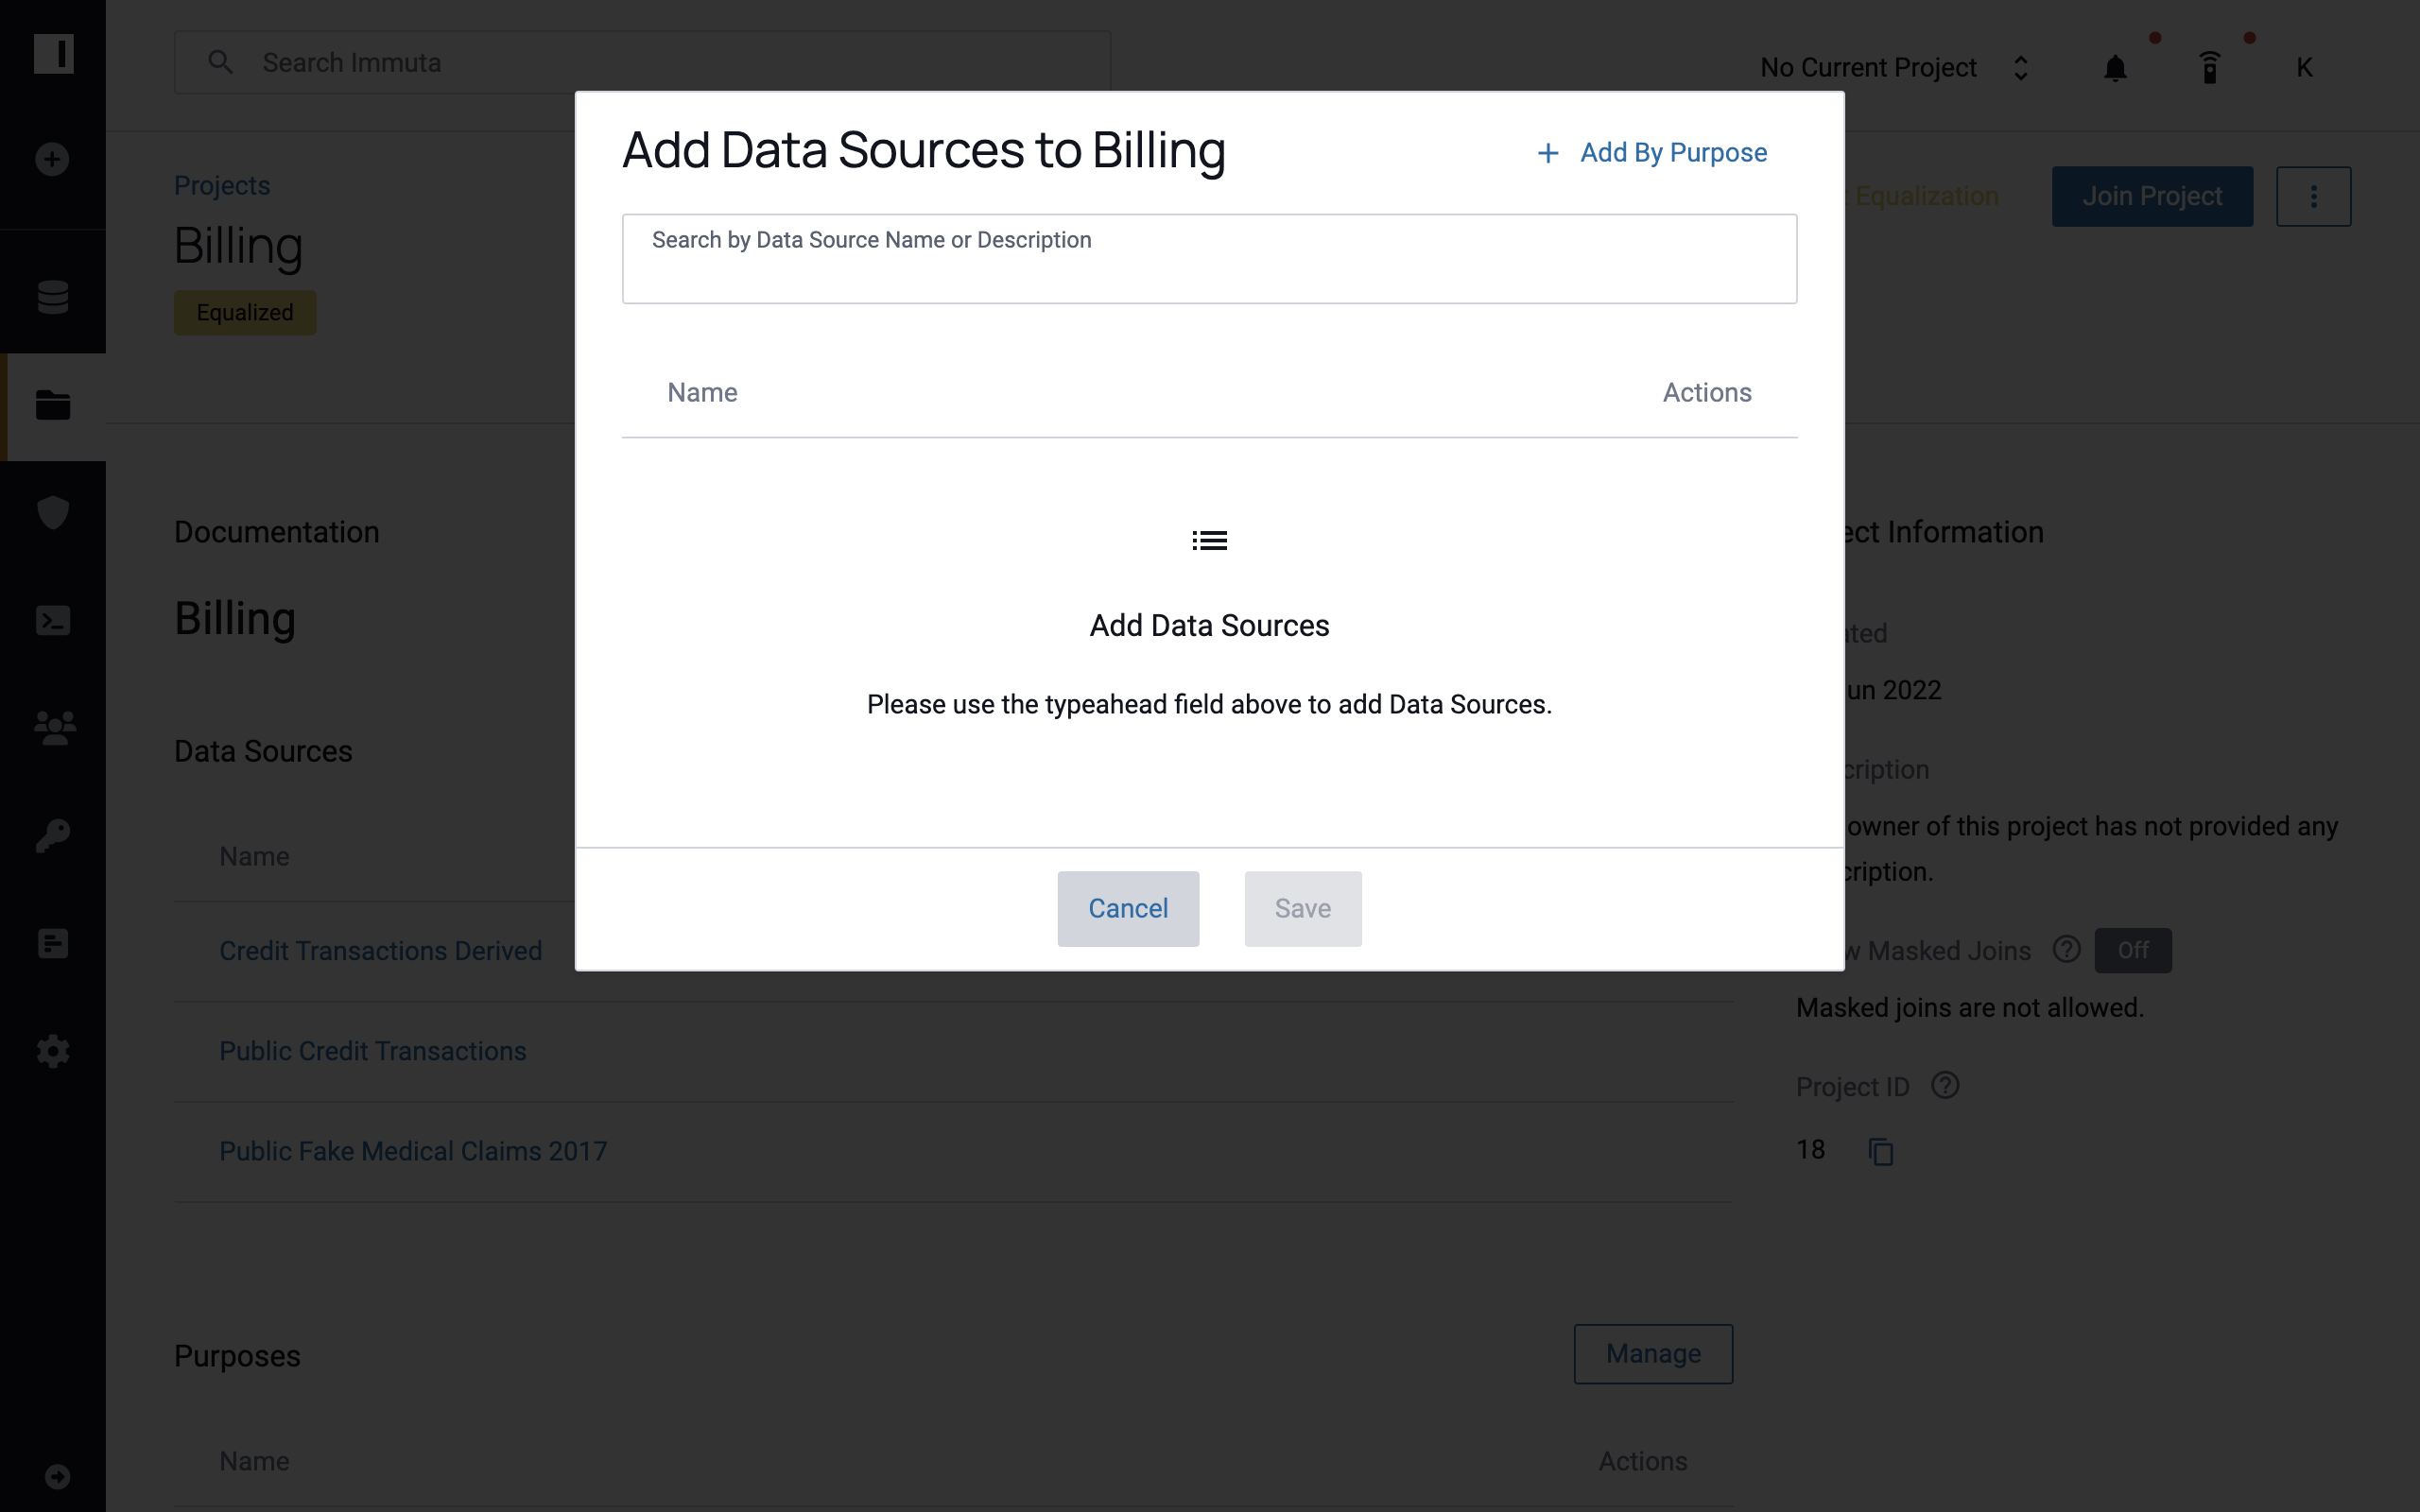
-
All data sources matching the project's purpose(s) will populate at the bottom of the dialog. Review this list, and then click Save.
Create a Derived Data Source Outside a Workspace
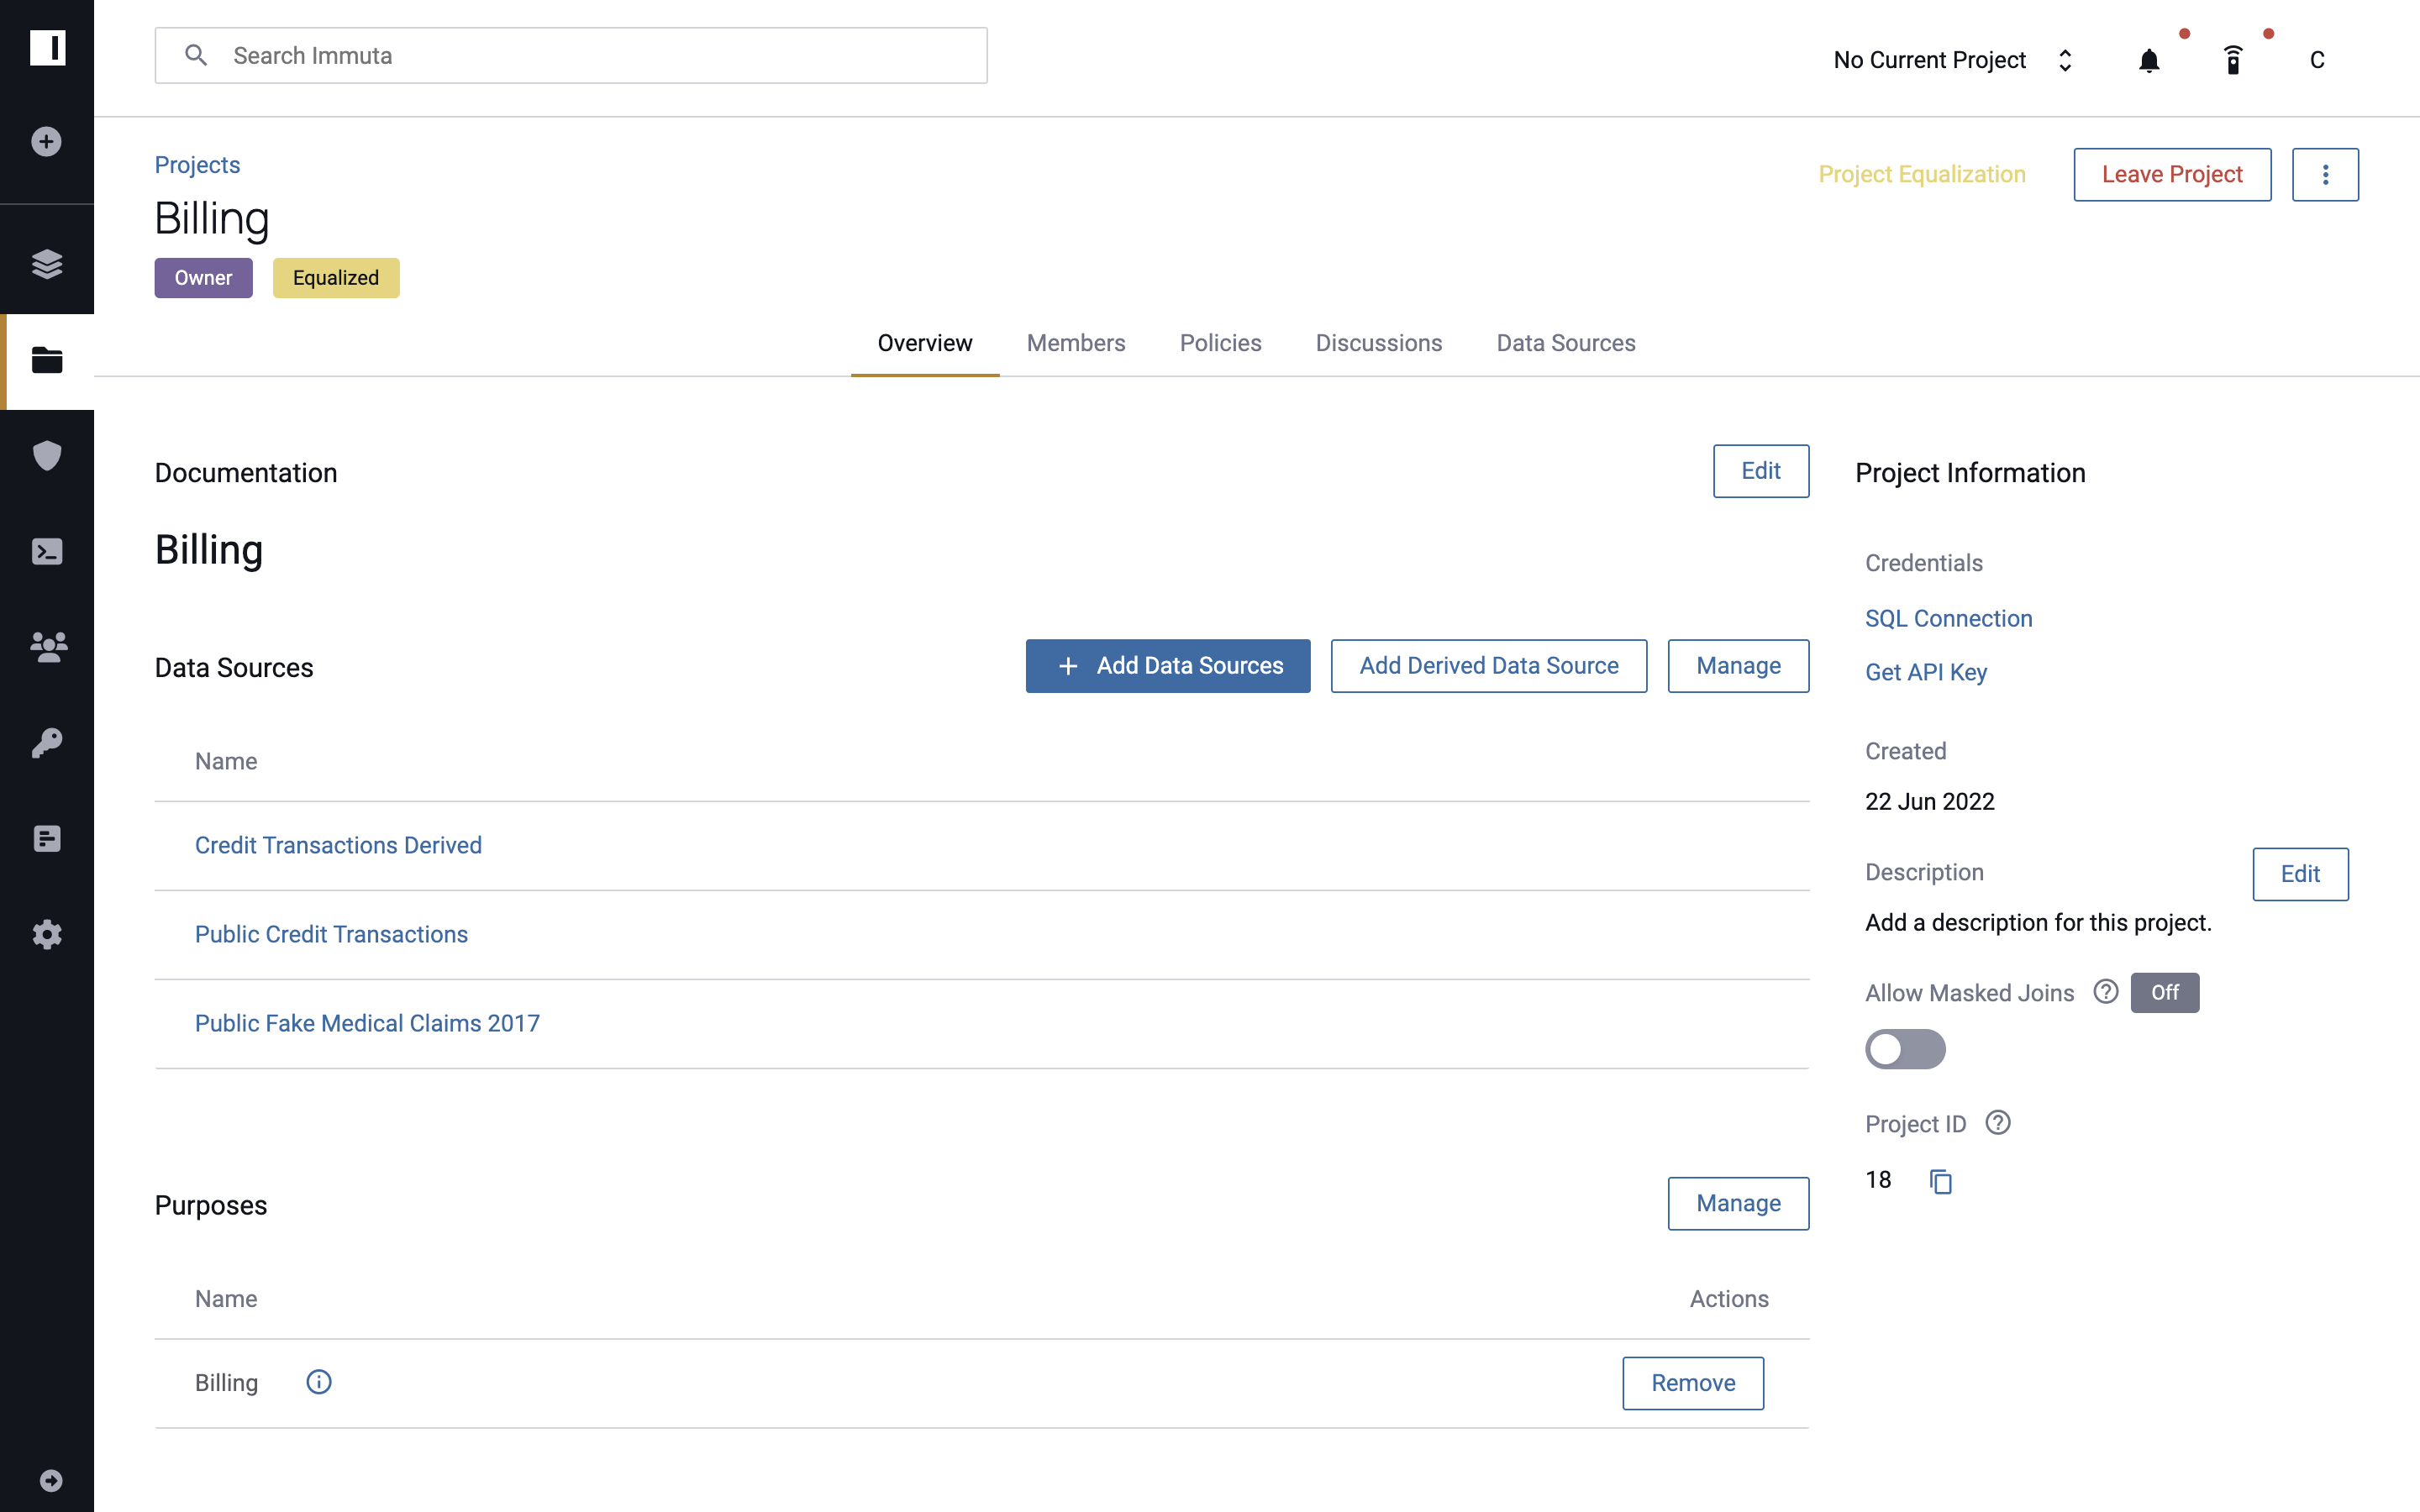
- Select a project and navigate to the Overview or Data Sources tab.
-
Click Add Derived Data Source.
-
Begin typing in the Search by Name or Description text box, and then select the data source(s) from which your new data source will be derived.
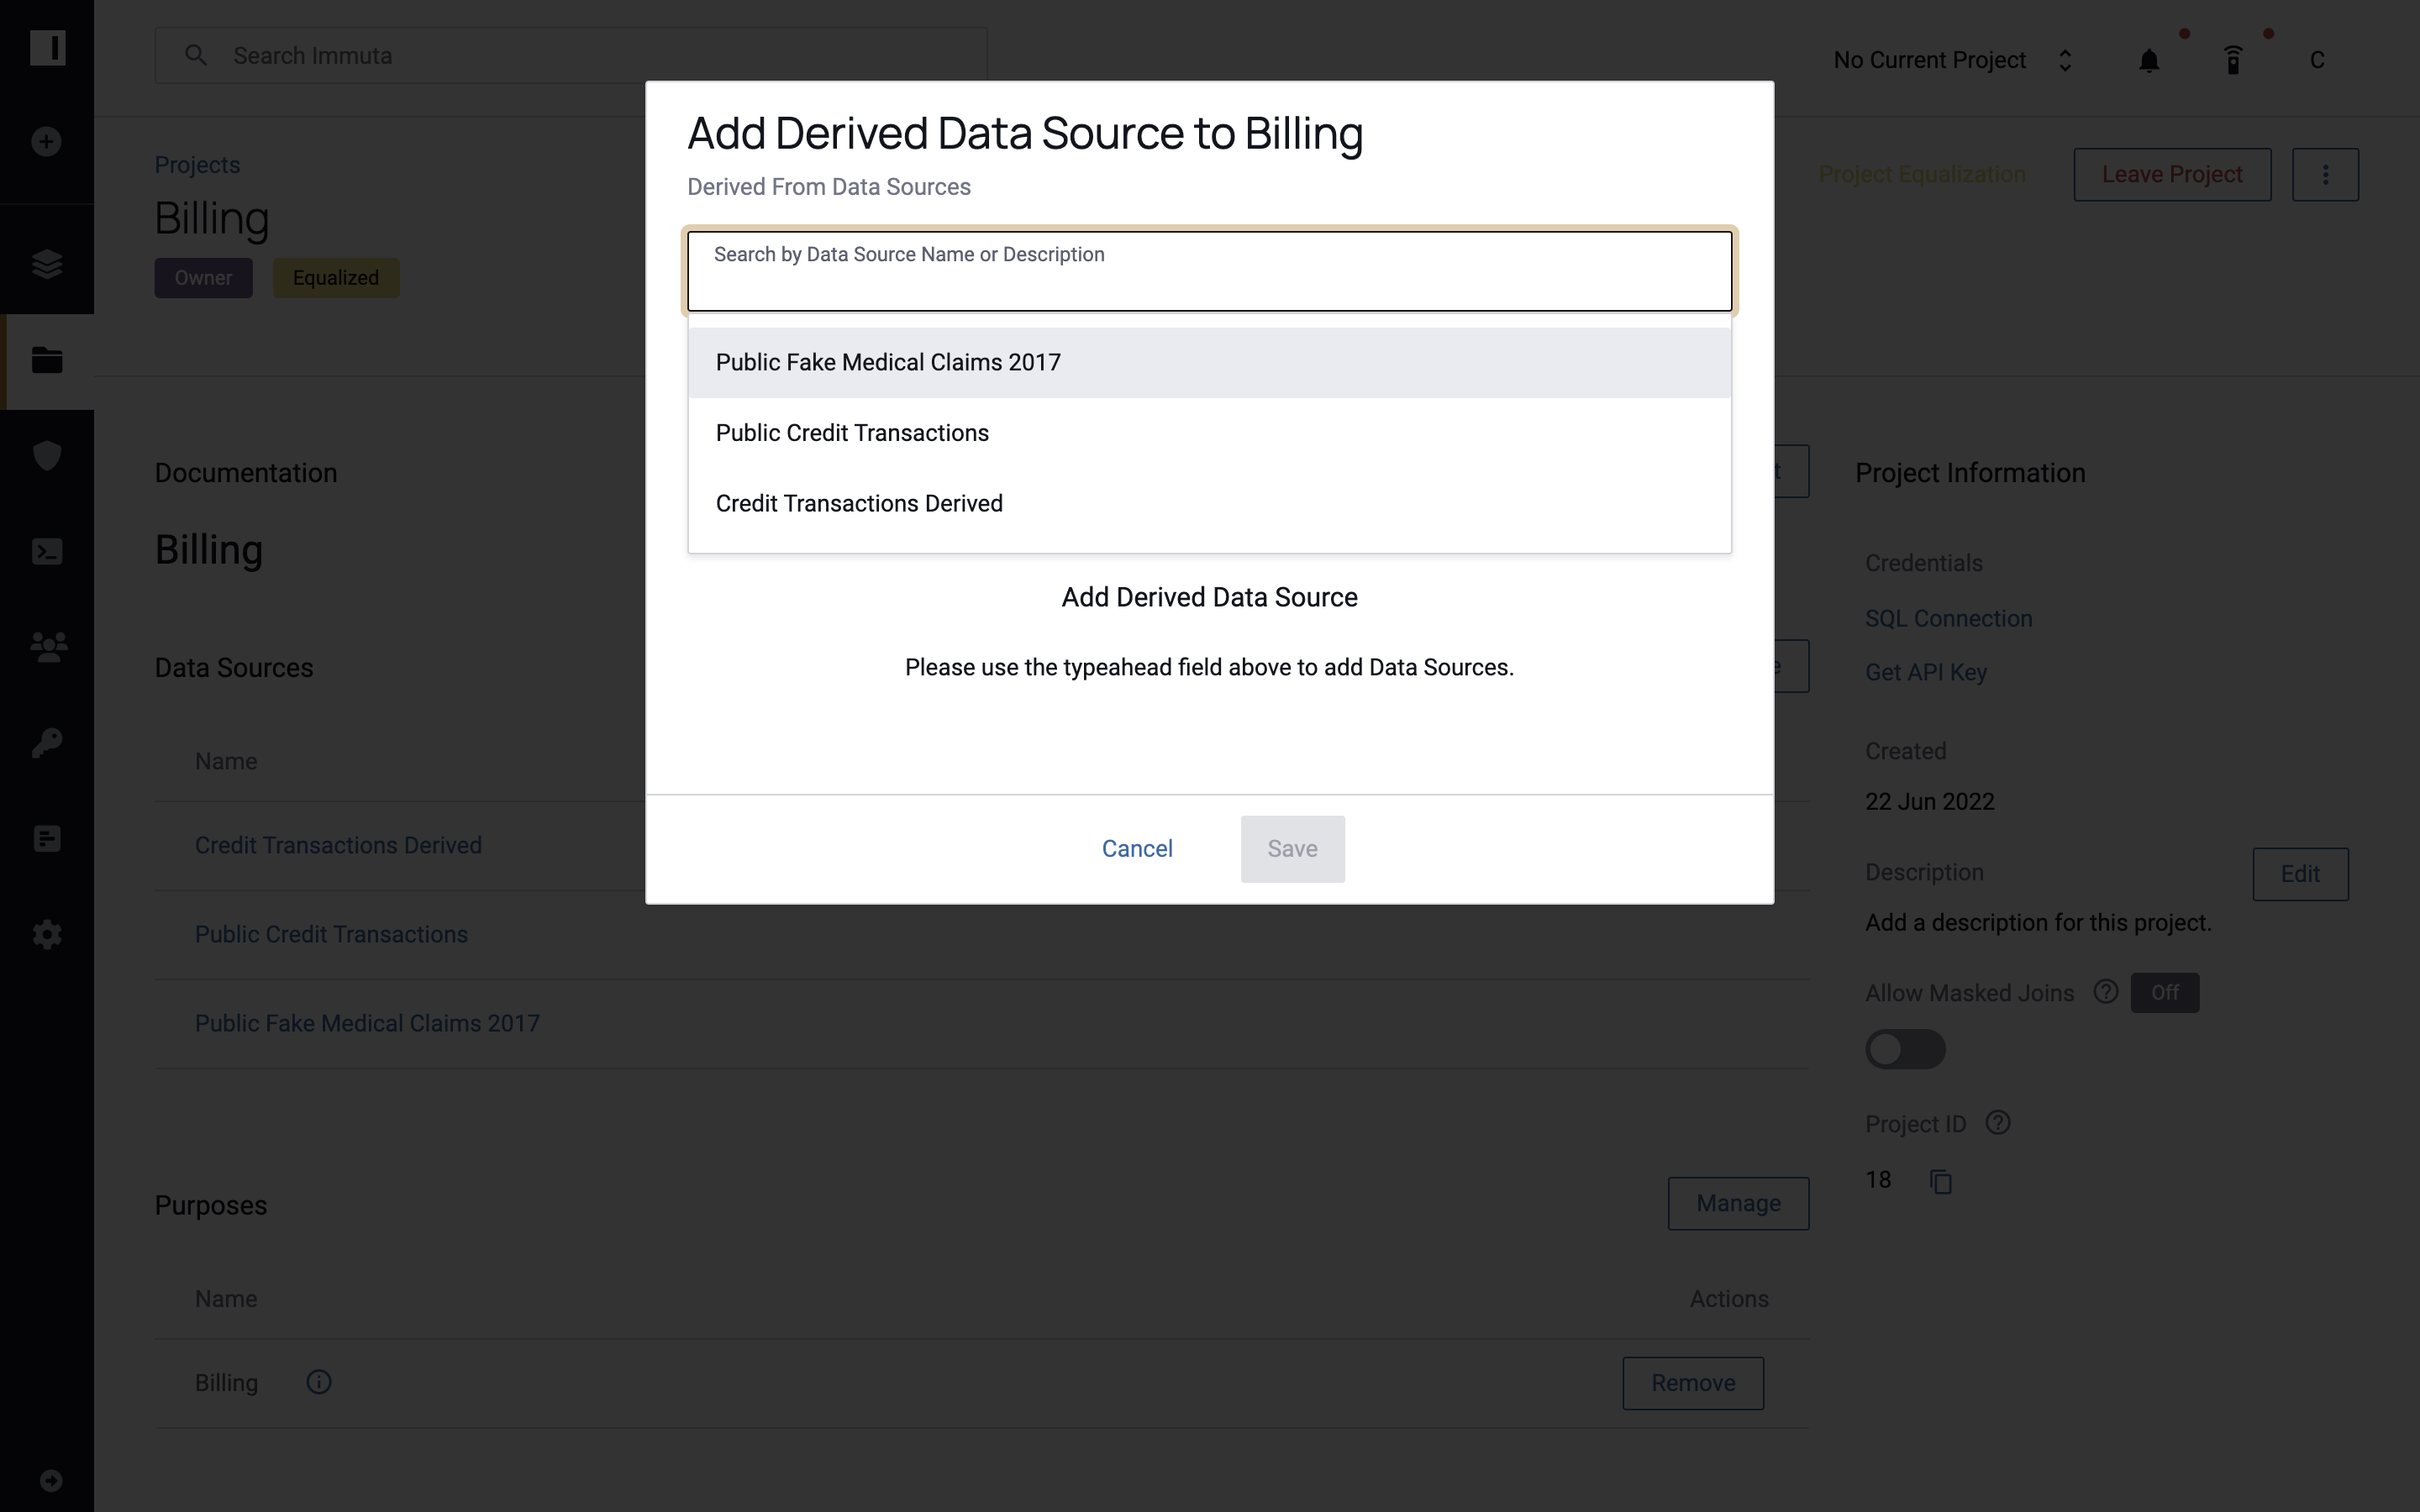
-
Click Save.
- Follow the instructions for creating a query-backed data source or object-backed data source, depending on your chosen storage technology. Note: For Immuta native workspaces in Snowflake, native derived data sources can't be query-backed.
Remove Data Sources from a Project
As a project member, you can only delete data sources you've added to the project.
To remove a data source you've added,
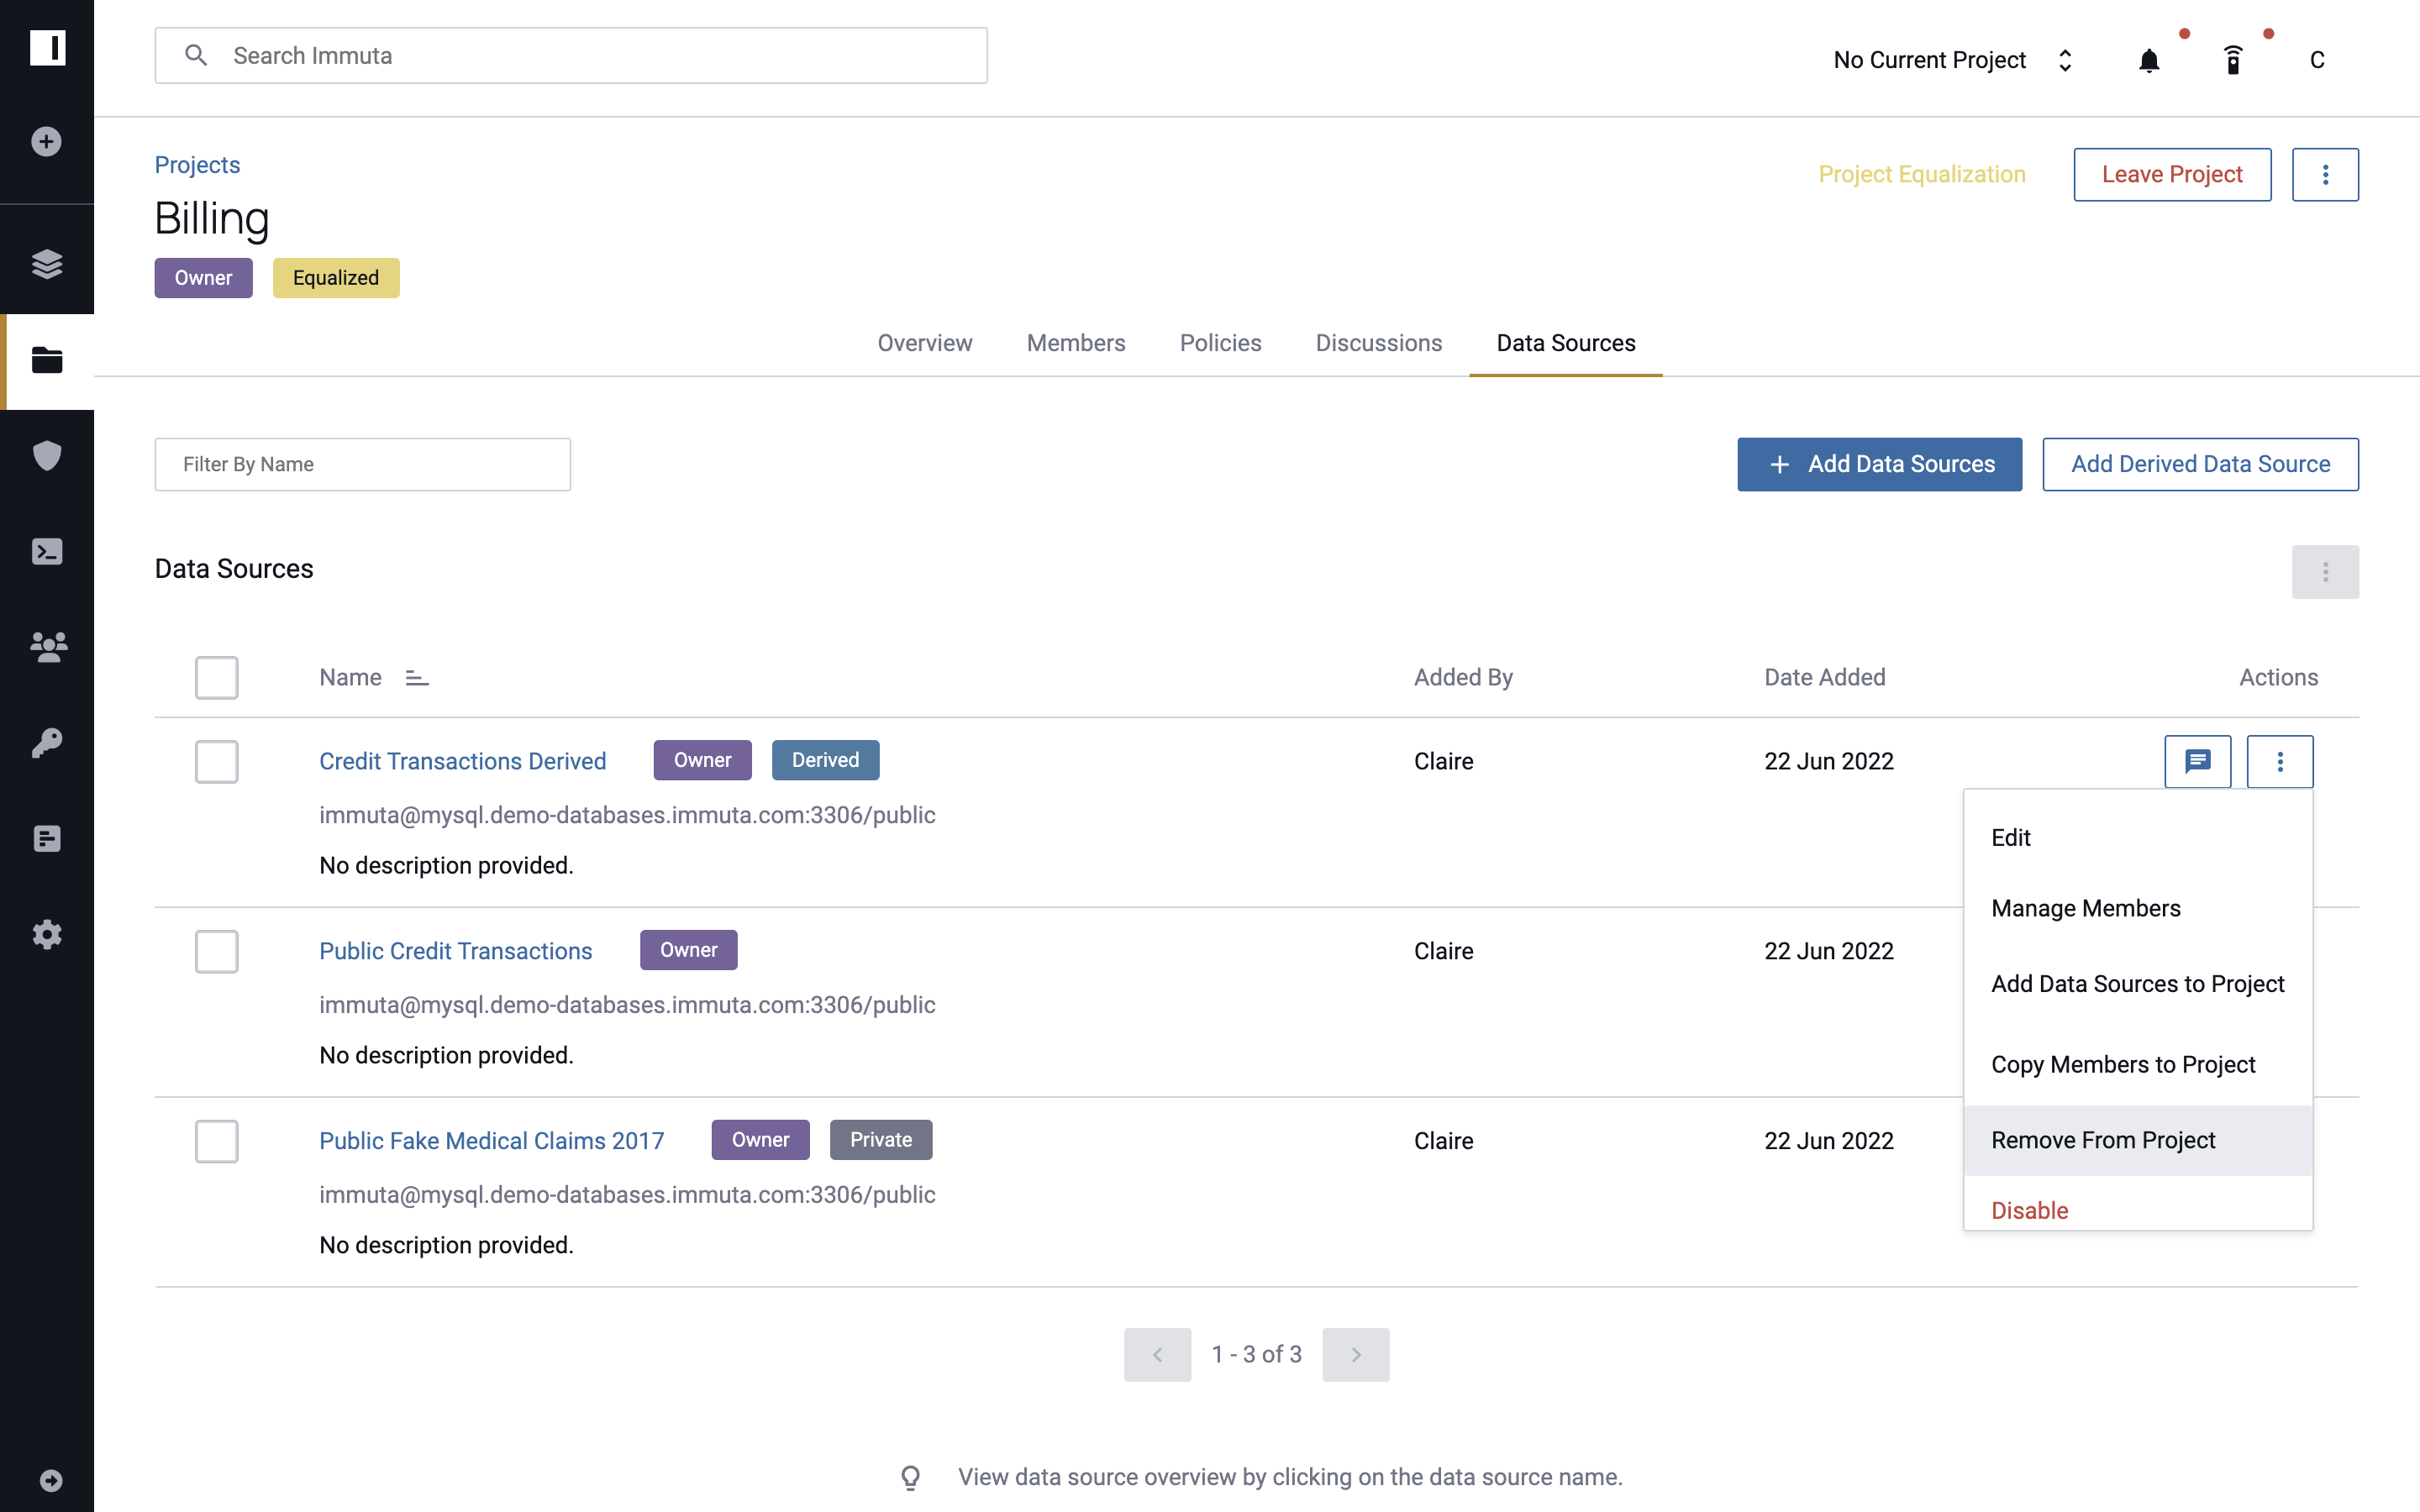
- Select a project, and then click the Data Sources tab.
- Click the Remove Data Source icon in the Actions column of the data source you want to remove.
- Click Confirm in the window that appears.
Alternatively,
- Select a project, and then click the Overview tab at the top of the page.
- Hover your cursor over the data source you would like to remove until a menu appears.
-
Click the three dots in the top right corner of the menu, and then select Remove.
Search for Projects
Immuta's UI provides a list of all projects, excluding those that have been set to private. Users can search for projects by keyword, tag, or data source.
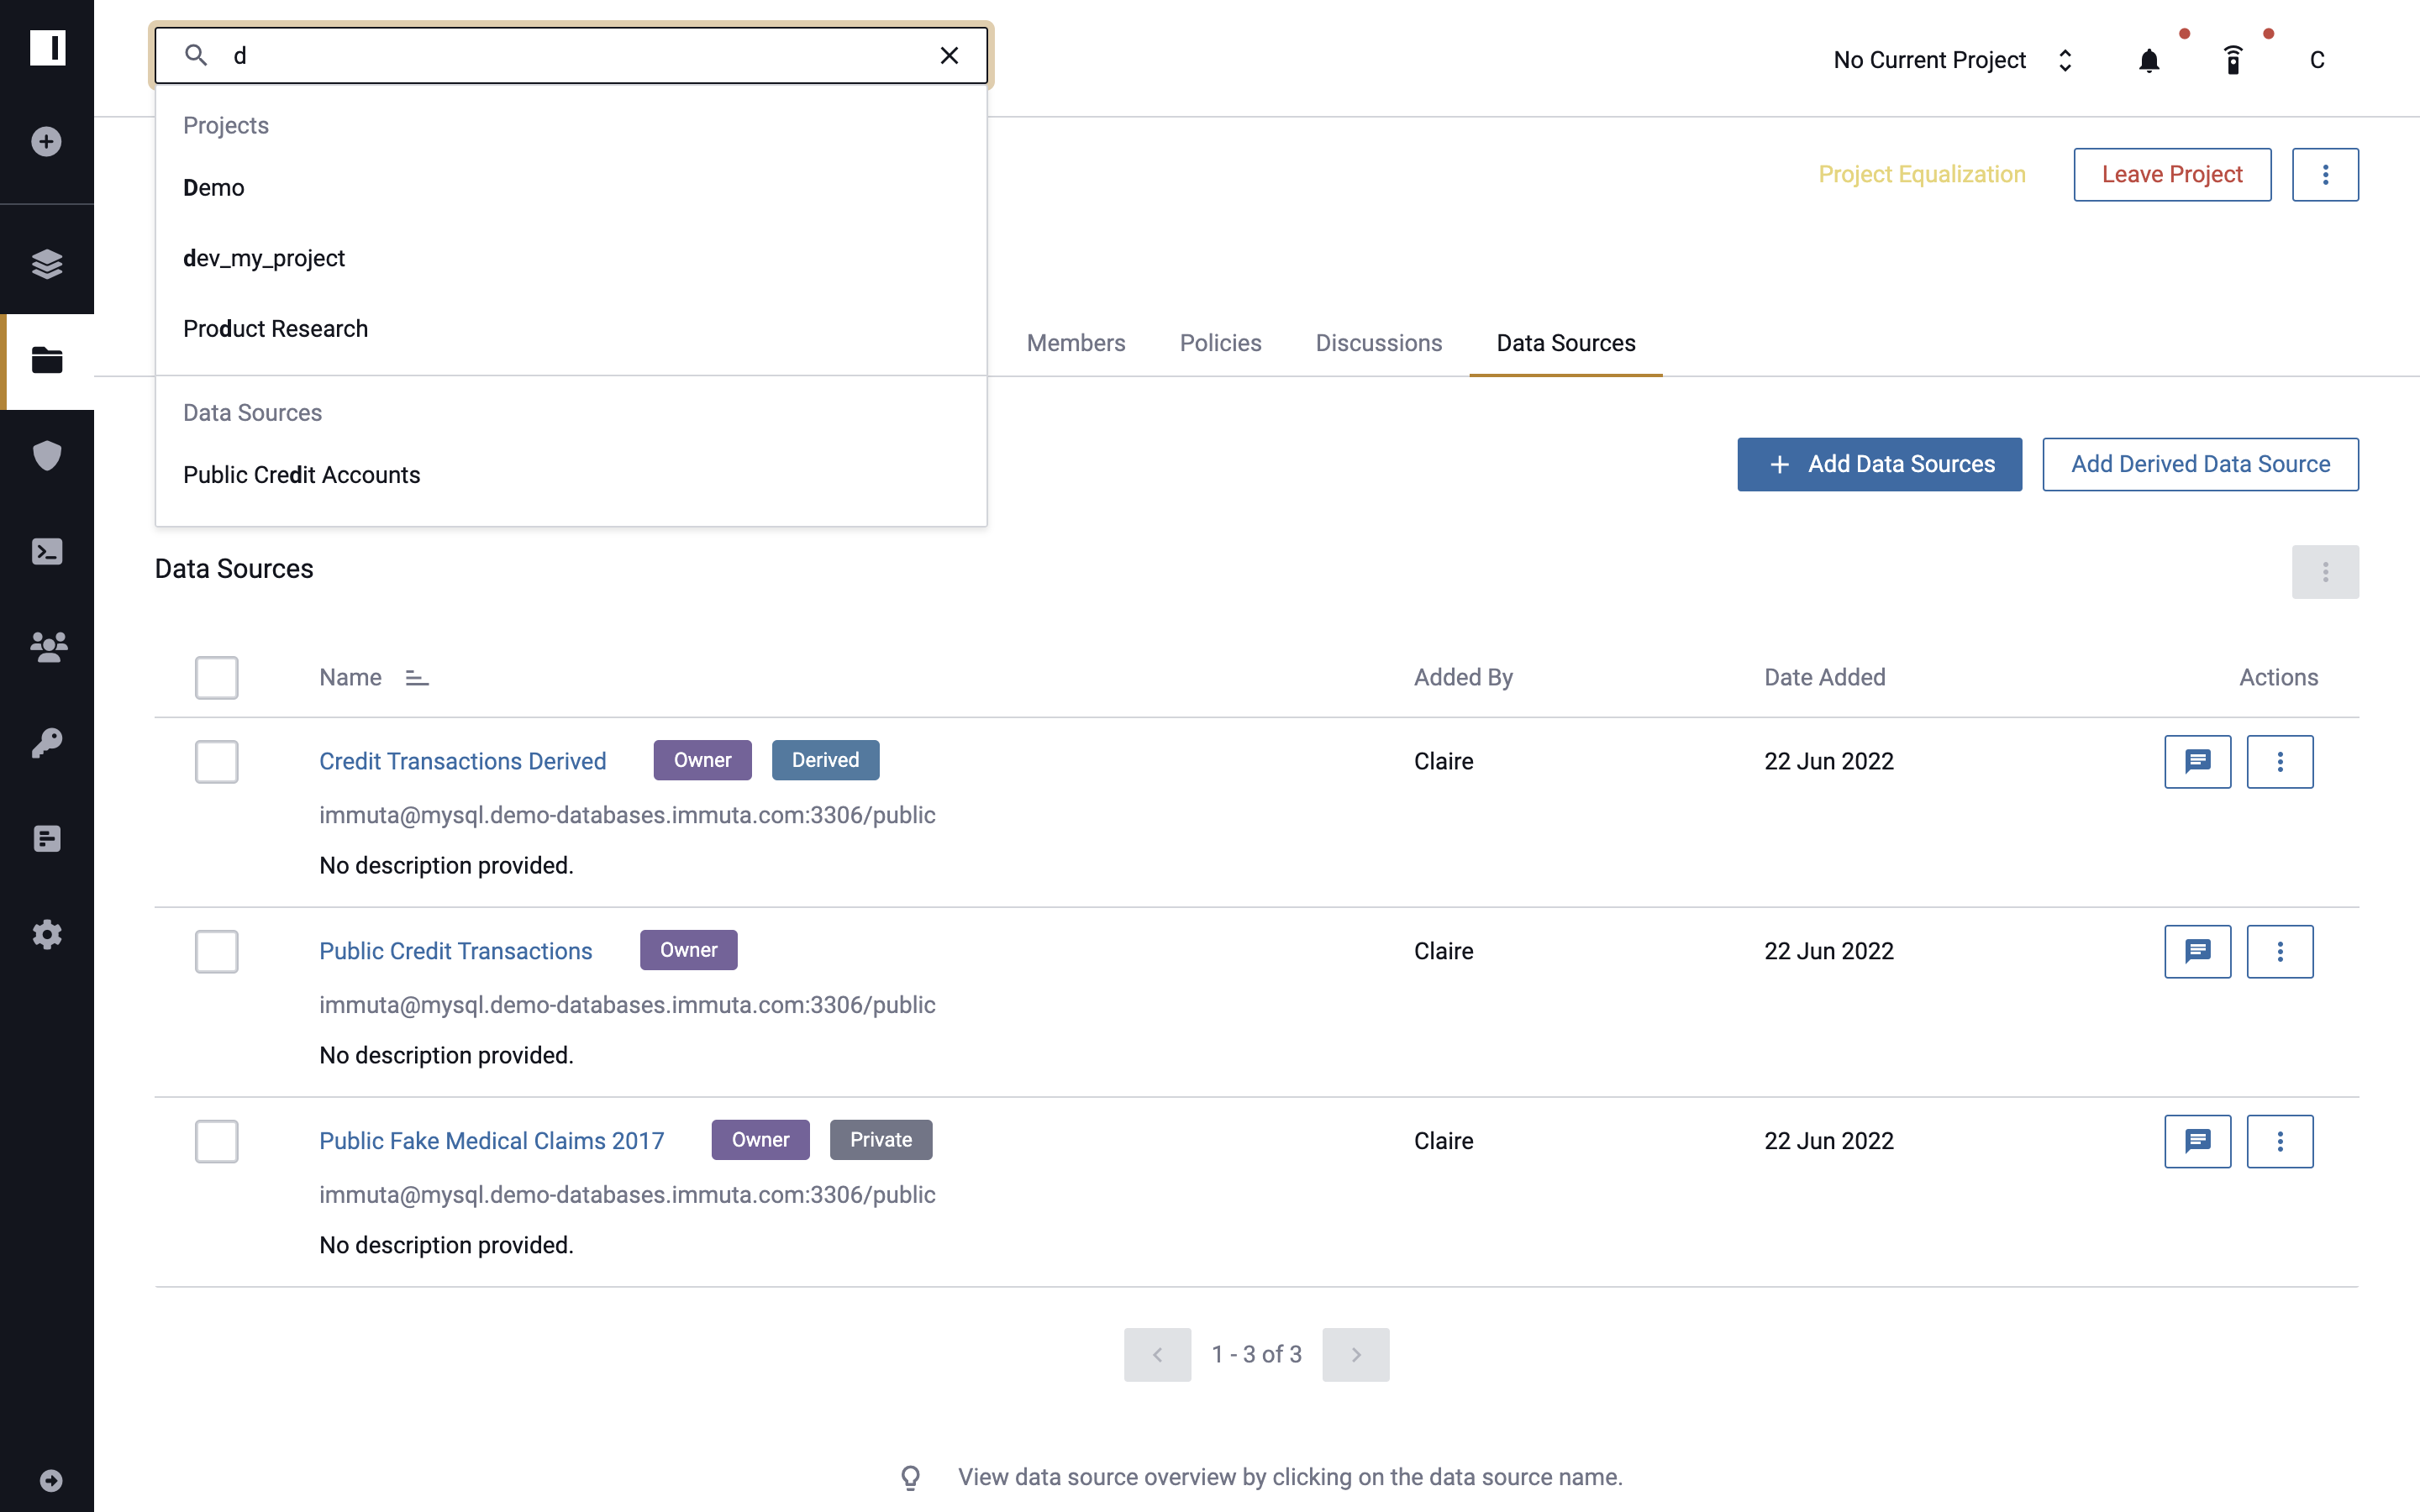
- To access a list of all projects, click the projects icon in the left sidebar, and then click the All Projects tab.
- To filter projects by keyword, type one or more keywords into the search box at the top of the page, and select a keyword from the auto-completed results. If a list does not display, then no keywords matching that text currently exist.
- To filter projects by tags, type one or more tag names into the search box at the top of the page and select a tag from the list of auto-completed results. If a list of tags does not display, then no tags matching that text currently exist.
- To filter projects by data sources, type one or more data source names into the search box at the top of the page and select a data source from the list of auto-completed results. If a list of data sources does not display, then no data sources matching that text currently exist.