App Settings Tutorial
Audience: Application Admins
Content Summary: This page details how to use the App Settings page to configure settings for Immuta for your organization.
Navigate to the App Settings Page
-
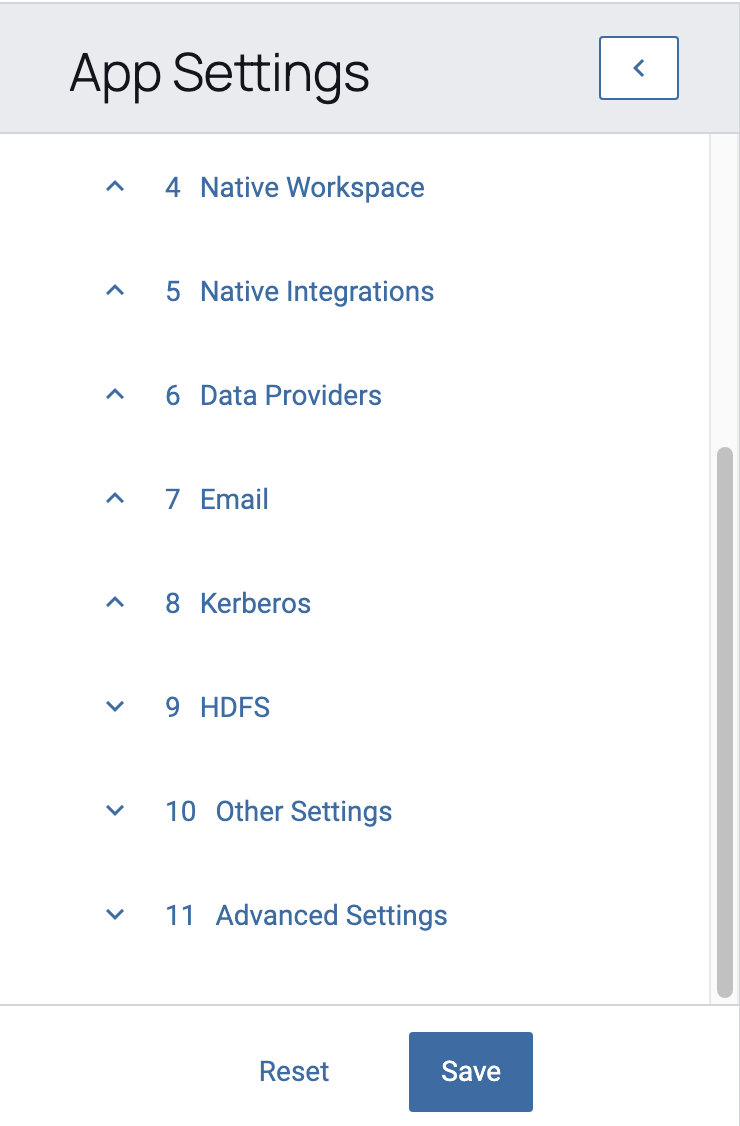
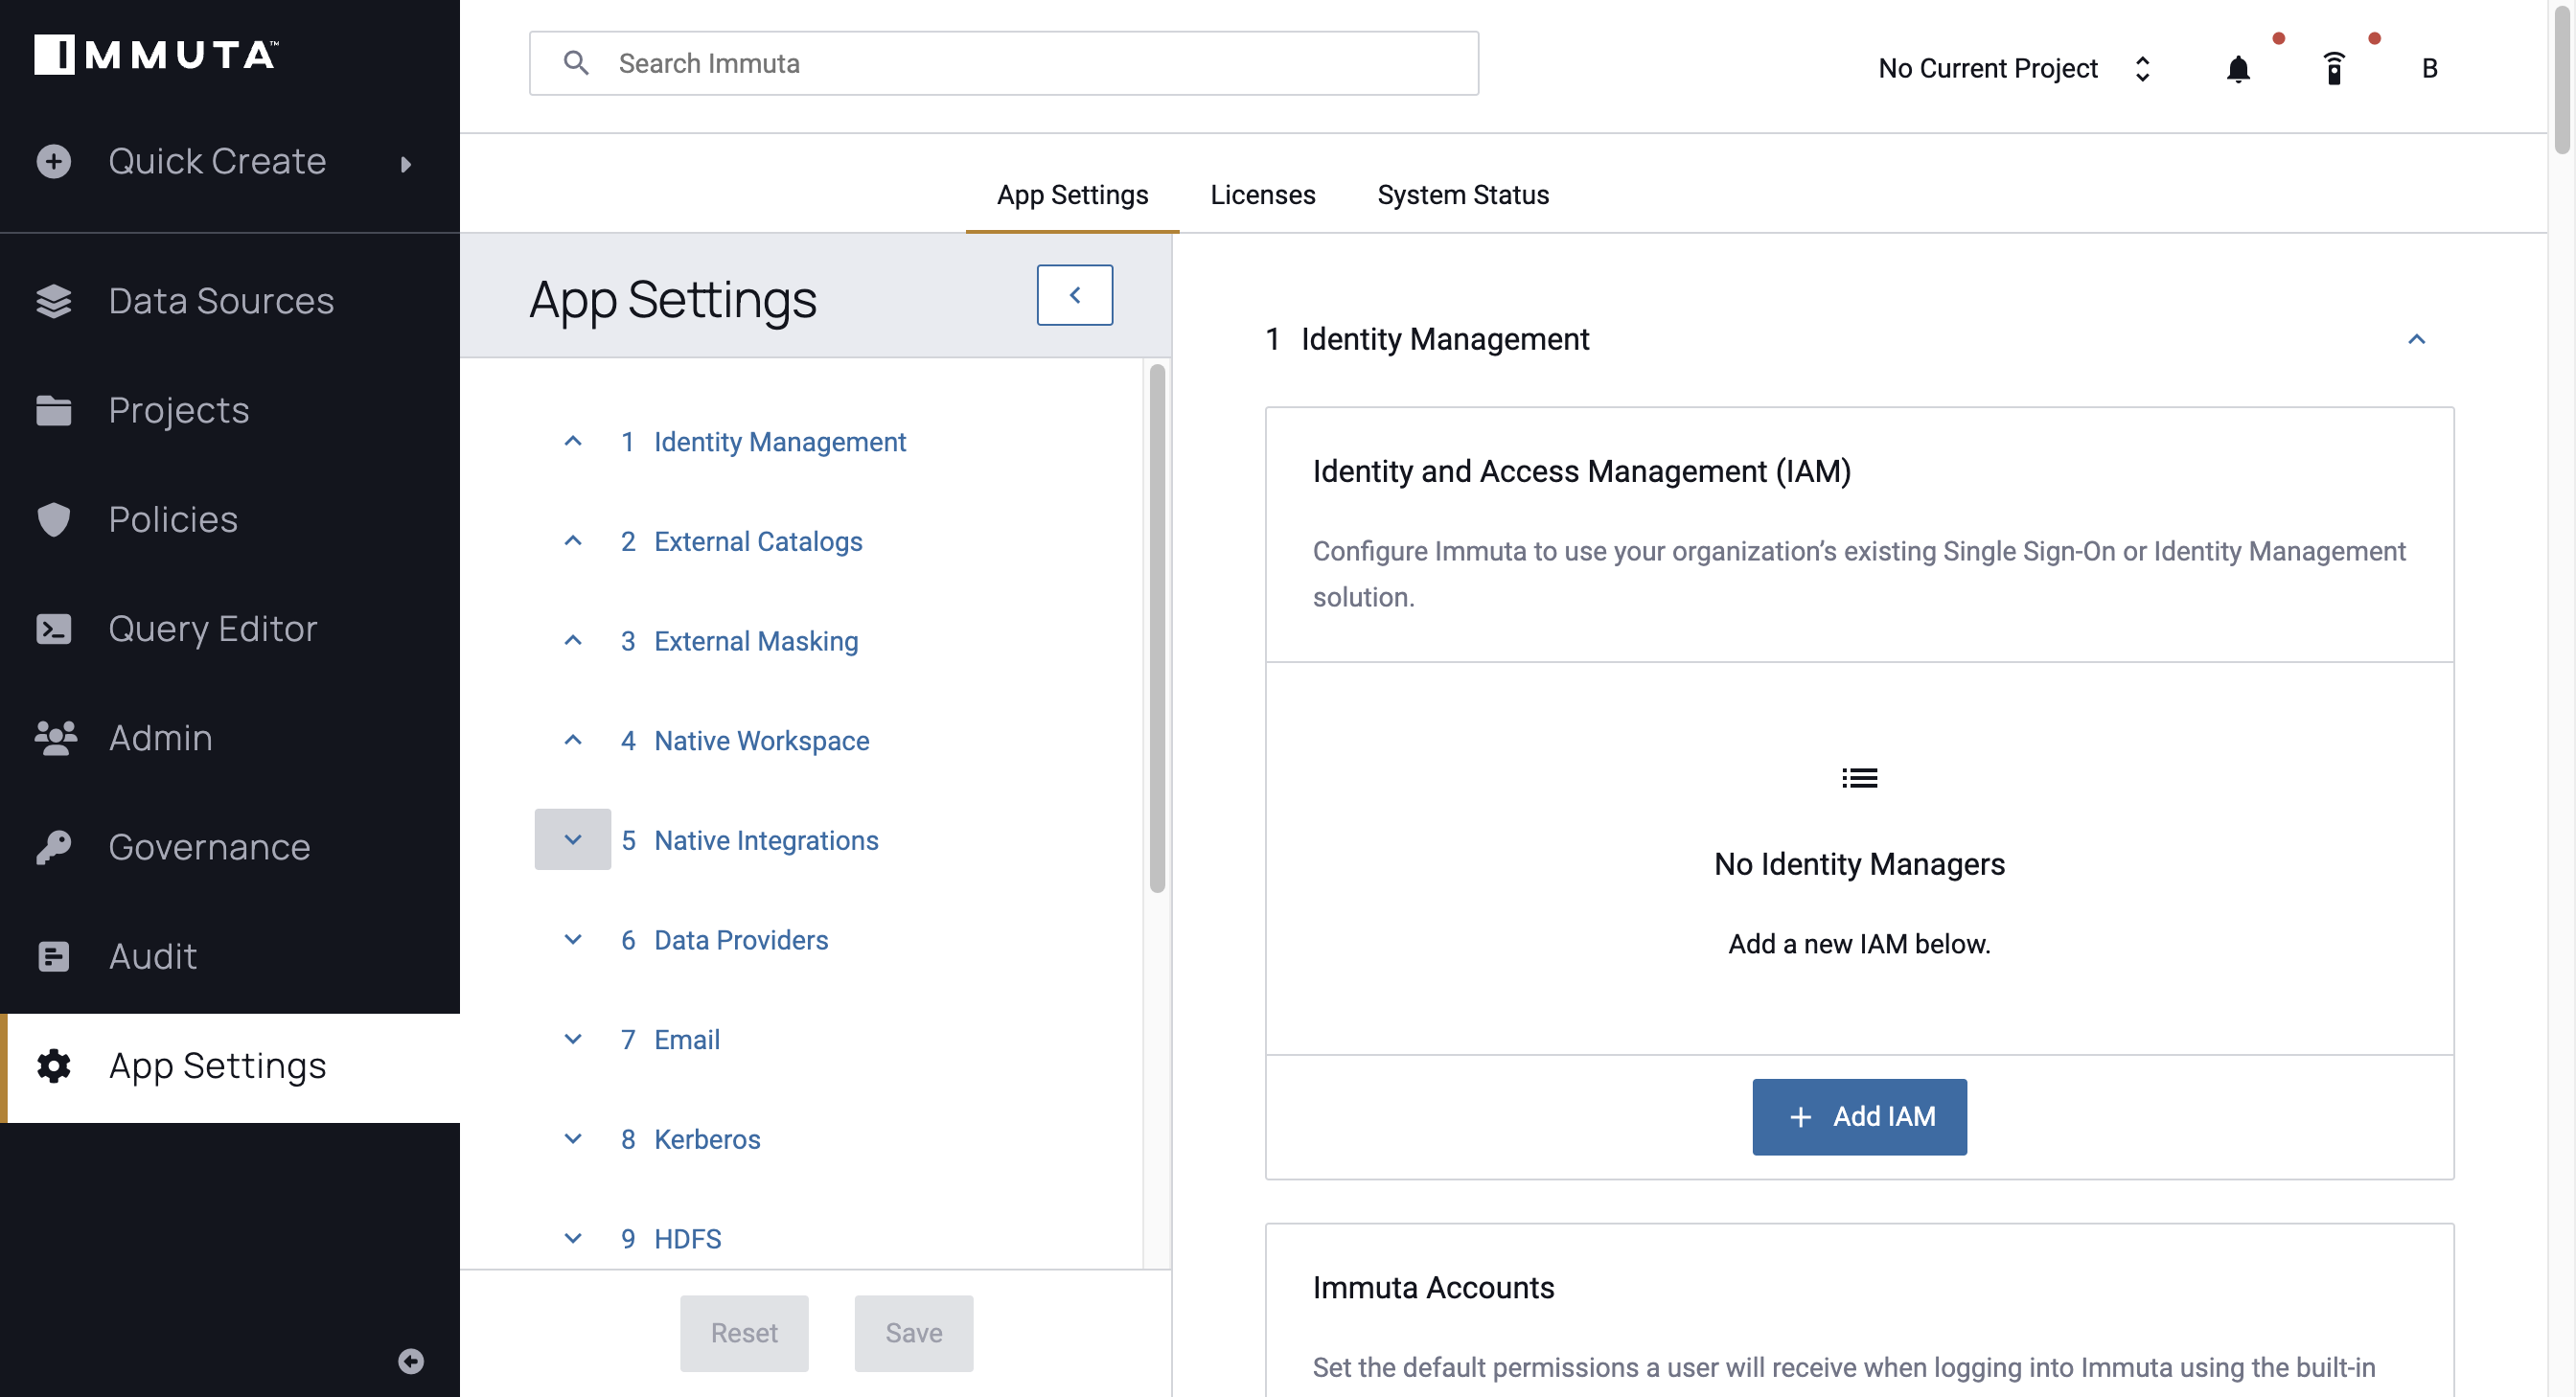
Click the App Settings icon in the left sidebar.

-
Click the link in the App Settings panel to navigate to that section.
Use Existing Identity Access Manager
See the identity manager pages for a tutorial to connect an Microsoft Entra ID, Okta, or OneLogin identity manager.
To configure Immuta to use all other existing IAMs,
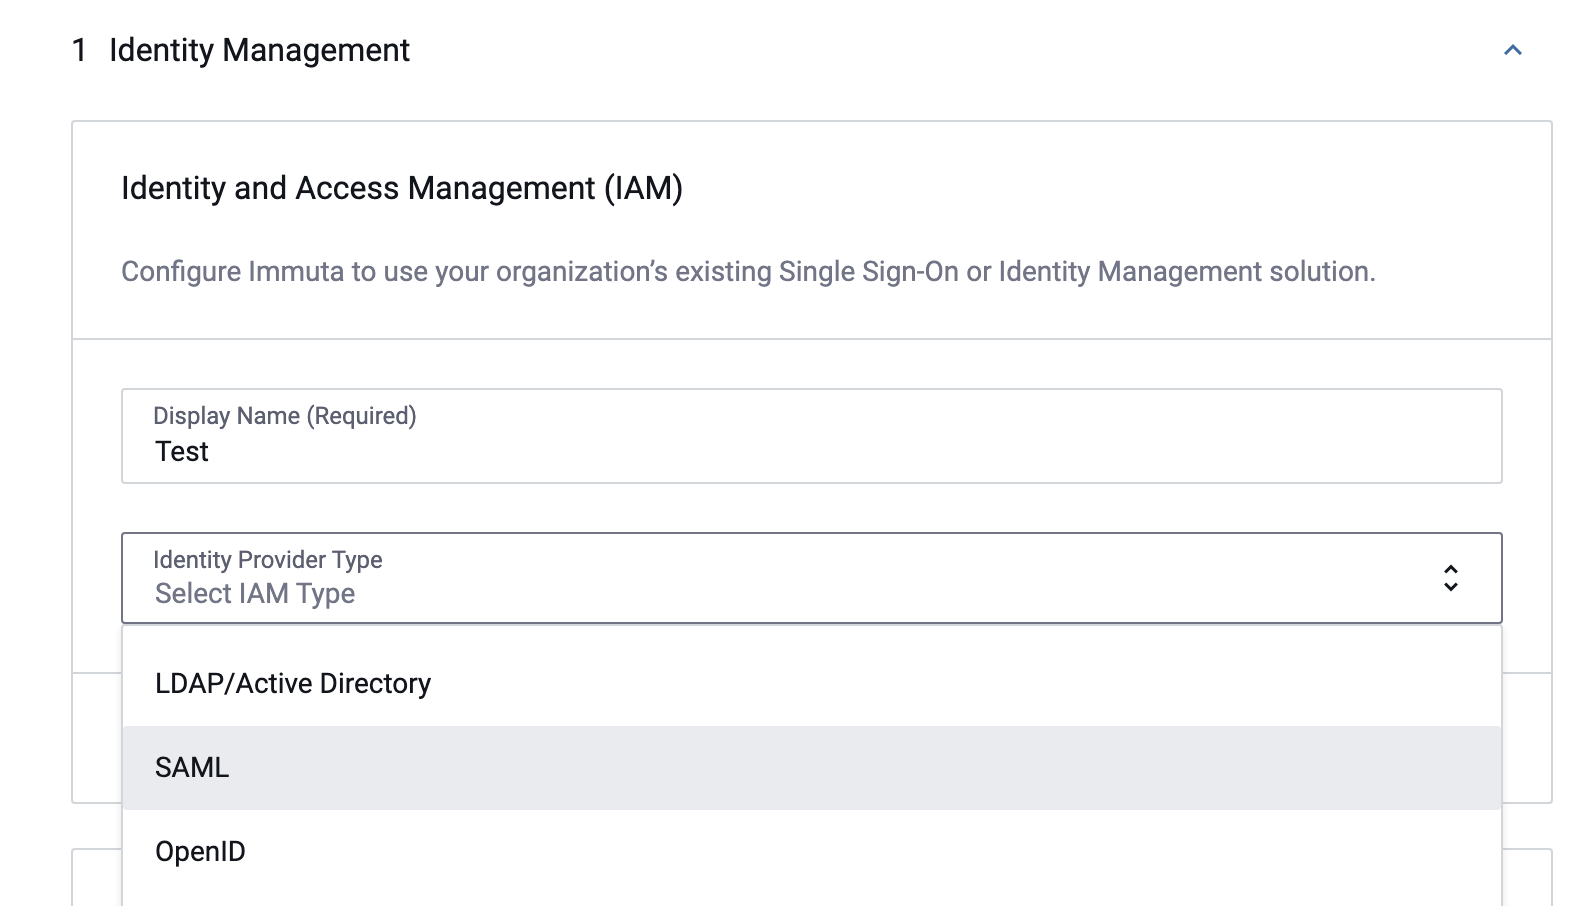
- Click the Add IAM button.
-
Complete the Display Name field and select your IAM type from the Identity Provider Type dropdown: LDAP/Active Directory, SAML, or OpenID.
Once you have selected LDAP/Active Directory from the Identity Provider Type dropdown menu,
- Adjust Default Permissions granted to users by selecting from the list in this dropdown menu, and then complete the required fields in the Credentials and Options sections. Note: Either User Attribute OR User Search Filter is required, not both. Completing one of these fields disables the other.
- Opt to have Case-insensitive user names by clicking the checkbox.
- Opt to Enable Debug Logging or Enable SSL by clicking the checkboxes.
- In the Profile Schema section, map attributes in LDAP/Active Directory to automatically fill in a user's Immuta profile. Note: Fields that you specify in this schema will not be editable by users within Immuta.
- Opt to Link SQL Account.
- Opt to Enable scheduled LDAP Sync support for LDAP/Active Directory and Enable pagination for LDAP Sync. Once enabled, confirm the sync schedule written in Cron rule; the default is every hour. Confirm the LDAP page size for pagination; the default is 1,000.
- Opt to Sync groups from LDAP/Active Directory to Immuta. Once enabled, map attributes in LDAP/Active Directory to automatically pull information about the groups into Immuta.
-
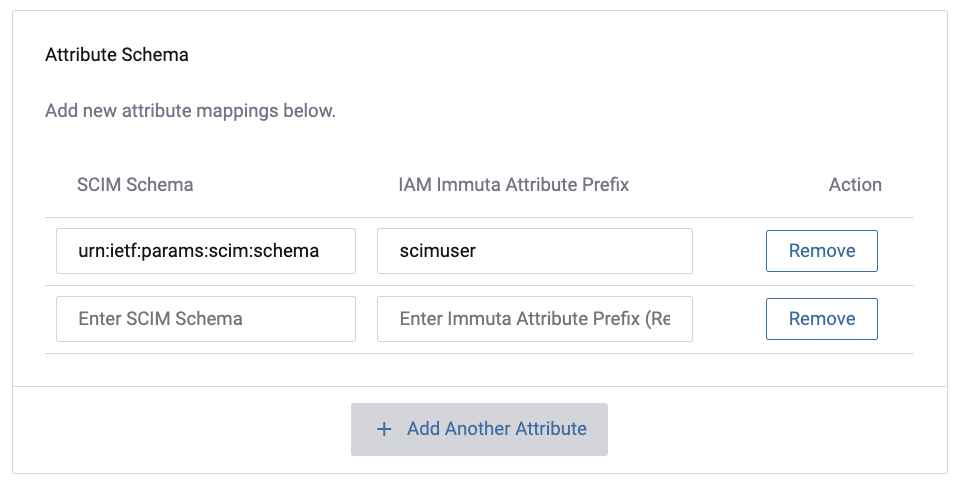
Opt to Sync attributes from LDAP/Active Directory to Immuta. Once enabled, add attribute mappings in the attribute schema. The desired attribute prefix should be mapped to the relevant schema URN.
-
Opt to enable External Groups and Attributes Endpoint, Make Default IAM, or Migrate Users from another IAM by selecting the checkbox.
-
Then click the Test Connection button.
Note: If you select Link SQL Account, you will need to update the Query Engine configuration.
-
Once the connection is successful, click the Test User Login button.
- Click the Test LDAP Sync button if scheduled sync has been enabled.
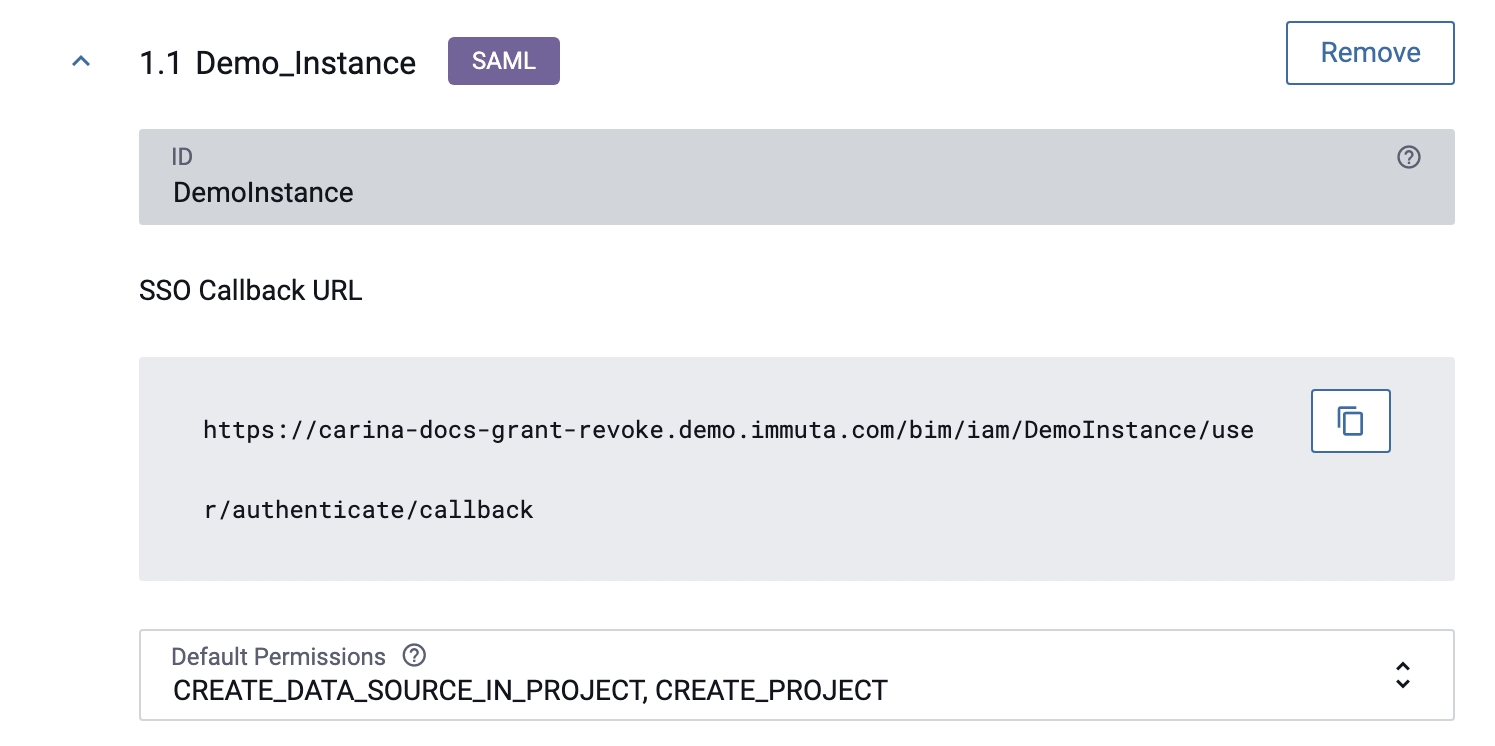
Once you have selected SAML from the Identity Provider Type dropdown menu,
-
Take note of the ID and copy the SSO Callback URL to use as the ACS URL in your identity provider.
-
Adjust Default Permissions granted to users by selecting from the list in this dropdown menu, and then complete the required fields in the Client Options section.
- Opt to Enable SCIM support for SAML by clicking the checkbox, which will generate a SCIM API Key.
- In the Profile Schema section, map attributes in SAML to automatically fill in a user's Immuta profile. Note: Fields that you specify in this schema will not be editable by users within Immuta.
- Opt to Link SQL Account, Allow Identity Provider Initiated Single Sign On, Sync groups from SAML to Immuta, Sync attributes from SAML to Immuta, External Groups and Attributes Endpoint, or Migrate Users from another IAM by selecting the checkboxes, and then click the Test Connection button.
- Once the connection is successful, click the Test User Login button.
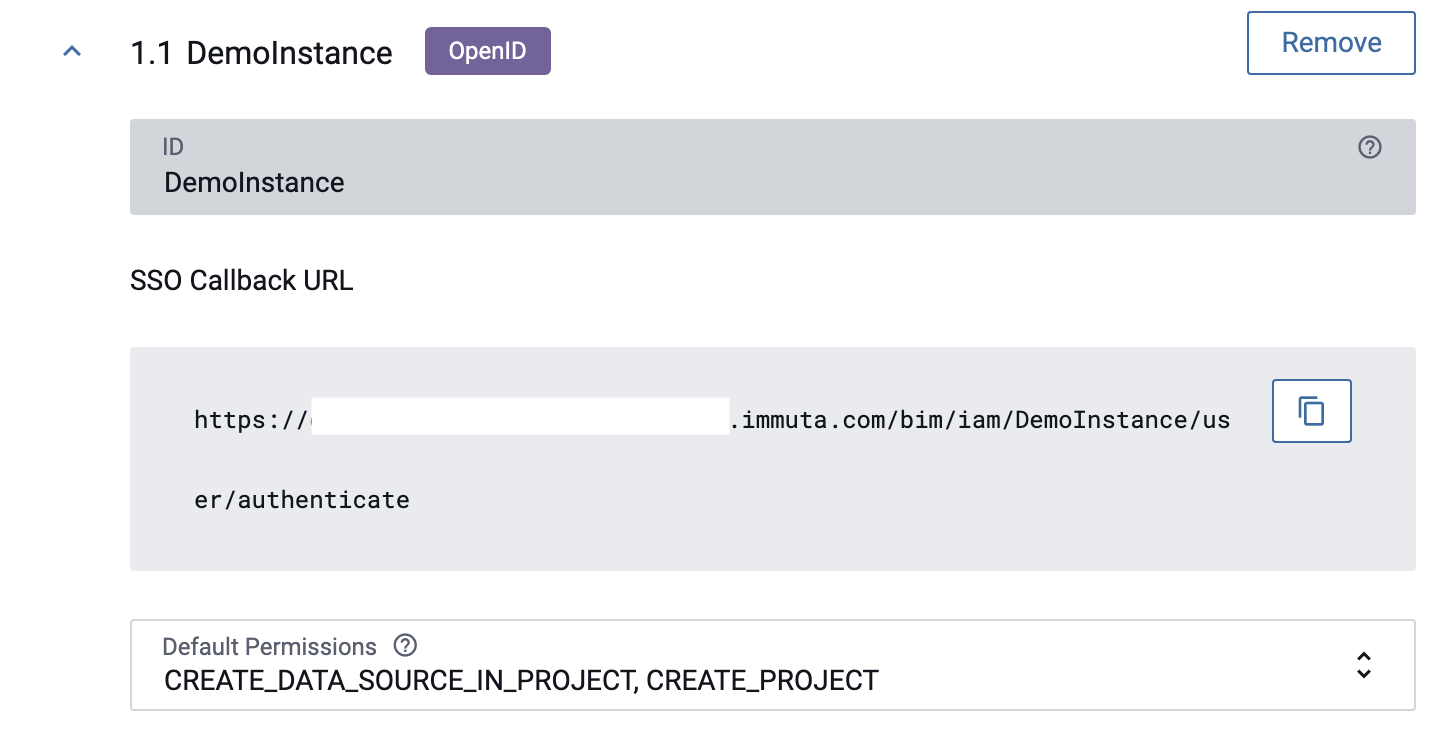
Once you have selected OpenID from the Identity Provider Type dropdown menu,
- Take note of the ID. You will need this value to reference the IAM in the callback URL in your
identity provider with the format
<base url>/bim/iam/<id>/user/authenticate/callback. -
Note the SSO Callback URL shown. Navigate out of Immuta and register the client application with the OpenID provider. If prompted for client application type, choose web.
-
Adjust Default Permissions granted to users by selecting from the list in this dropdown menu.
-
Back in Immuta, enter the Client ID, Client Secret, and Discover URL in the form field.
- Configure OpenID provider settings. There are two options:
- Set Discover URL to the
/.well-known/openid-configurationURL provided by your OpenID provider. - If you are unable to use the Discover URL option, you can fill out Authorization Endpoint, Issuer, Token Endpoint, JWKS Uri, and Supported ID Token Signing Algorithms.
- Set Discover URL to the
- If necessary, add additional Scopes.
- Opt to Enable SCIM support for OpenID by clicking the checkbox, which will generate a SCIM API Key.
- In the Profile Schema section, map attributes in OpenID to automatically fill in a user's Immuta profile. Note: Fields that you specify in this schema will not be editable by users within Immuta.
- Opt to Allow Identity Provider Initiated Single Sign On or Migrate Users from another IAM by selecting the checkboxes.
- Click the Test Connection button.
- Once the connection is successful, click the Test User Login button.
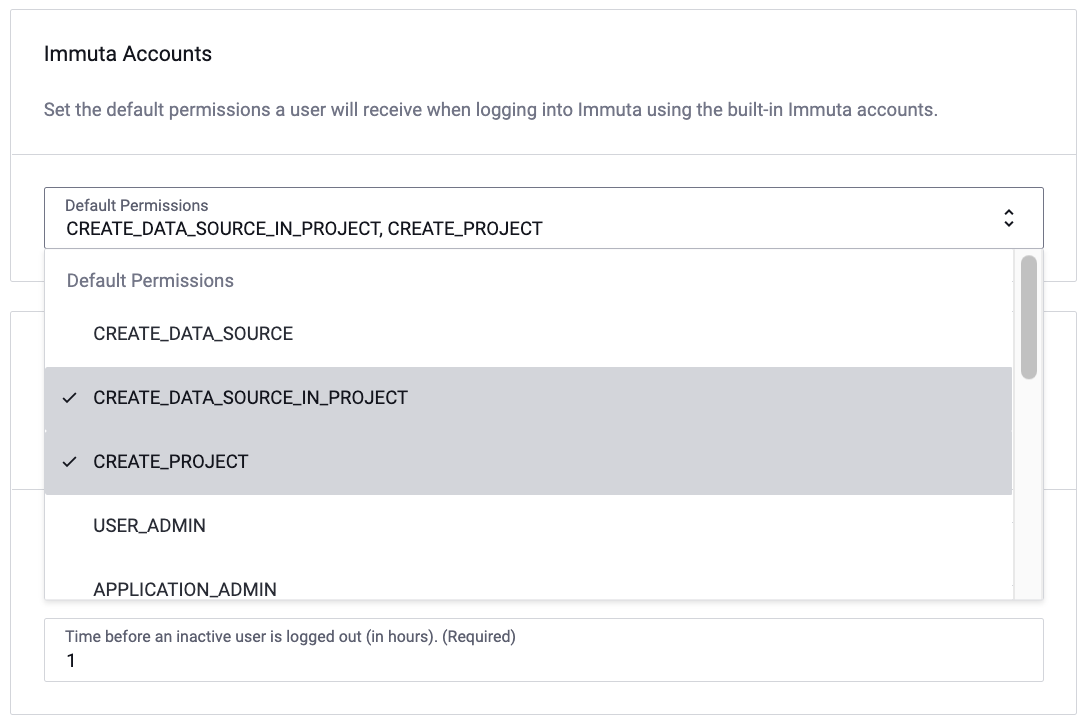
Immuta Accounts
To set the default permissions granted to users when they log in to Immuta, click the Default Permissions dropdown menu, and then select permissions from this list.
Link External Catalogs
See the External Catalogs page.
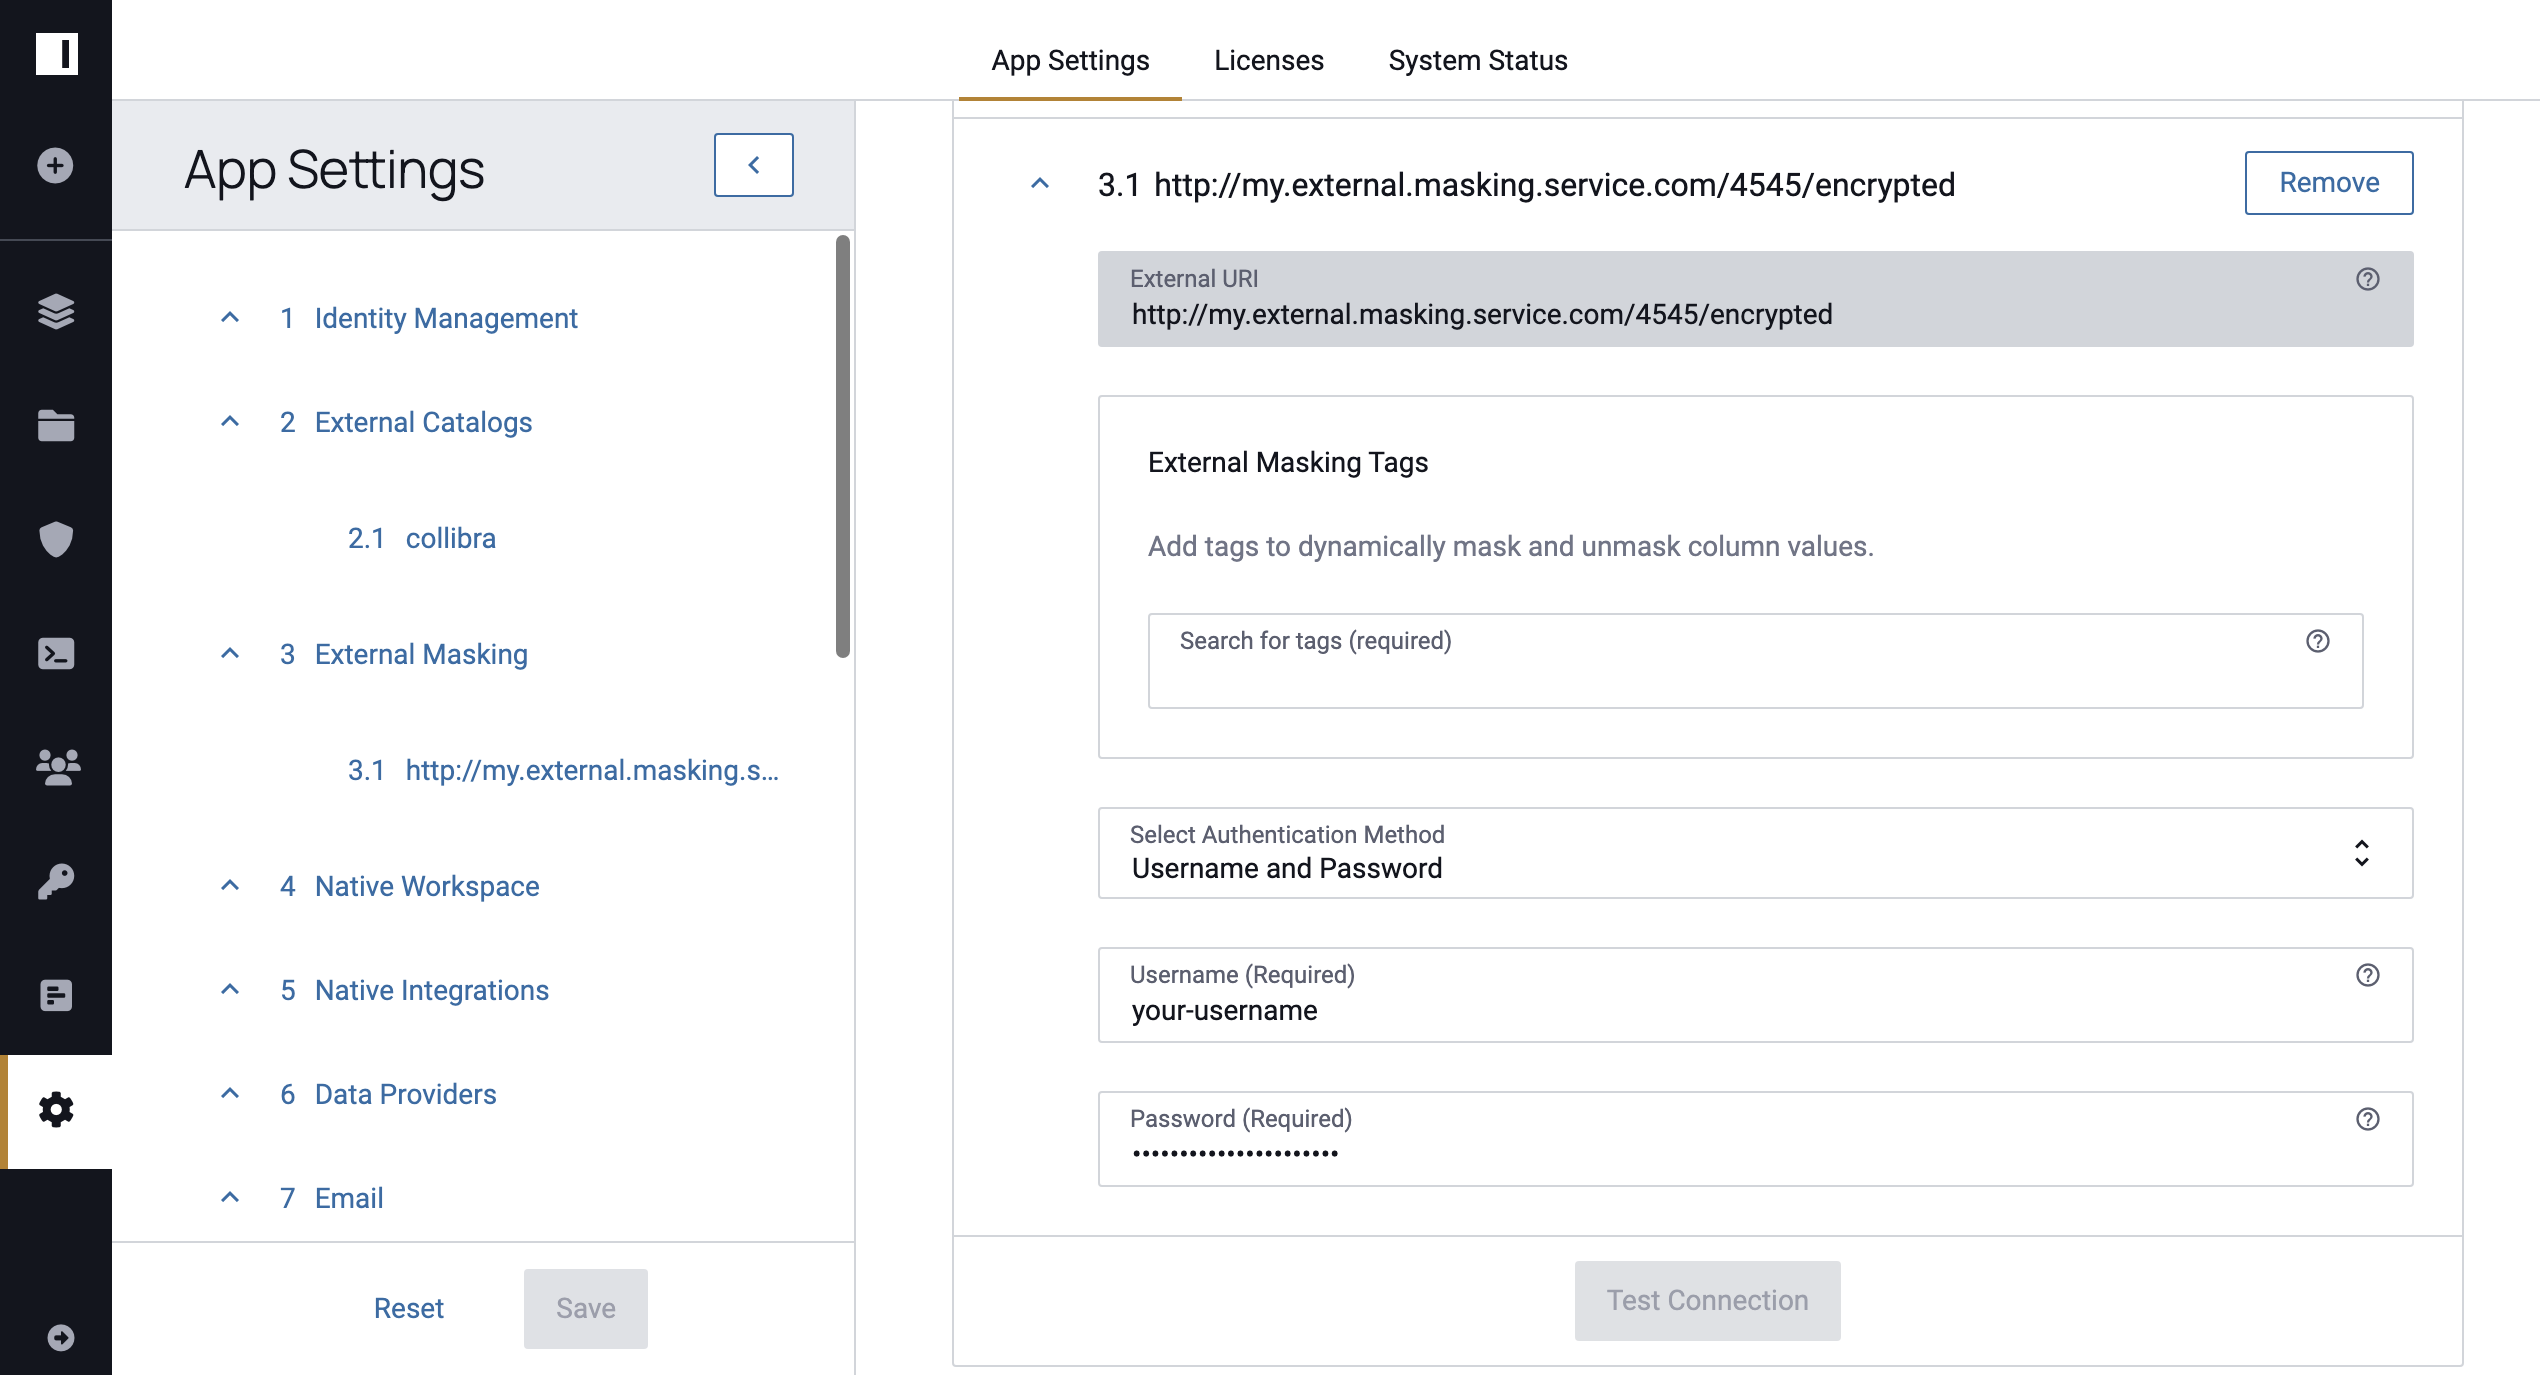
Enable External Masking
To enable external masking,
- Navigate to the App Settings page and click External Masking in the left sidebar.
-
Click Add Configuration and specify an external endpoint in the External URI field.
-
Click Configure, and then add at least one tag by selecting from the Search for tags dropdown menu. Note: Tag hierarchies are supported, so tagging a column as
Sensitive.Customerwould drive the policy if external masking was configured with the tagSensitive).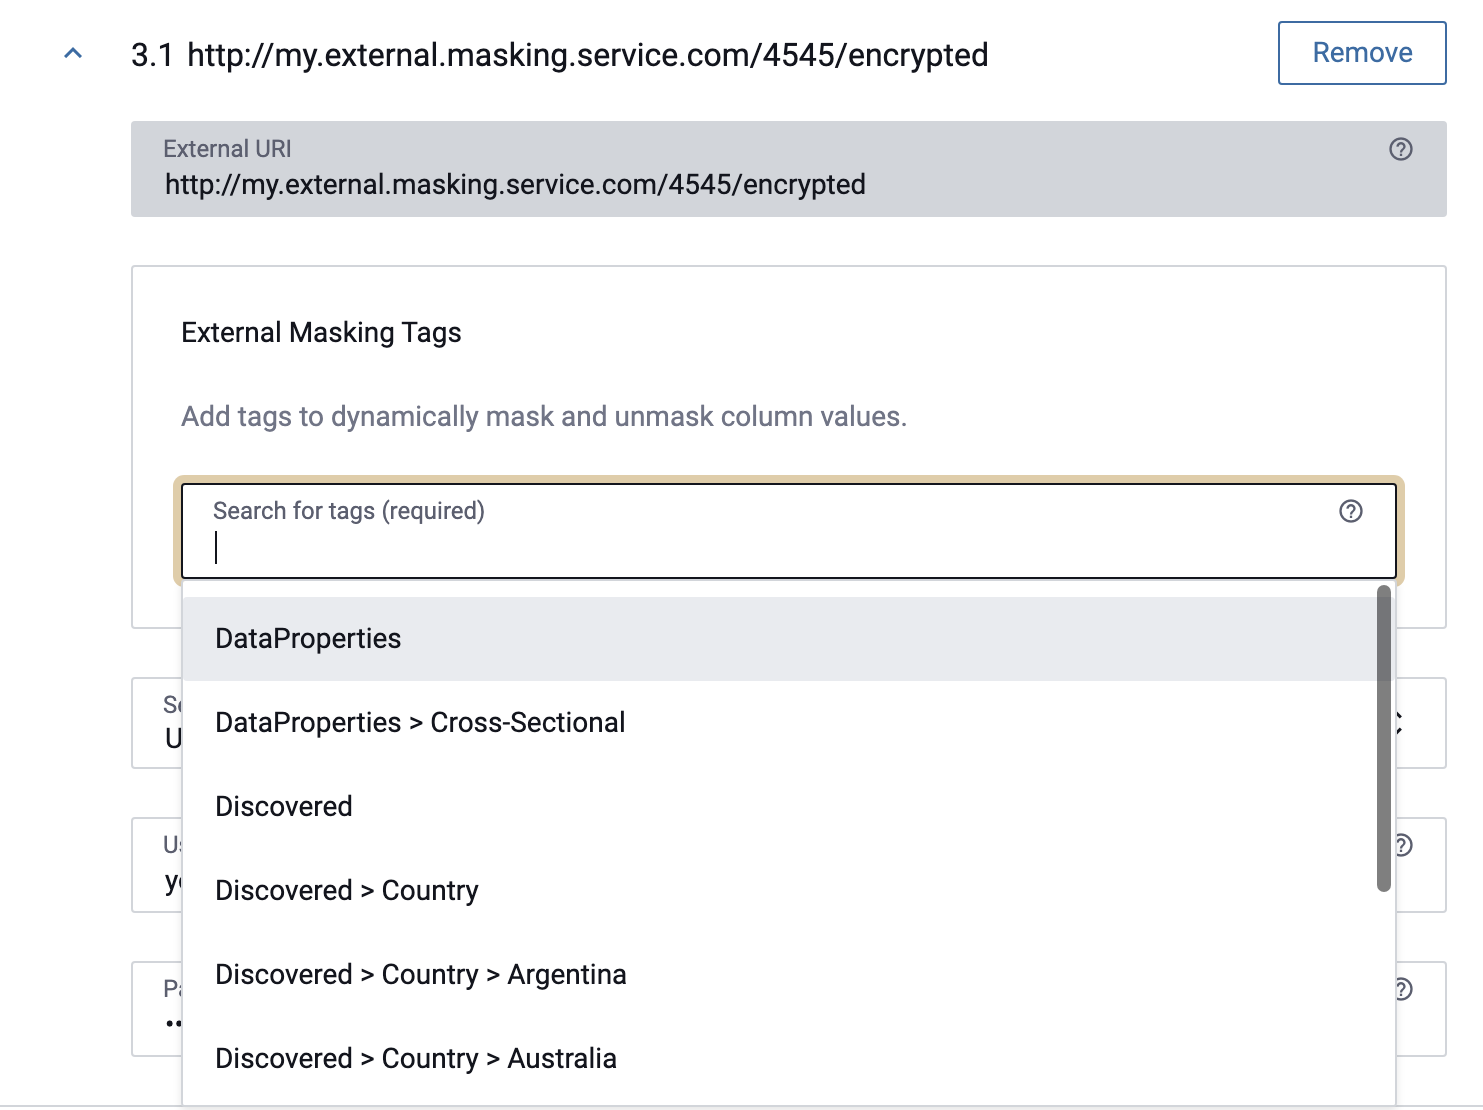
-
Select Authentication Method and then complete the authentication fields (when applicable).
- Click Test Connection and then Save.
Add a Native Workspace
- Select Add Workspace.
- Use the dropdown menu to select the Workspace Type and refer to the corresponding tab below.
Use the dropdown menu to select the Schema and refer to the corresponding tab below.
-
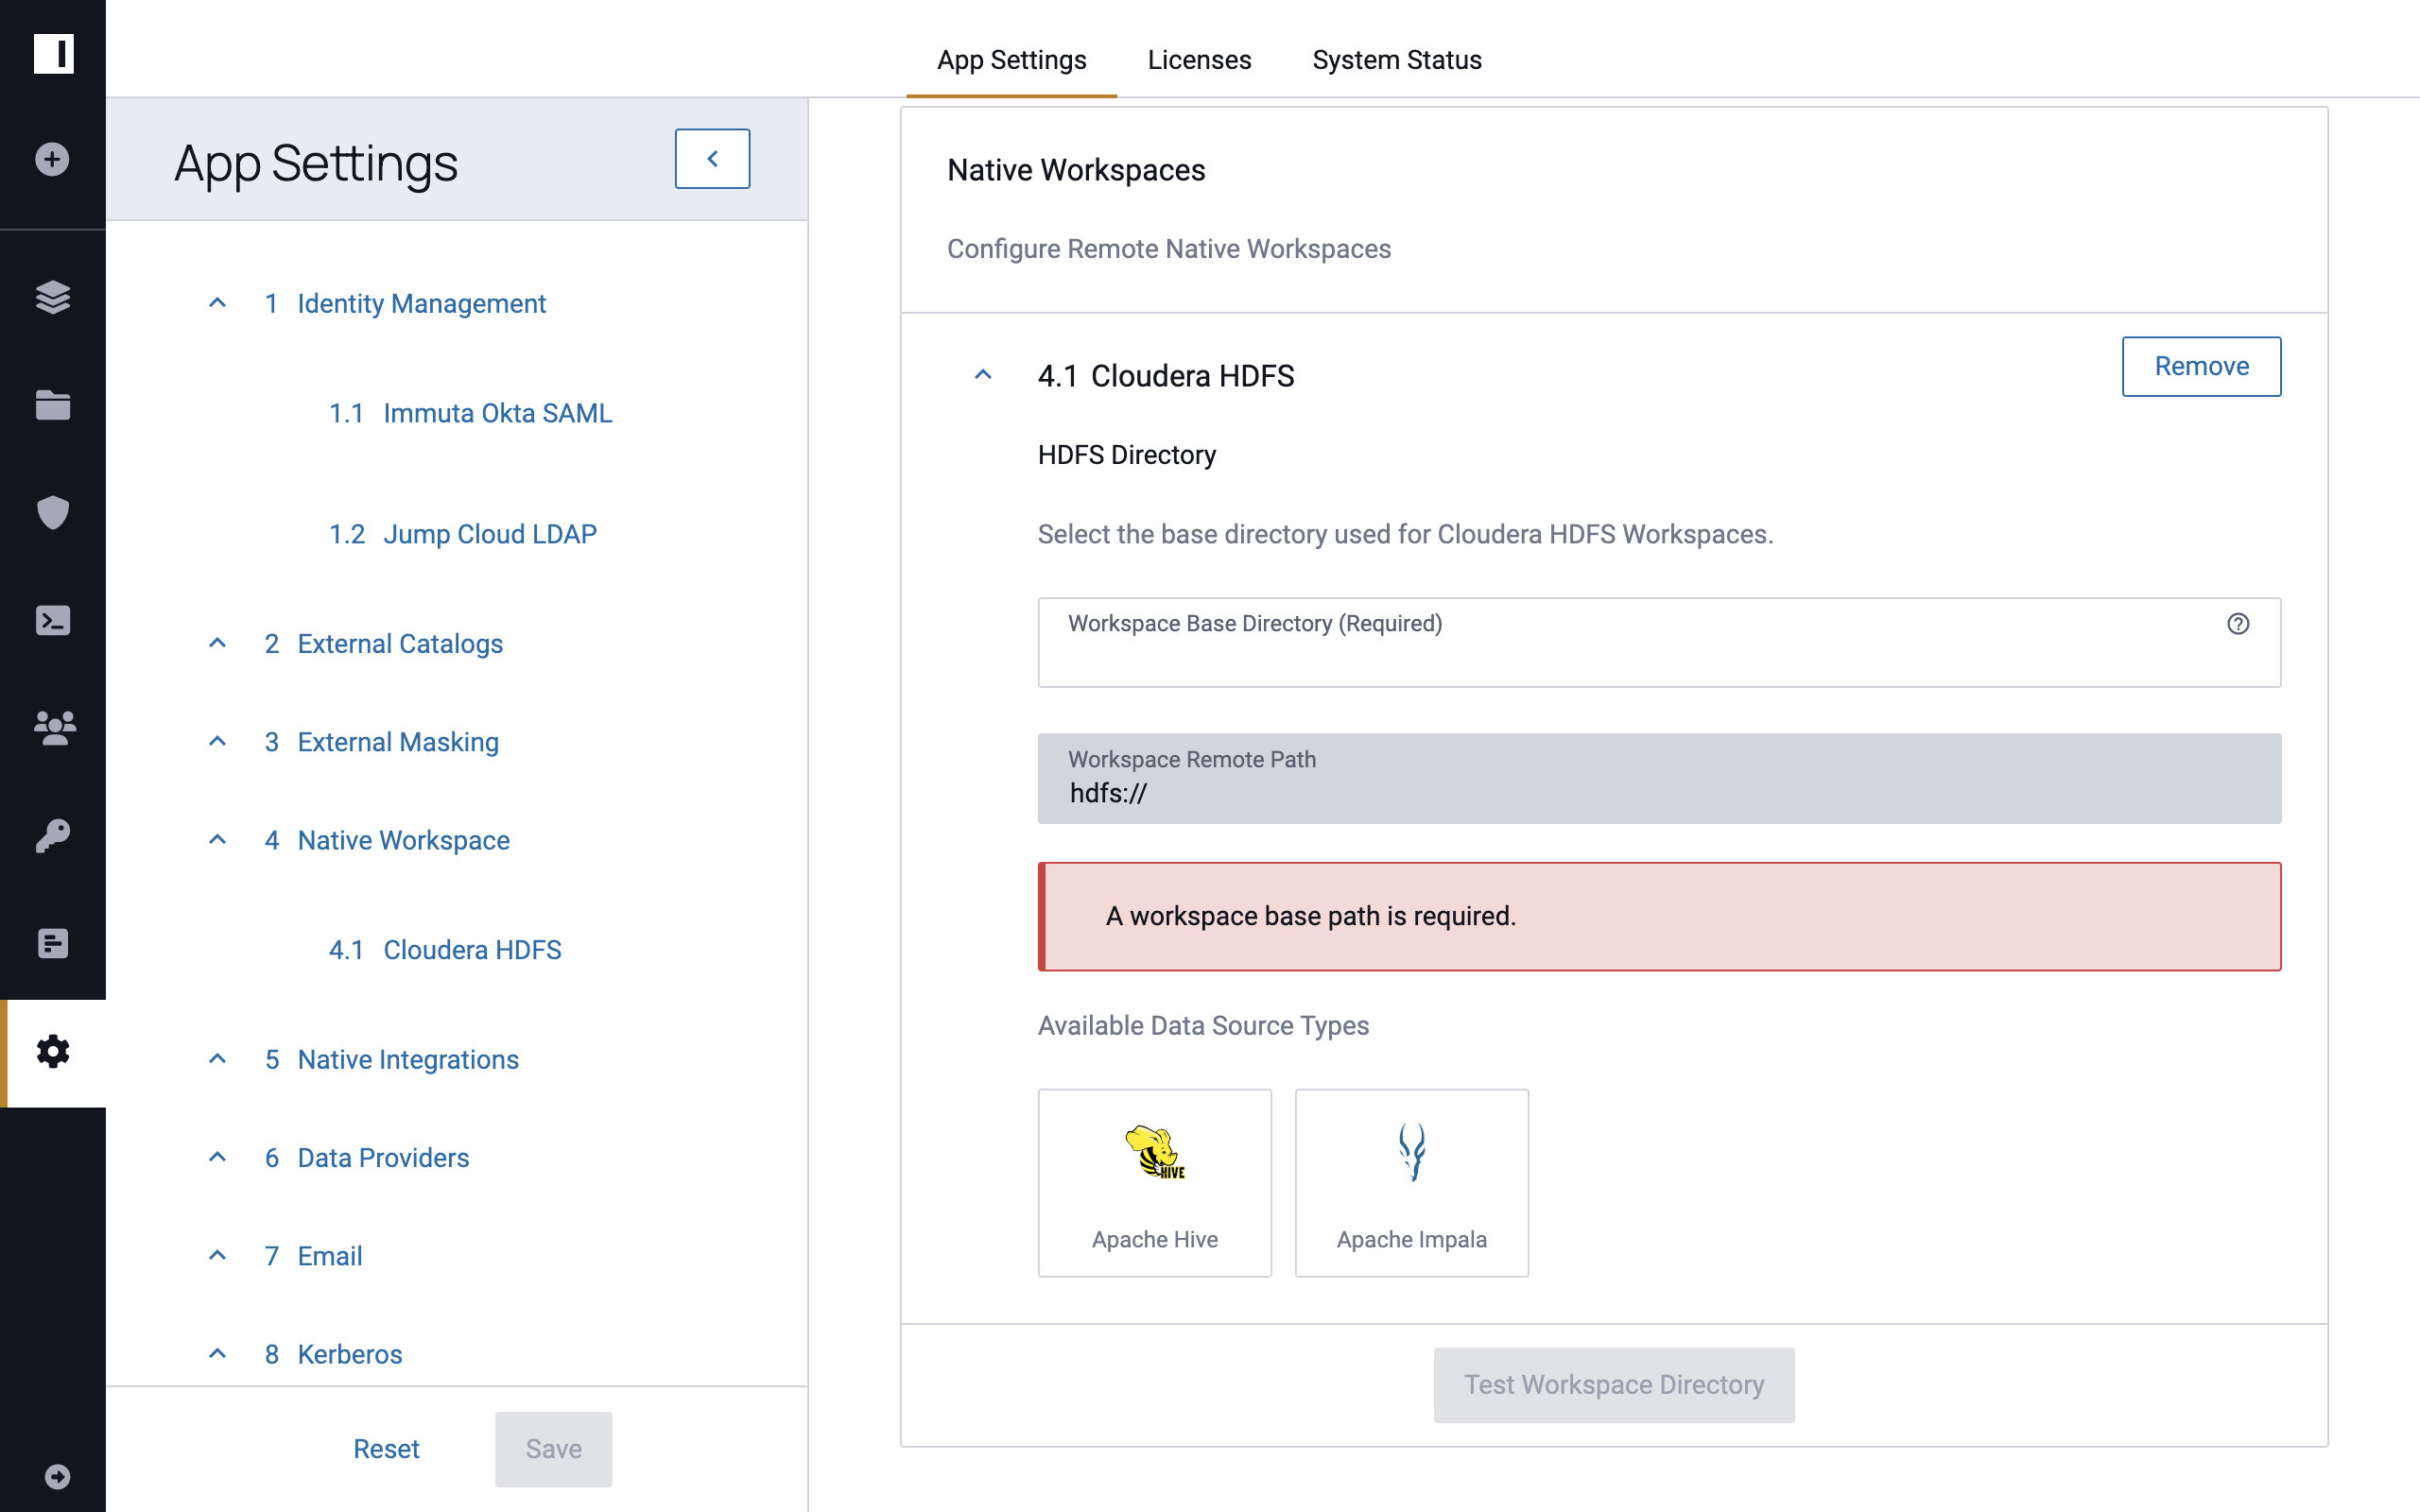
Enter the Workspace Base Directory (any project workspaces created will be sub-directories of this path).
-
Click Test Workspace Directory.
-
Once the credentials are successfully tested, click Save.

-
Use the dropdown menu to select the AWS Region.
-
Enter the S3 Bucket.
-
Opt to enter the S3 Bucket Prefix.
-
Opt to Configure S3 Credentials.
-
Use the dropdown menu to select Authentication Method, and enter the required information.
-
AWS Access Key: Enter your AWS Access Key ID and AWS Secret Key. Required Permissions: s3:ListBucket, s3:GetObject, and s3:GetObjectTagging.
Best Practices: Read-only Access Recommended
It is best practice to use an AWS account with limited read-only access to the data in question, but not necessary.
-
AWS IAM Instance Role: Opt to Assume AWS IAM Instance Role if you have ListRoles IAM permission or enter the AWS IAM Role ARN manually.
-
-
-
Click Test Workspace Bucket.
-
Once the credentials are successfully tested, click Save.
Databricks Cluster Configuration
Before creating a workspace, the cluster must send its configuration to Immuta; to do this, run a simple query on the
cluster (i.e., show tables). Otherwise, an error message will occur when users attempt to create a workspace.
Databricks API Token Expiration
The Databricks API Token used for native workspace access must be non-expiring. Using a token that expires risks losing access to projects that are created using that configuration.
Use the dropdown menu to select the Schema and refer to the corresponding tab below.
Required AWS S3 Permissions
When configuring a native workspace using Databricks with S3, the following permissions need to
be applied to arn:aws:s3:::immuta-workspace-bucket/workspace/base/path/* and
arn:aws:s3:::immuta-workspace-bucket/workspace/base/path Note: Two of these
values are found on the App Settings page; immuta-workspace-bucket
is from the S3 Bucket field and workspace/base/path is from the
Workspace Remote Path field:
- s3:Get*
- s3:Delete*
- s3:Put*
- s3:AbortMultipartUpload
Additionally, these permissions must be applied to arn:aws:s3:::immuta-workspace-bucket Note: One value is found on the App Settings page; immuta-workspace-bucket
is from the S3 Bucket field:
- s3:ListBucket
- s3:ListBucketMultipartUploads
- s3:GetBucketLocation
-
Enter the Name.
-
Click Add Workspace

-
Enter the Hostname.
-
Opt to enter the Workspace ID (required with Azure Databricks).
-
Enter the Databricks API Token.
-
Use the dropdown menu to select the AWS Region.
-
Enter the S3 Bucket.
-
Opt to enter the S3 Bucket Prefix.
-
Click Test Workspace Bucket.
-
Once the credentials are successfully tested, click Save.
-
Enter the Name.
-
Click Add Workspace.
-
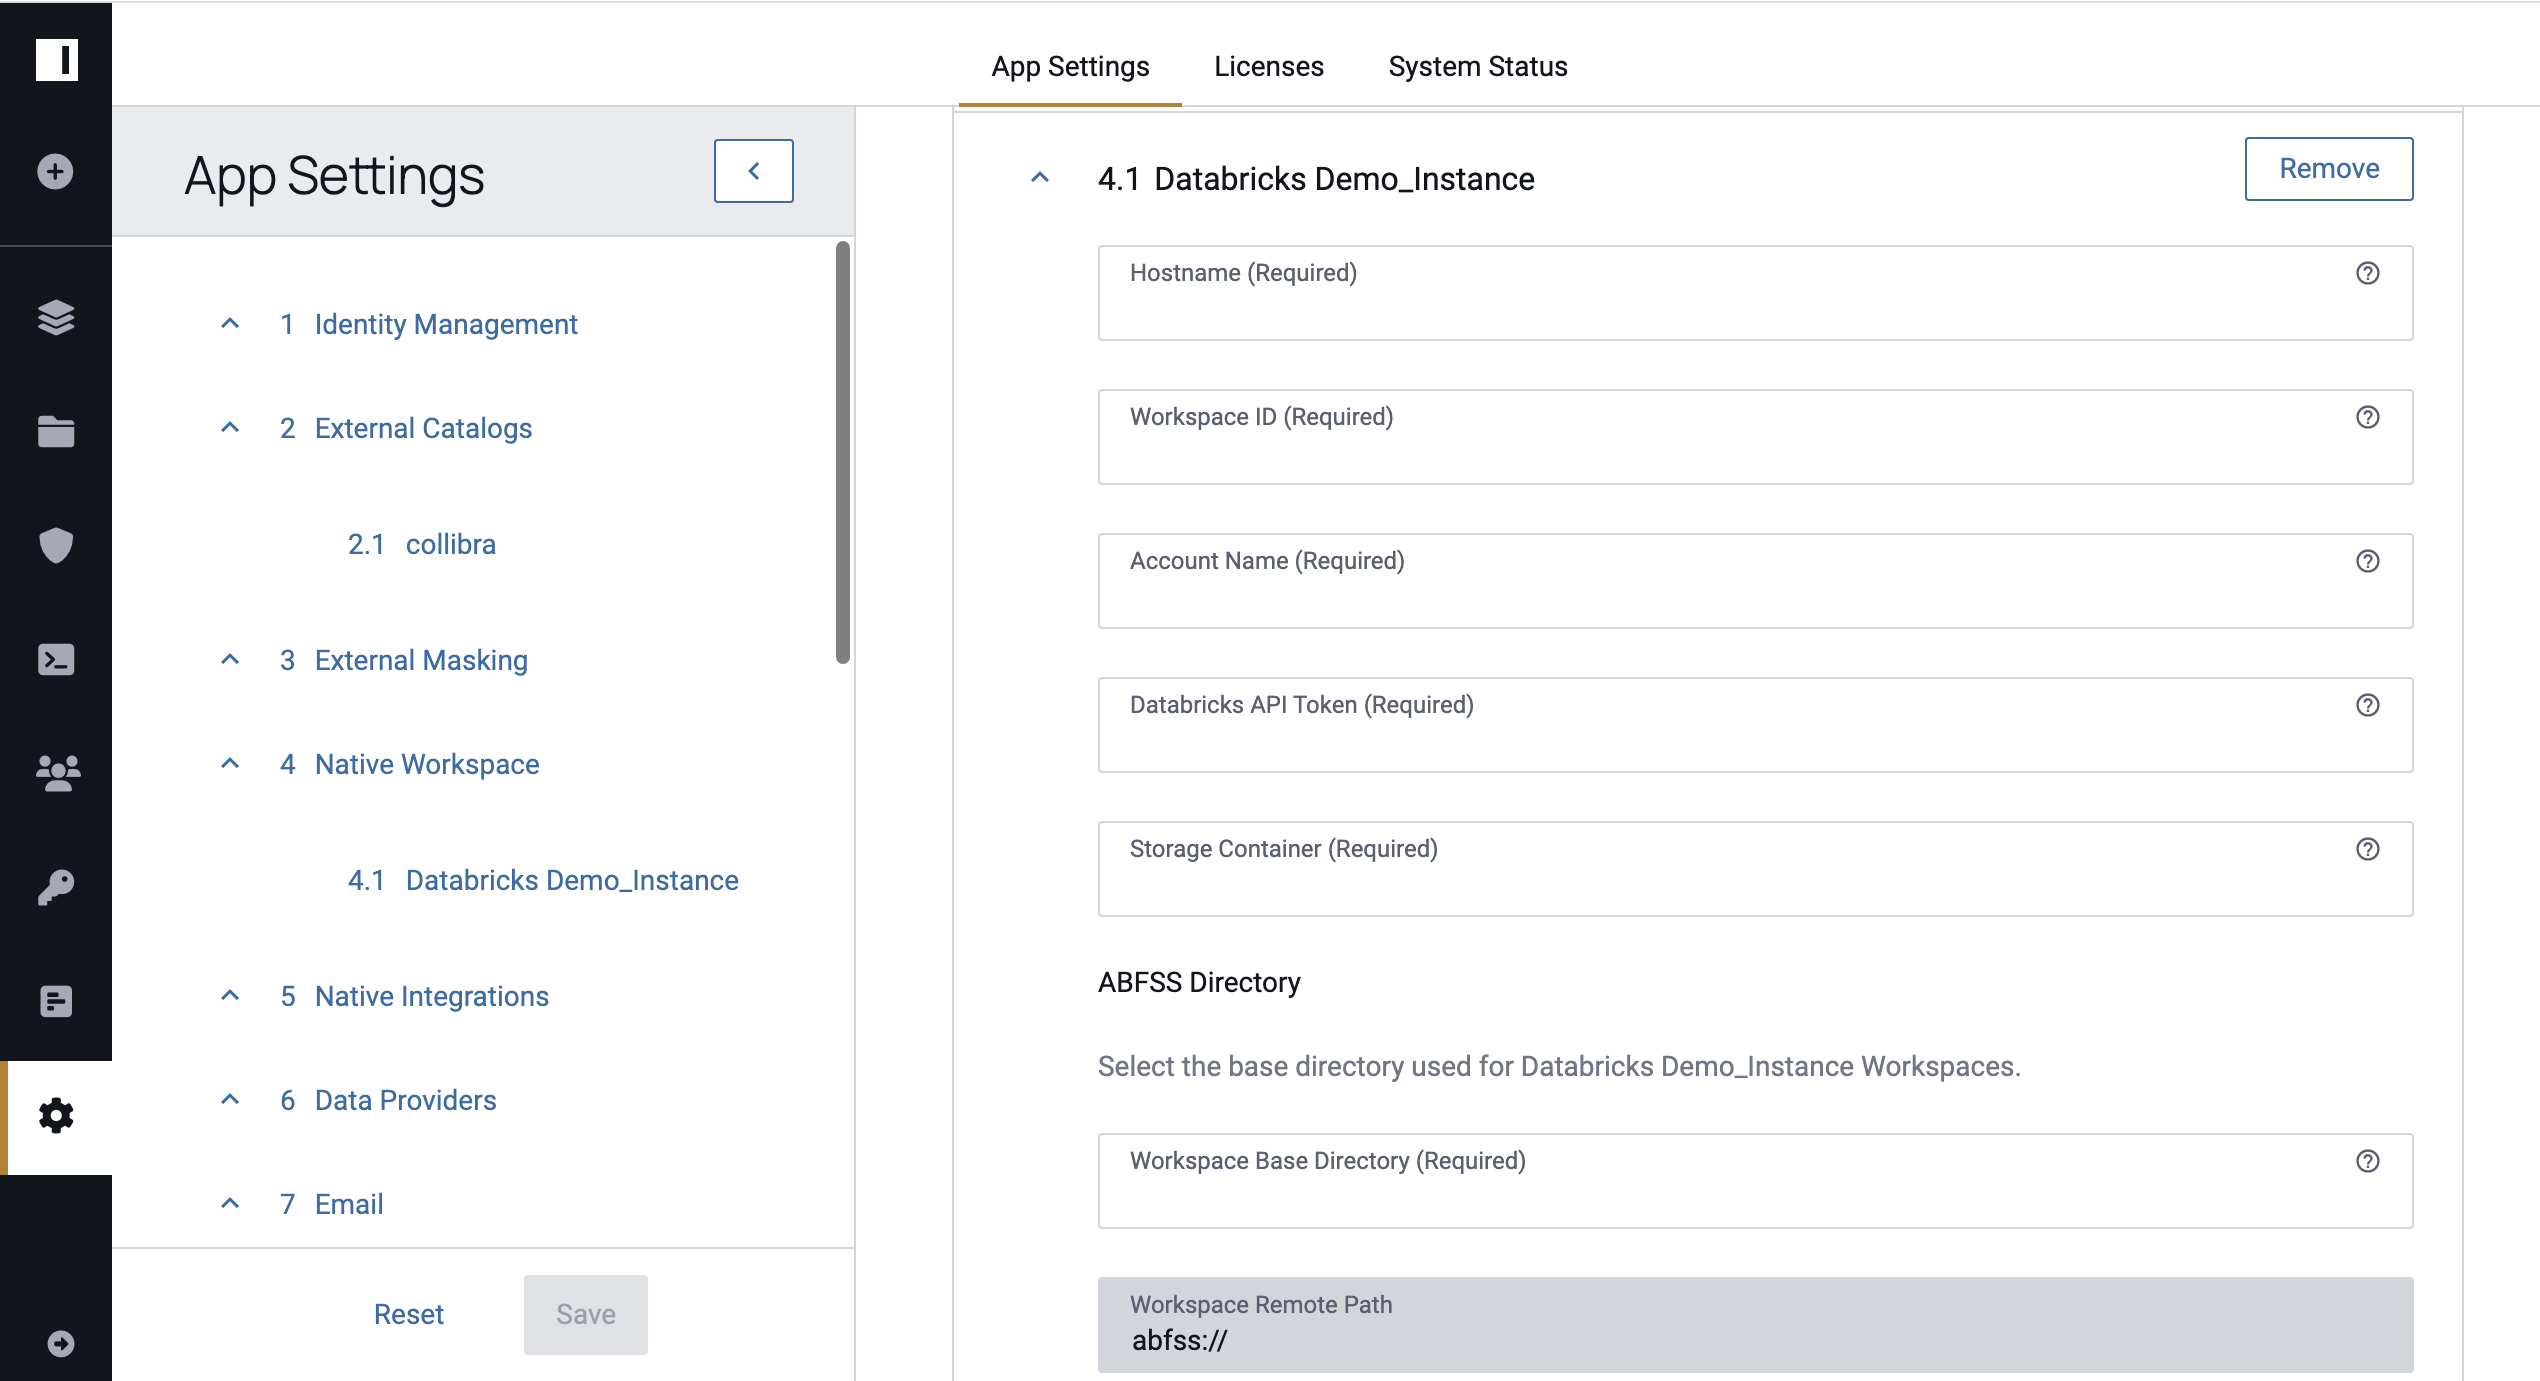
Enter the Hostname, Workspace ID, Account Name, Databricks API Token, and Storage Container.
-
Enter the Workspace Base Directory.
-
Click Test Workspace Directory.
-
Once the credentials are successfully tested, click Save.
-
Enter the Name.
-
Click Add Workspace.
-
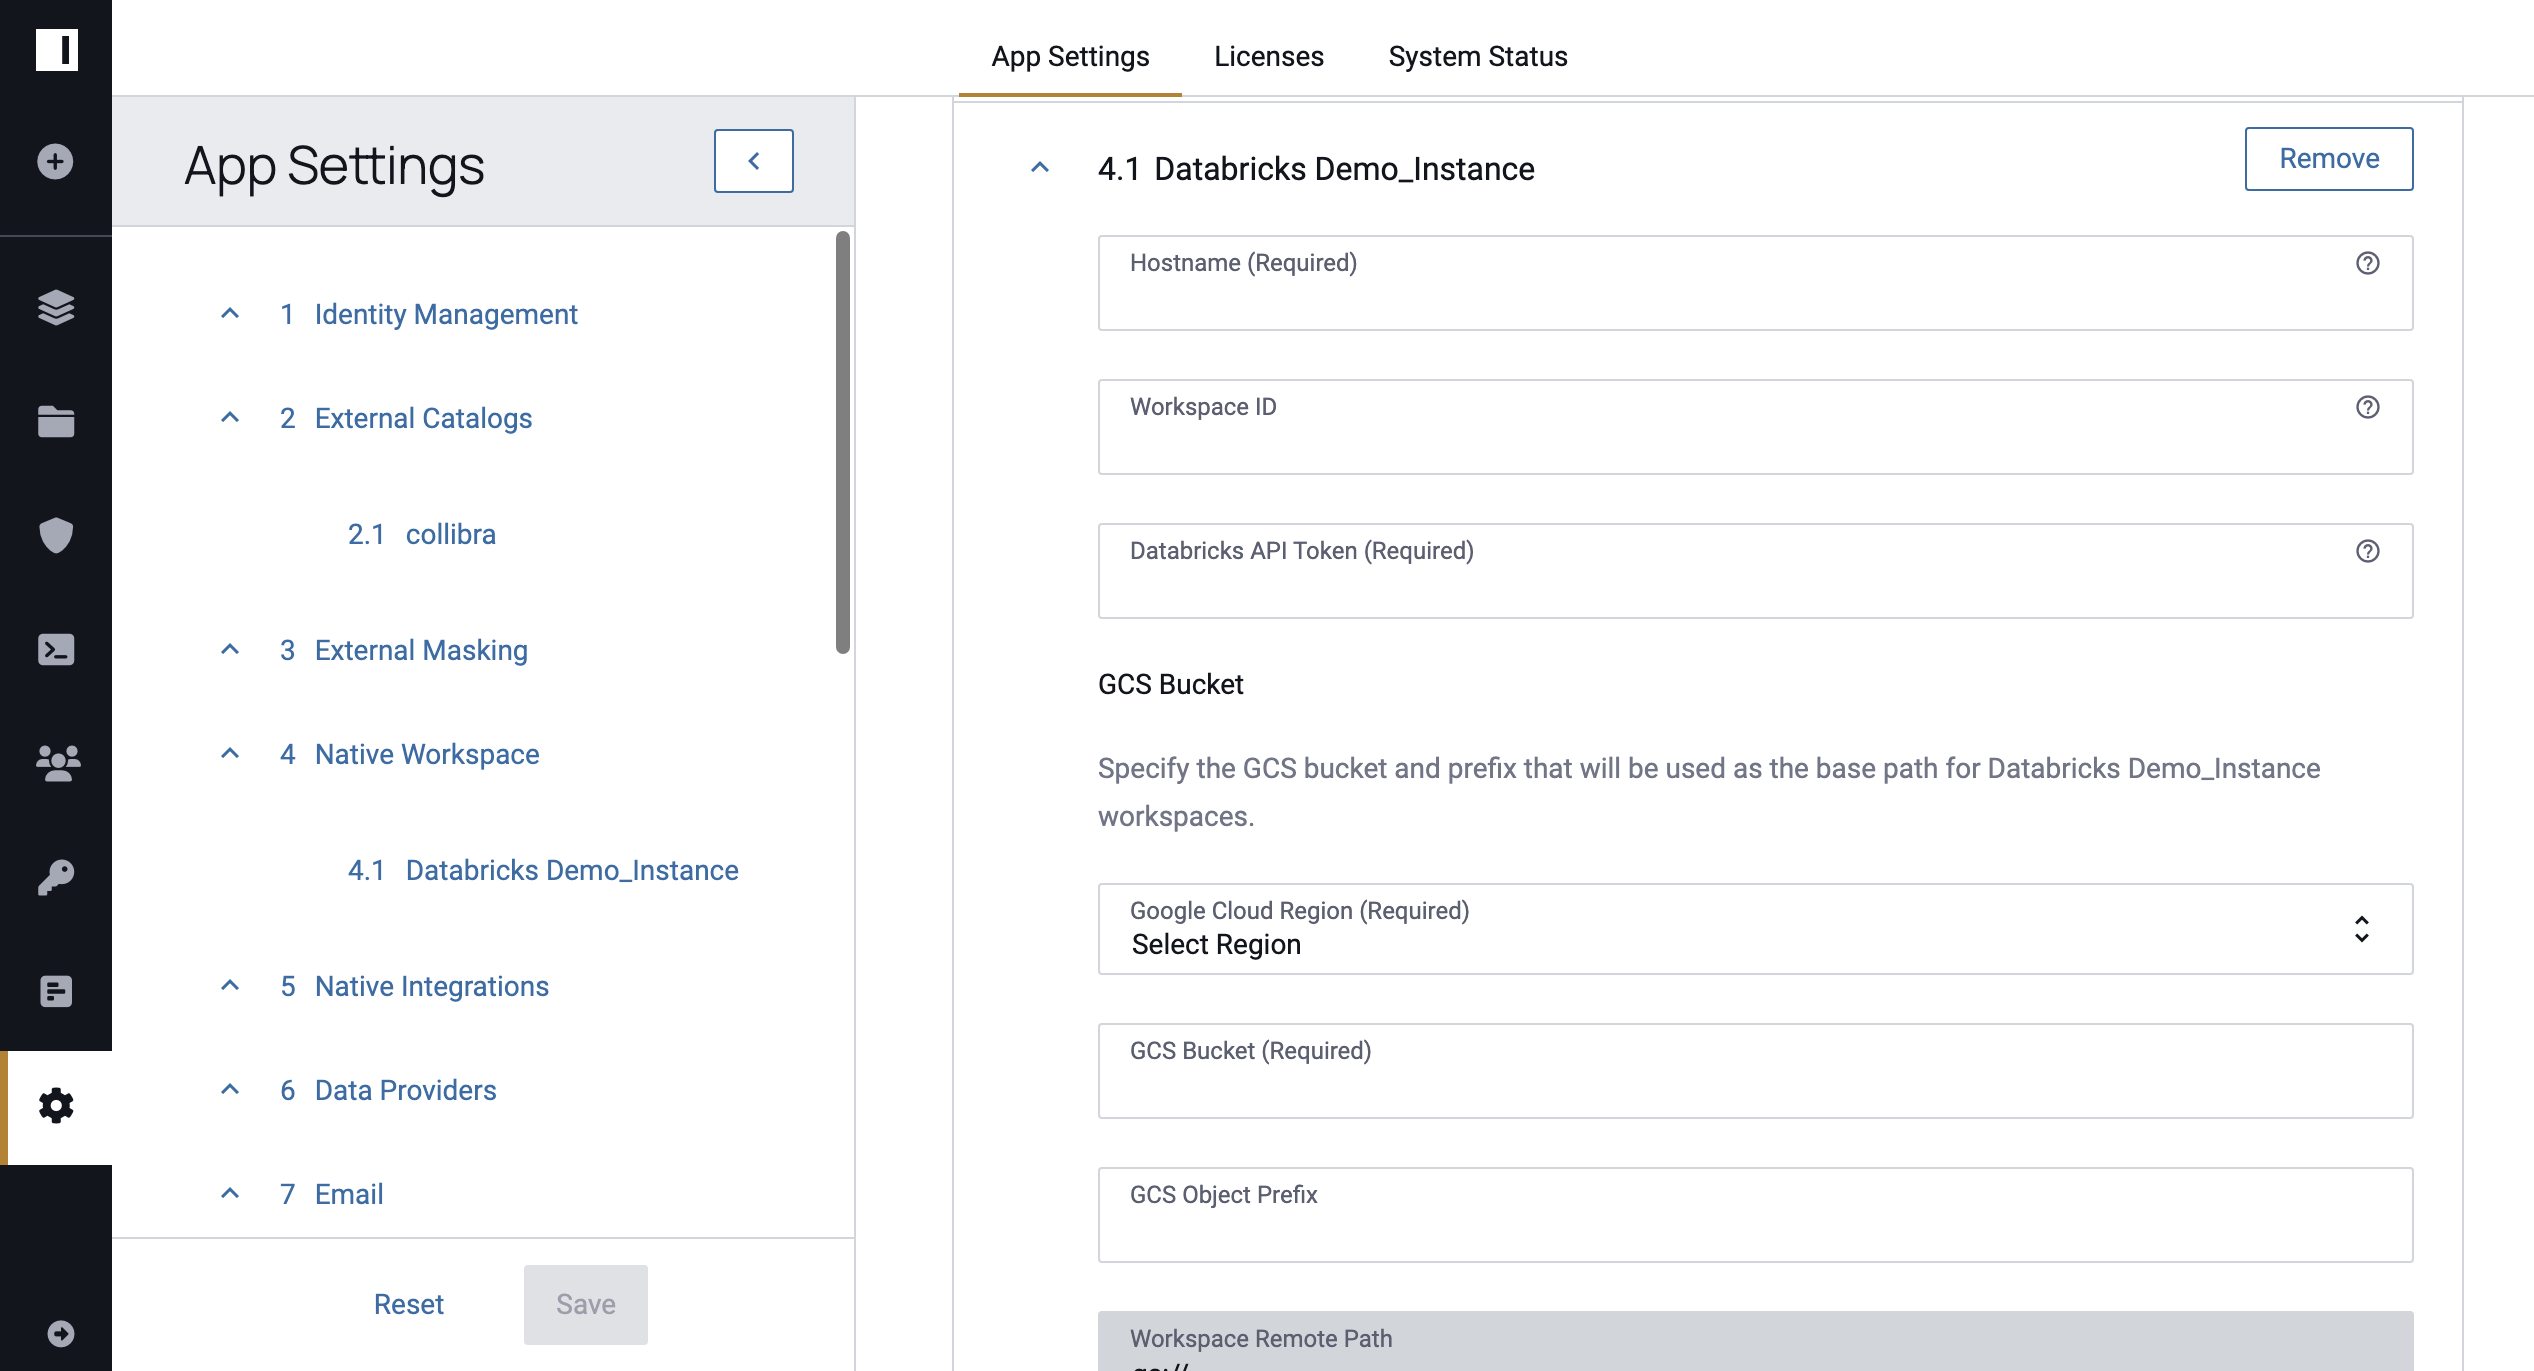
Enter the Hostname, Workspace ID, Account Name, and Databricks API Token.
-
Use the dropdown menu to select the Google Cloud Region.
-
Enter the GCS Bucket.
-
Opt to enter the GCS Object Prefix.
-
Click Test Workspace Directory.
-
Once the credentials are successfully tested, click Save.
Add an Integration
- Select Add Native Integration.
- Use the dropdown menu to select the Integration Type and refer to the corresponding tab below.
To enable Azure Synapse Analytics, see the Azure Synapse Analytics Integration page.
To enable Databricks SQL, see the Native Databricks SQL Integration page.
To enable Starburst (Trino), see the Starburst (Trino) installation page.
To enable Redshift, see the Redshift installation guide.
To enable Snowflake, see the Snowflake integration guide.
See the Simplified Databricks Configuration guide.
Manage Data Providers
You can enable or disable the types of data sources users can create in this section. Some of these types will require you to upload an ODBC driver before they can be enabled. The list of currently supported drivers is on the ODBC Drivers page.
To enable a data provider,
-
Click the menu button in the upper right corner of the provider icon you want to enable.

-
Select Enable from the dropdown.
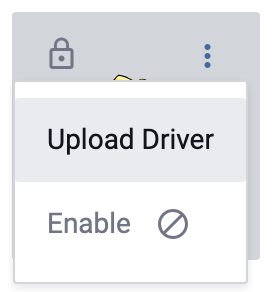
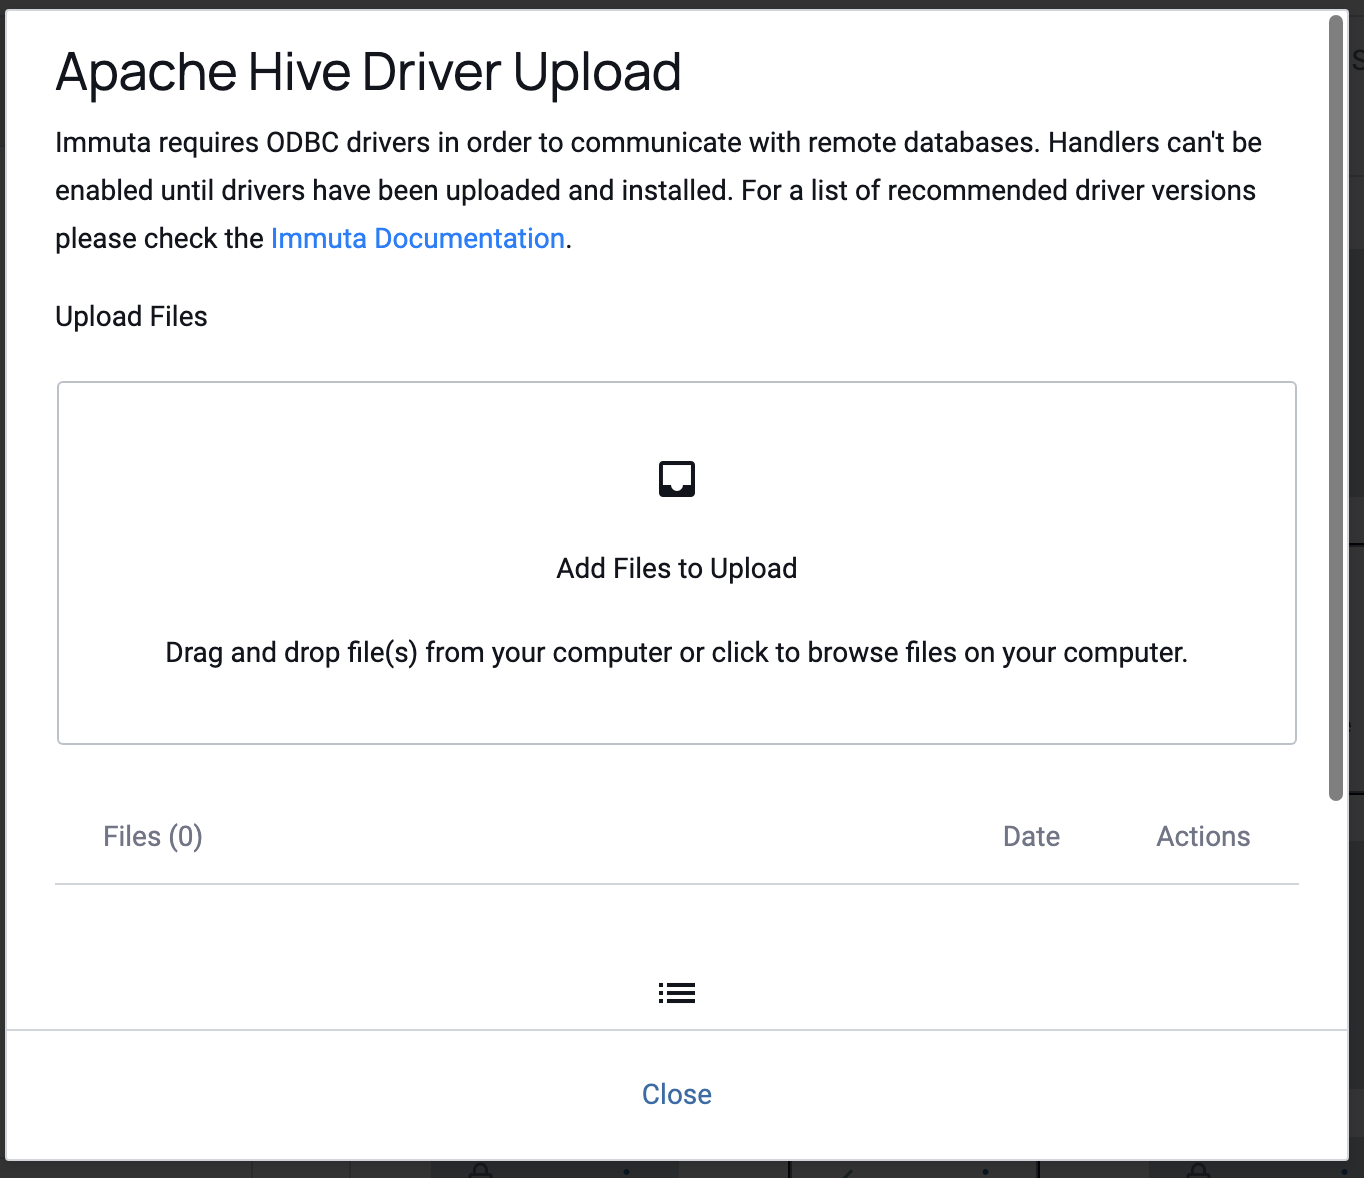
If an ODBC driver needs to be uploaded,
-
Click the menu button in the upper right corner of the provider icon, and then select Upload Driver from the dropdown.
-
Click in the Add Files to Upload box and upload your file.
-
Click Close.
- Click the menu button again, and then select Enable from the dropdown.
Enable Email
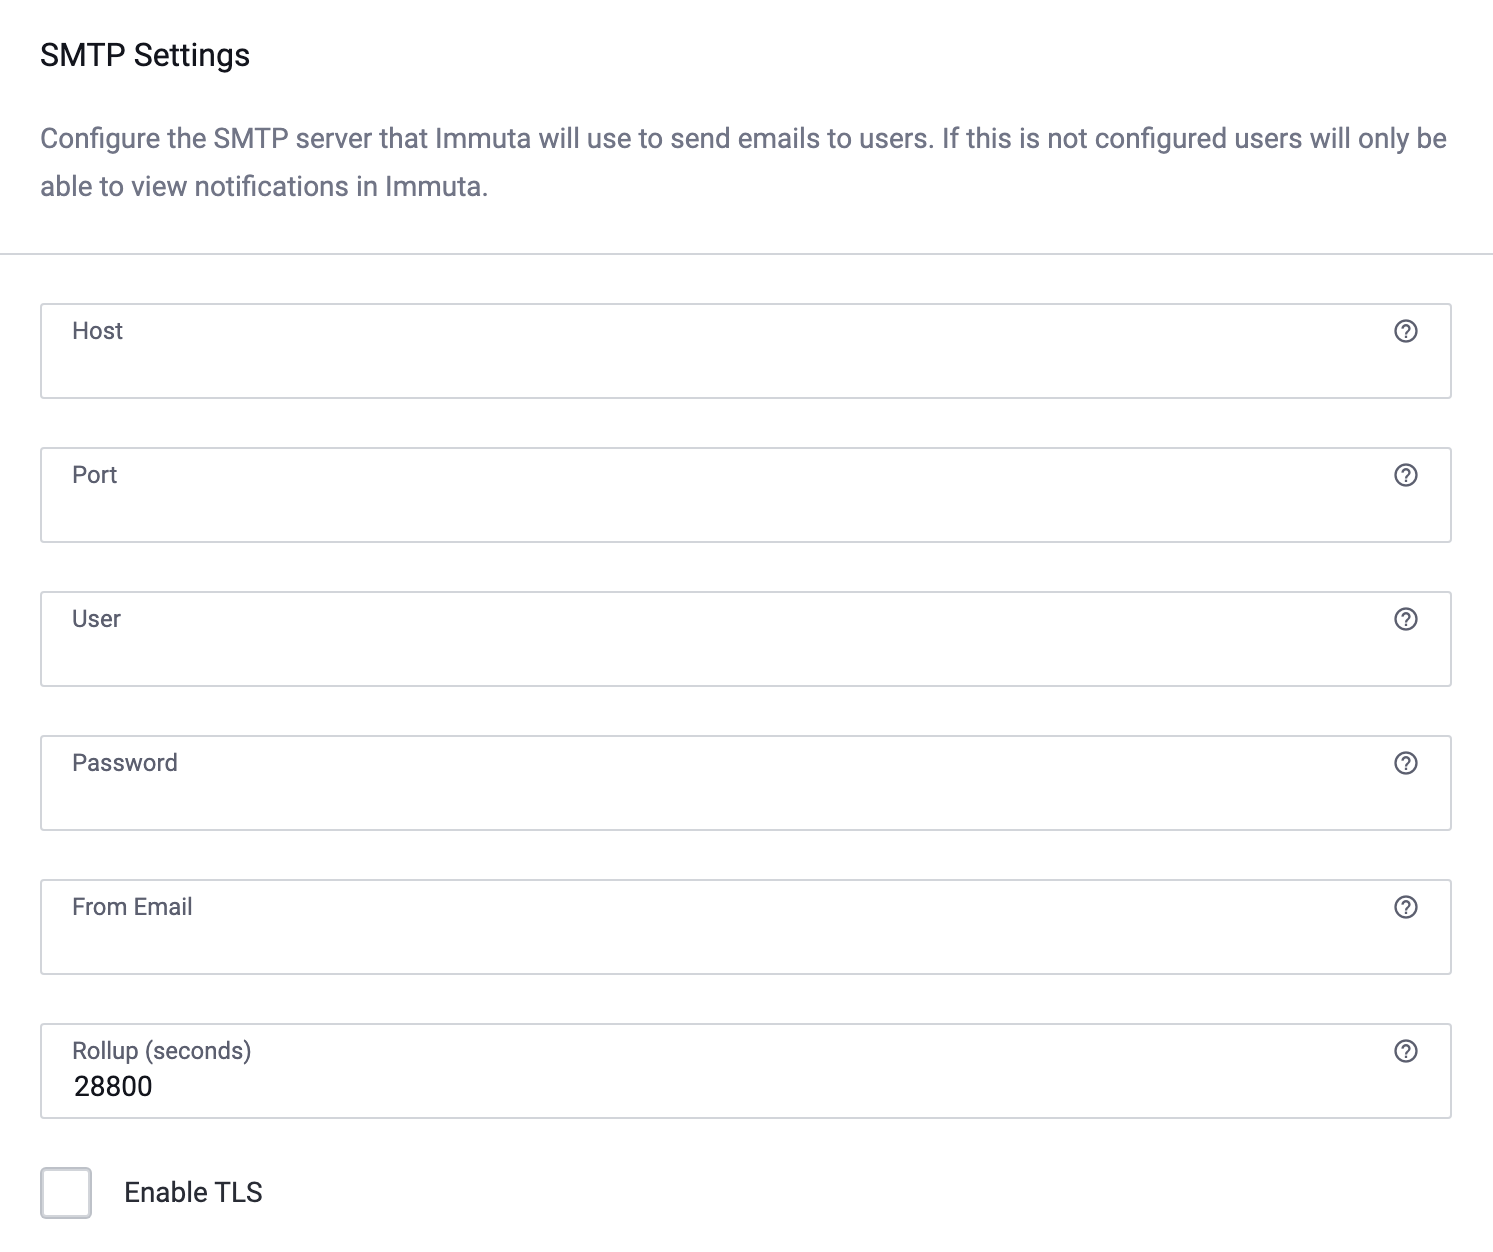
Application Admins can configure the SMTP server that Immuta will use to send emails to users. If this server is not configured, users will only be able to view notifications in the Immuta console.
To configure the SMTP server,
- Complete the Host and Port fields for your SMTP server.
- Enter the username and password Immuta will use to log in to the server in the User and Password fields, respectively.
- Enter the email address that will send the emails in the From Email field.
- Opt to Enable TLS by clicking this checkbox, and then enter a test email address in the Test Email Address field.
-
Finally, click Send Test Email.
Once SMTP is enabled in Immuta, any Immuta user can request access to notifications as emails, which will
vary depending on
the permissions that user has. For example, to receive email notifications about group membership changes, the
receiving user will need the GOVERNANCE permission. Once a user requests access to receive emails, Immuta will
compile notifications and distribute these compilations via email
at 8-hour intervals.
Initialize Kerberos
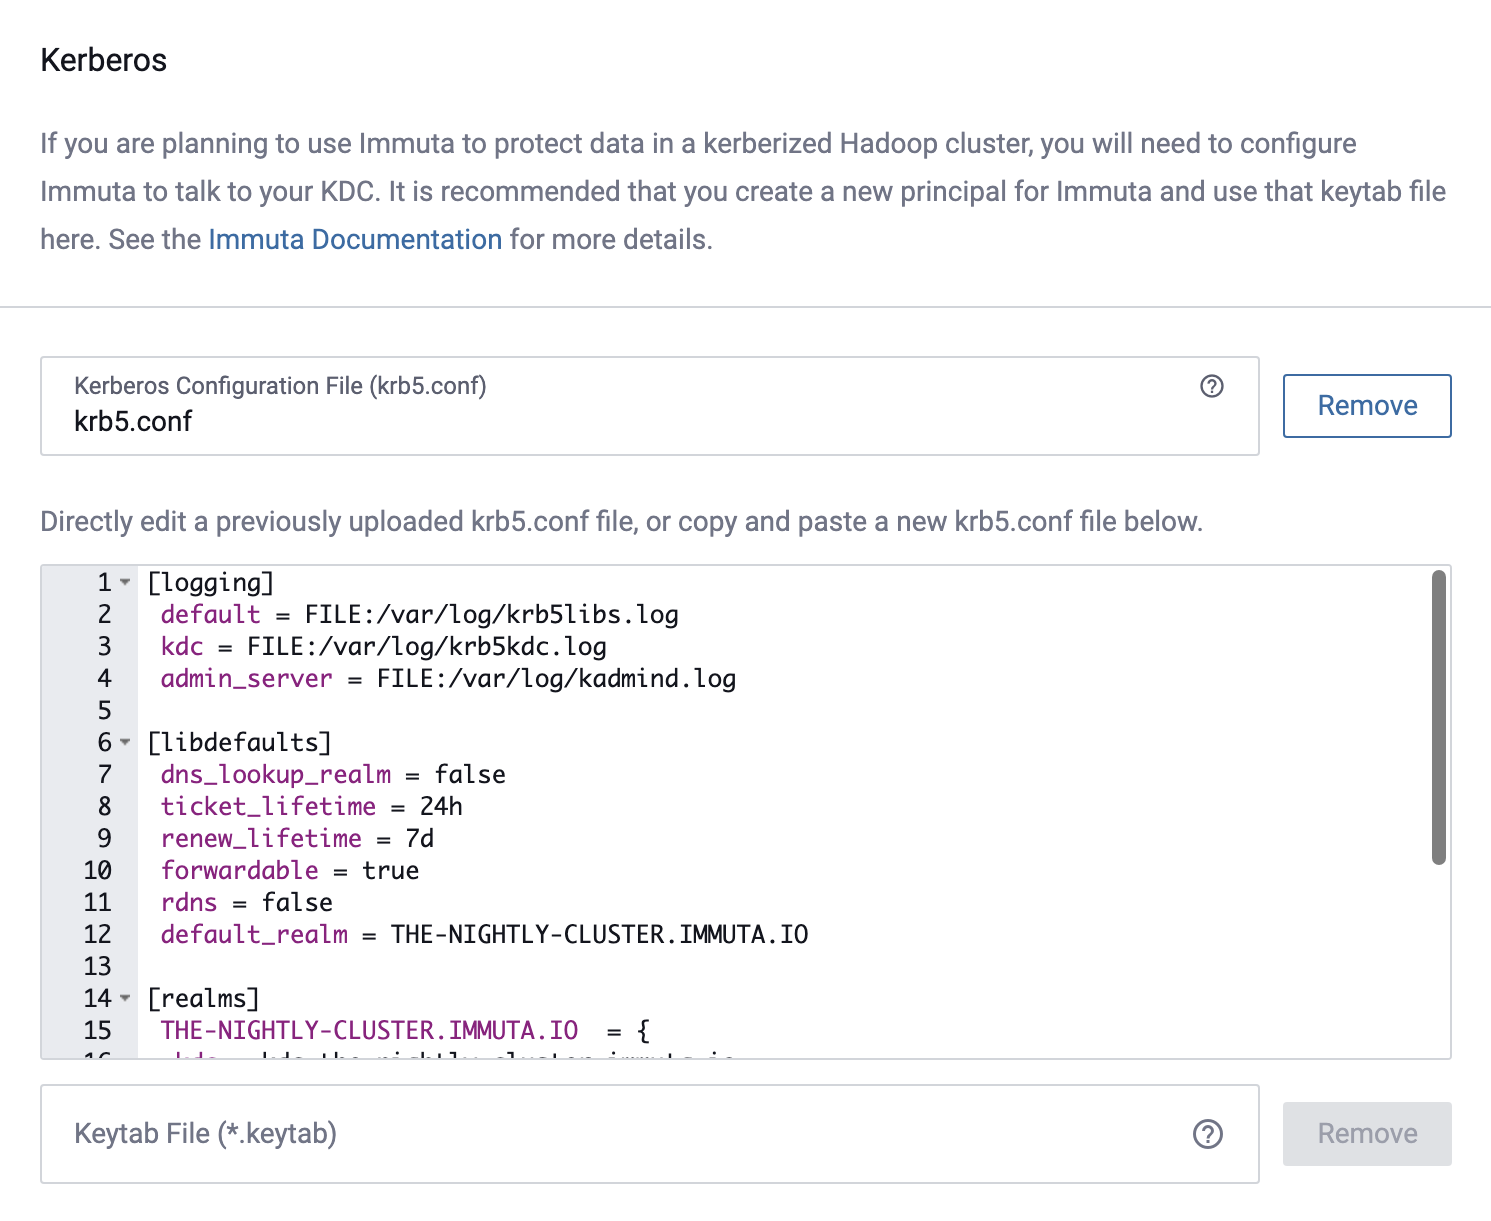
To configure Immuta to protect data in a kerberized Hadoop cluster,
-
Upload your Kerberos Configuration File, and then you can add modify the Kerberos configuration in the window pictured below.
-
Upload your Keytab File.
- Enter the principal Immuta will use to authenticate with your KDC in the Username field. Note: This must match a principal in the Keytab file.
- Adjust how often (in milliseconds) Immuta needs to re-authenticate with the KDC in the Ticket Refresh Interval field.
- Click Test Kerberos Initialization.
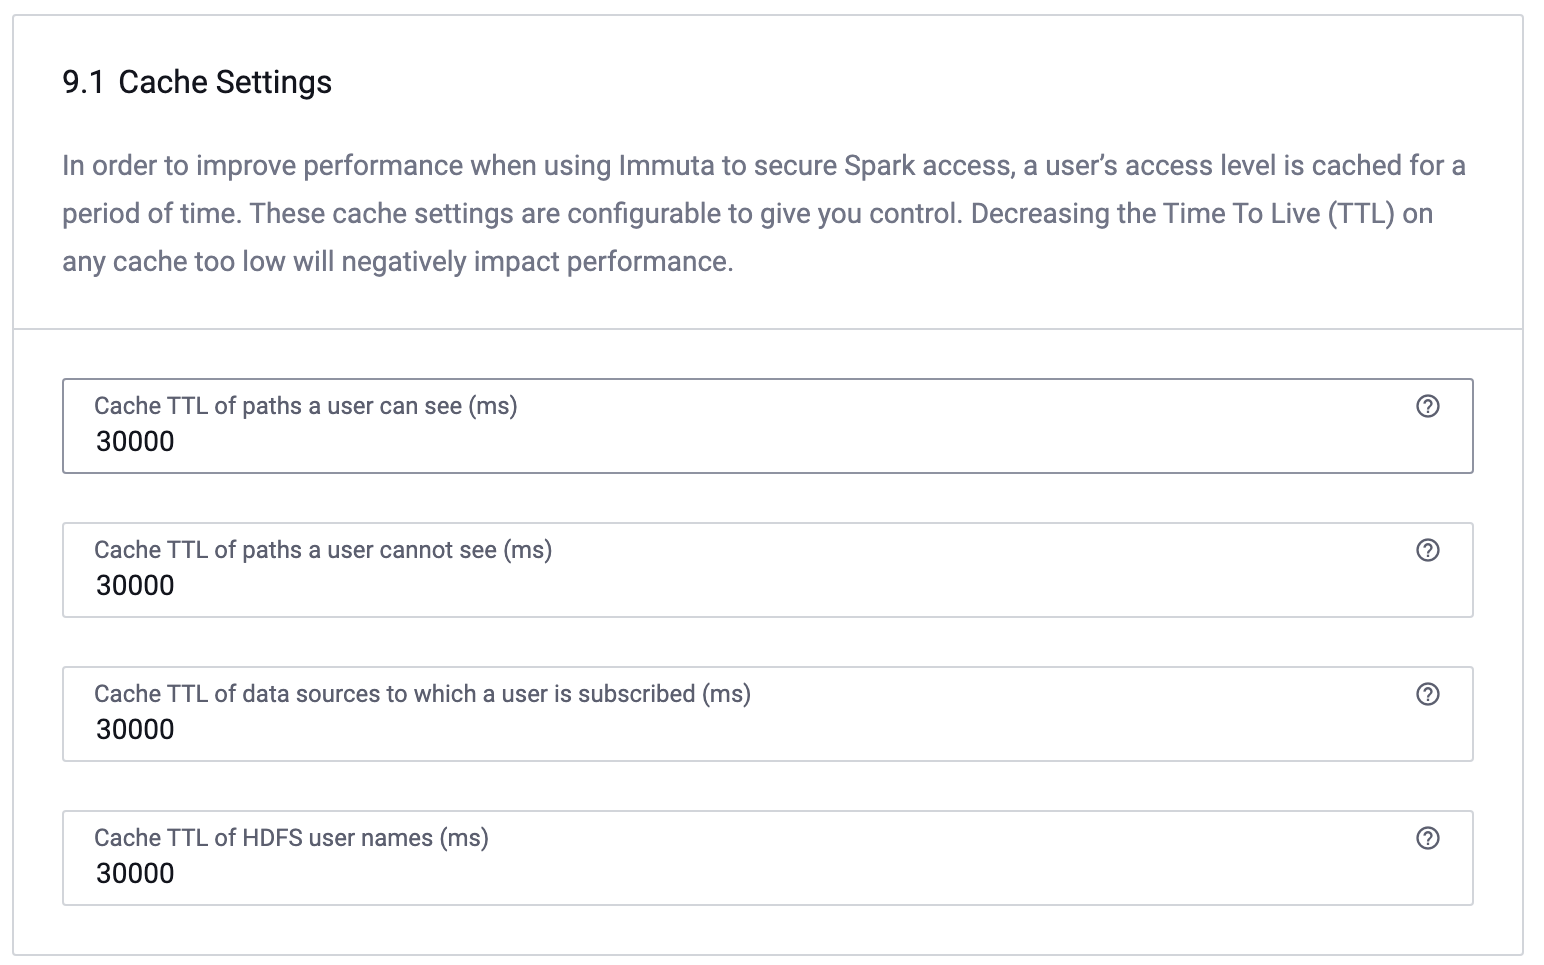
Configure HDFS Cache Settings
To improve performance when using Immuta to secure Spark or HDFS access, a user's access level is cached momentarily. These cache settings are configurable, but decreasing the Time to Live (TTL) on any cache too low will negatively impact performance.
To configure cache settings, enter the time in milliseconds in each of the Cache TTL fields.
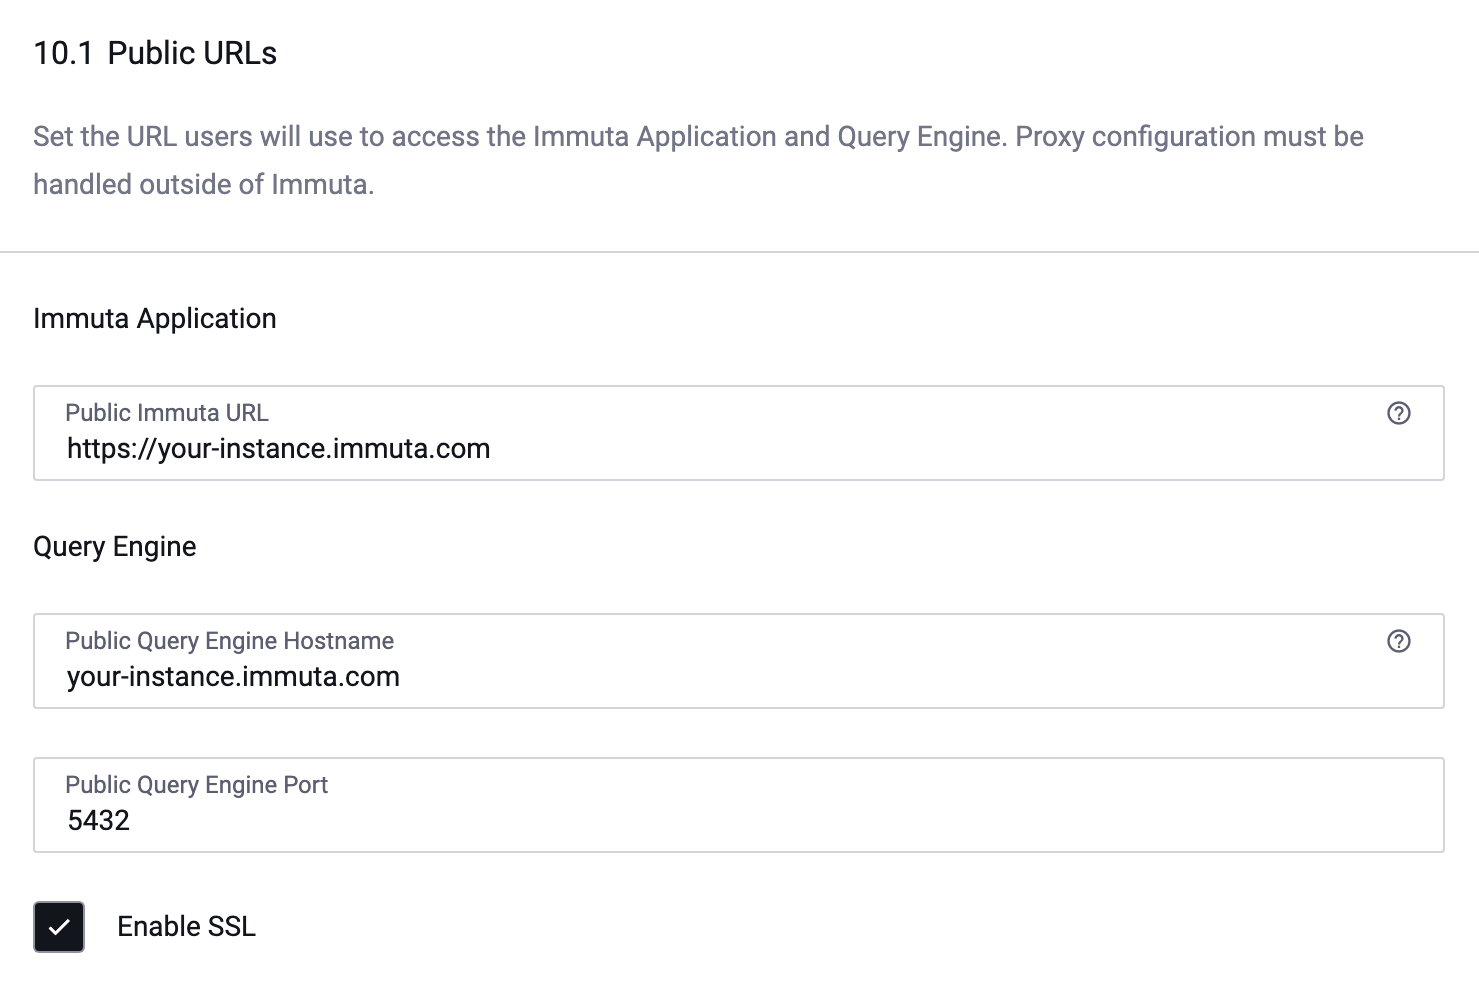
Set Public URLs
You can set the URL users will use to access the Immuta Application and Query Engine. Note: Proxy configuration must be handled outside Immuta.
- Complete the Public Immuta URL, Public Query Engine Hostname, and Public Query Engine Port fields.
-
Opt to Enable SSL by clicking this checkbox.
Enable Sensitive Data Discovery
To enable Sensitive Data Discovery and configure its settings, see the Sensitive Data Discovery page.
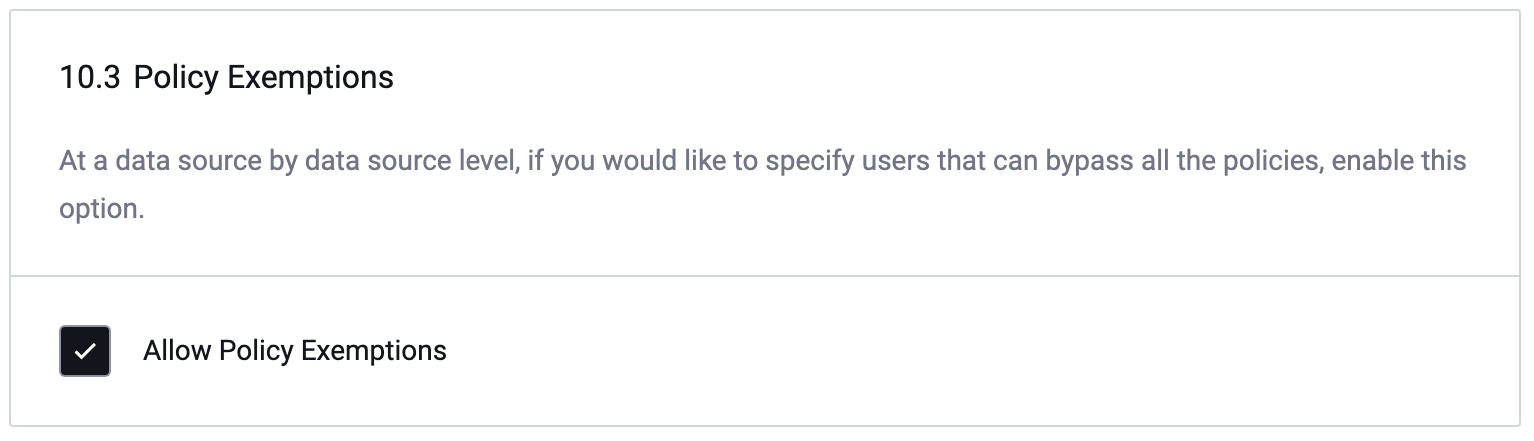
Allow Policy Exemptions
Click the Allow Policy Exemptions checkbox to allow users to specify who can bypass all policies on a data source.
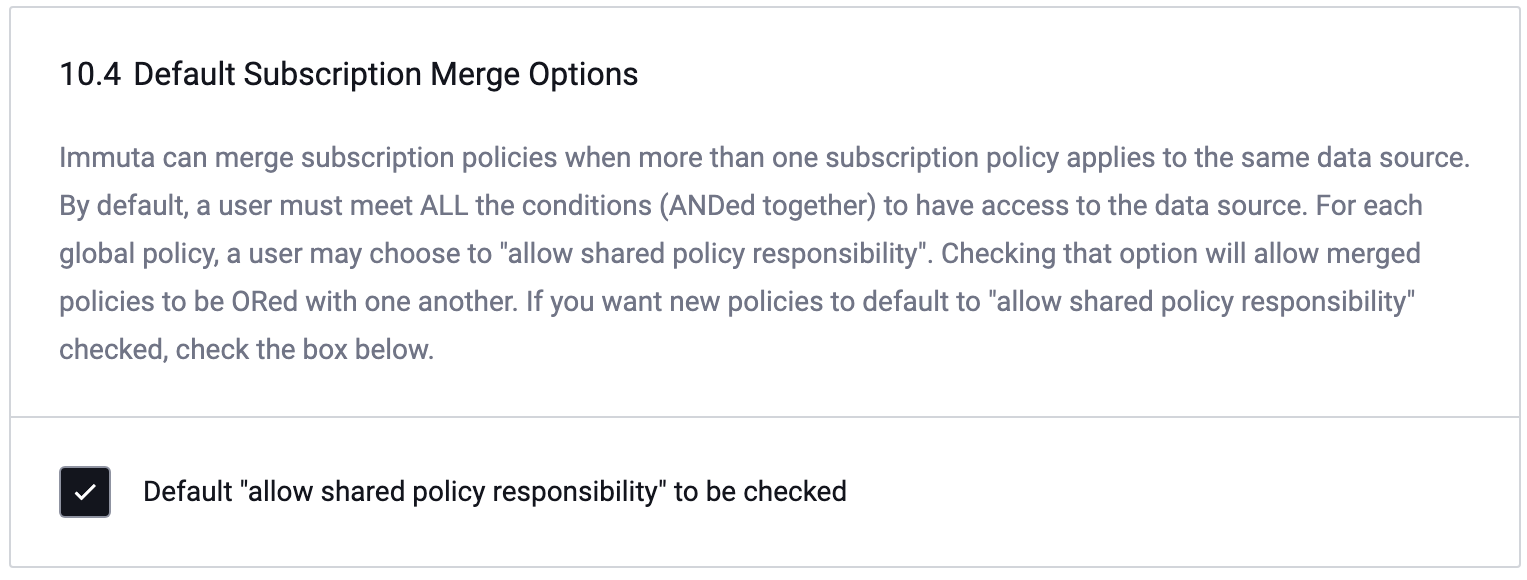
Default Subscription Merge Options
Immuta merges multiple Global Subscription policies that apply to a single data source; by default, users must meet
all the conditions outlined in each policy to get access (i.e., the conditions of the policies are combined with
AND). To change the default behavior to allow users to meet the condition of at least one policy that applies
(i.e., the conditions of the policies are combined with OR),
- Click the Default Subscription Merge Options text in the left pane.
-
Select the Default "allow shared policy responsibility" to be checked checkbox.
-
Click Save.
Note: Even with this setting enabled, Governors can opt to have their Global Subscription policies combined with
AND during policy creation.
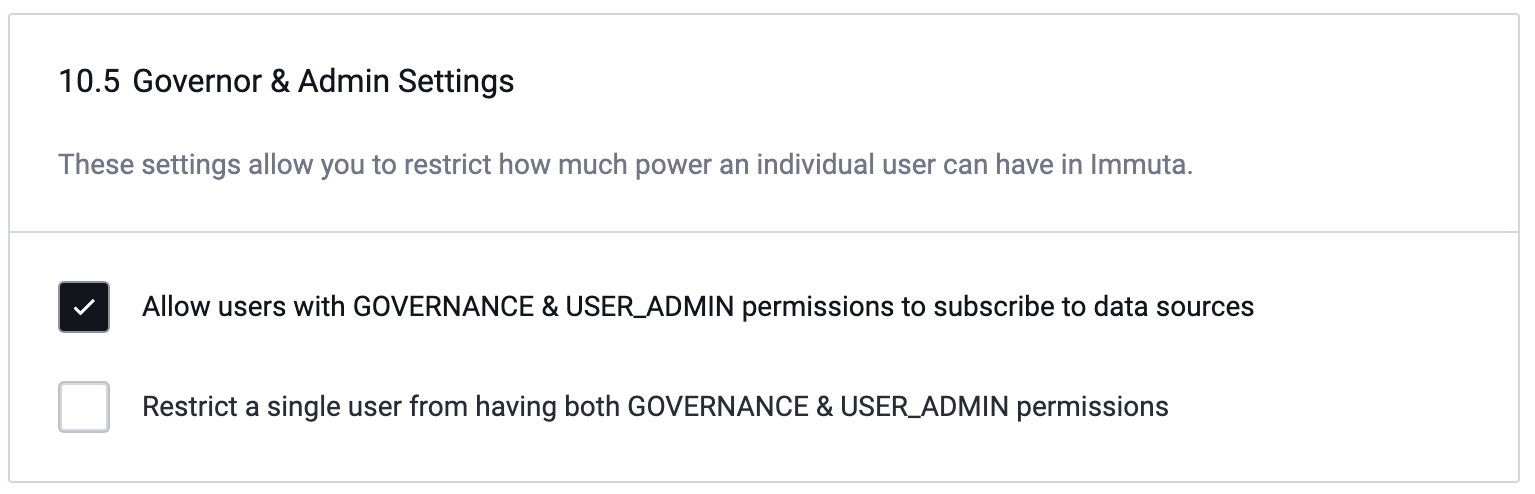
Configure Governor and Admin Settings
These options allow you to restrict the power individual users with the GOVERNANCE and USER_ADMIN permissions have in Immuta. Click the checkboxes to enable or disable these options.
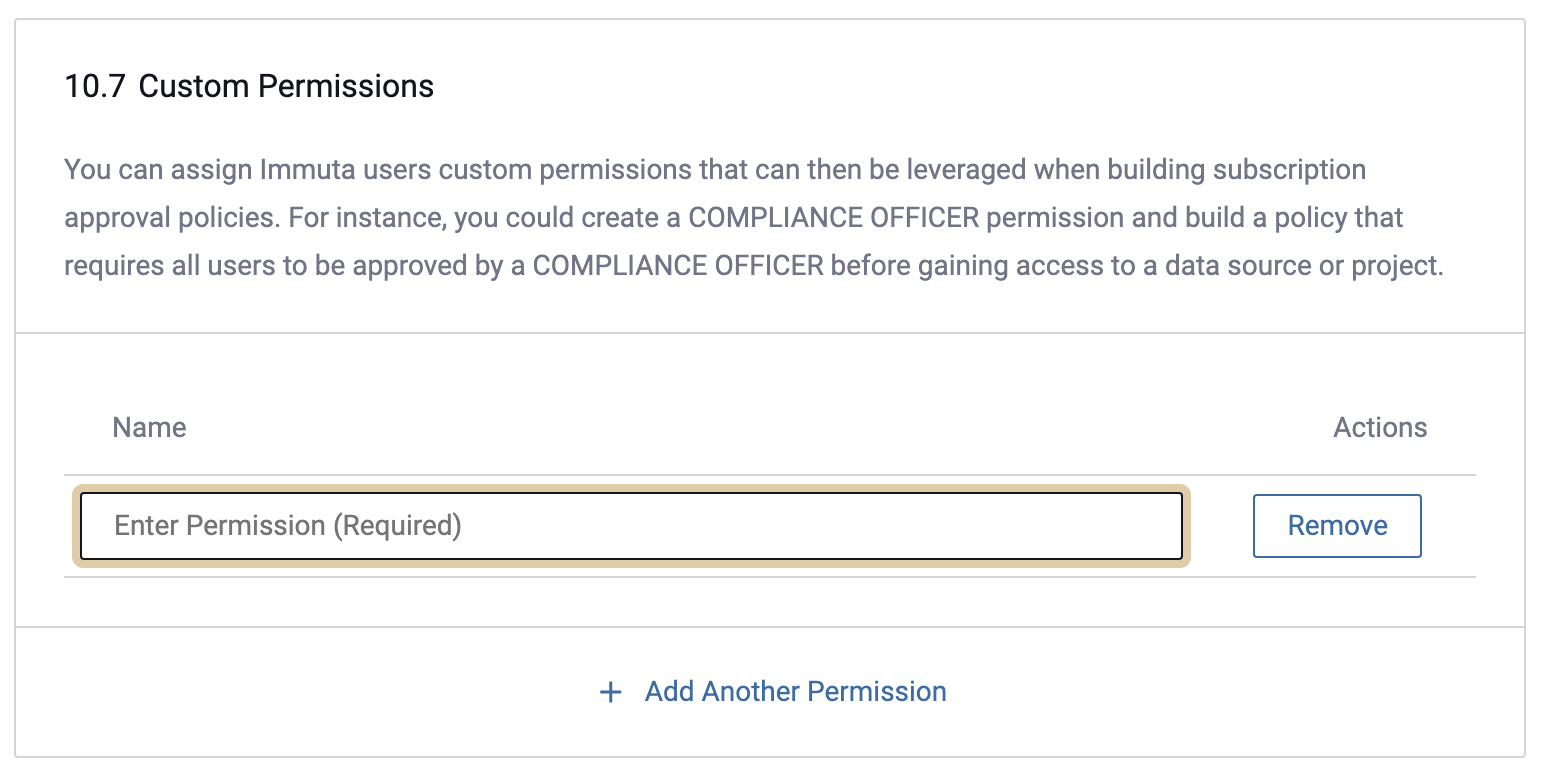
Create Custom Permissions
You can create custom permissions that can then be assigned to users and leveraged when building subscription policies. Note: You cannot configure actions users can take within the console when creating a custom permission, nor can the actions associated with existing permissions in Immuta be altered.
To add a custom permission, click the Add Permission button, and then name the permission in the Enter Permission field.
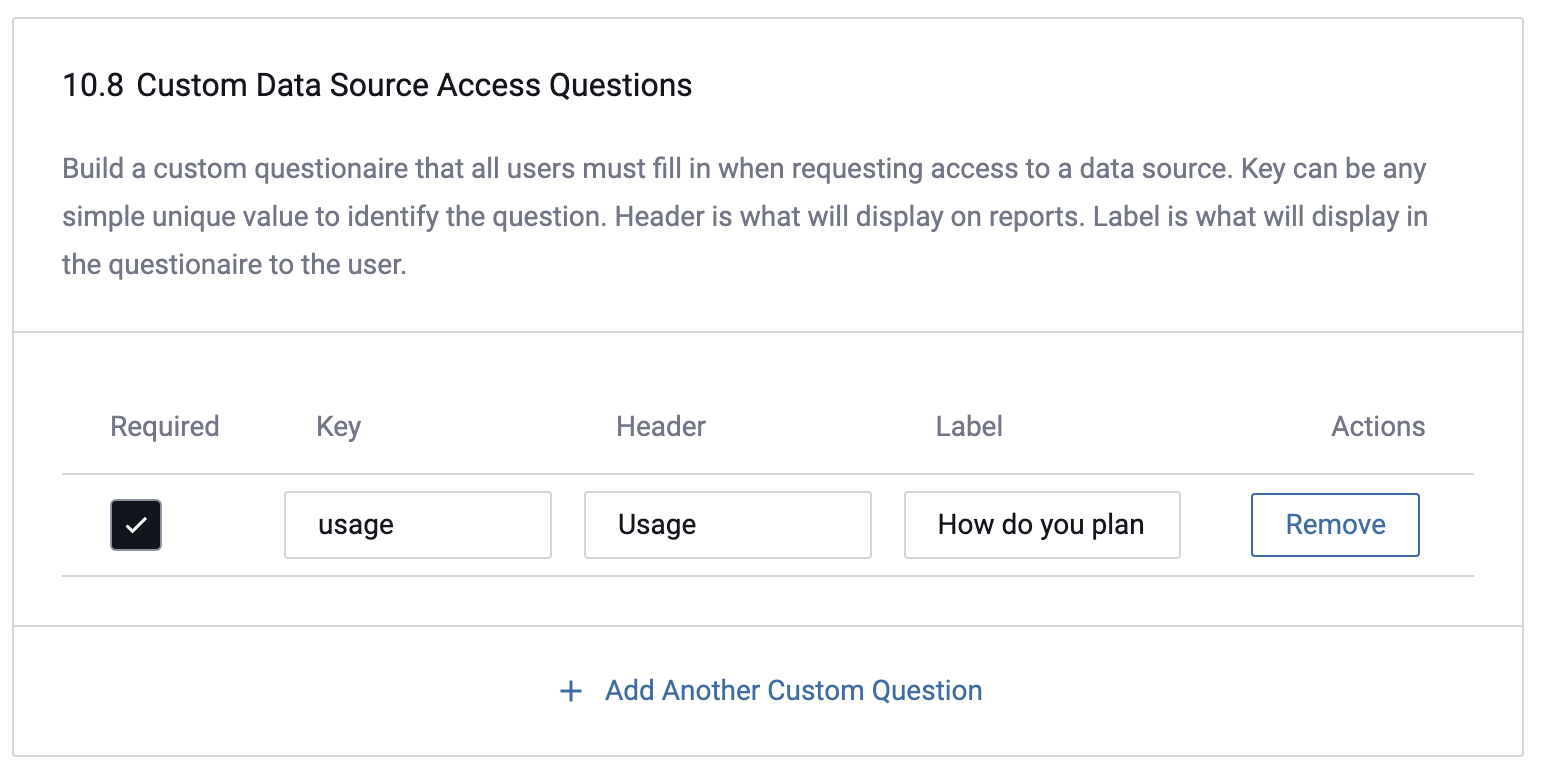
Create Custom Data Source Access Requests
To create a custom questionnaire that all users must complete when requesting access to a data source, fill in the following fields:
- Opt for the questionnaire to be required.
- Key: Any unique value that identifies the question.
- Header: The text that will display on reports.
- Label: The text that will display in the questionnaire for the user. They will be prompted to type the answer in a text box.
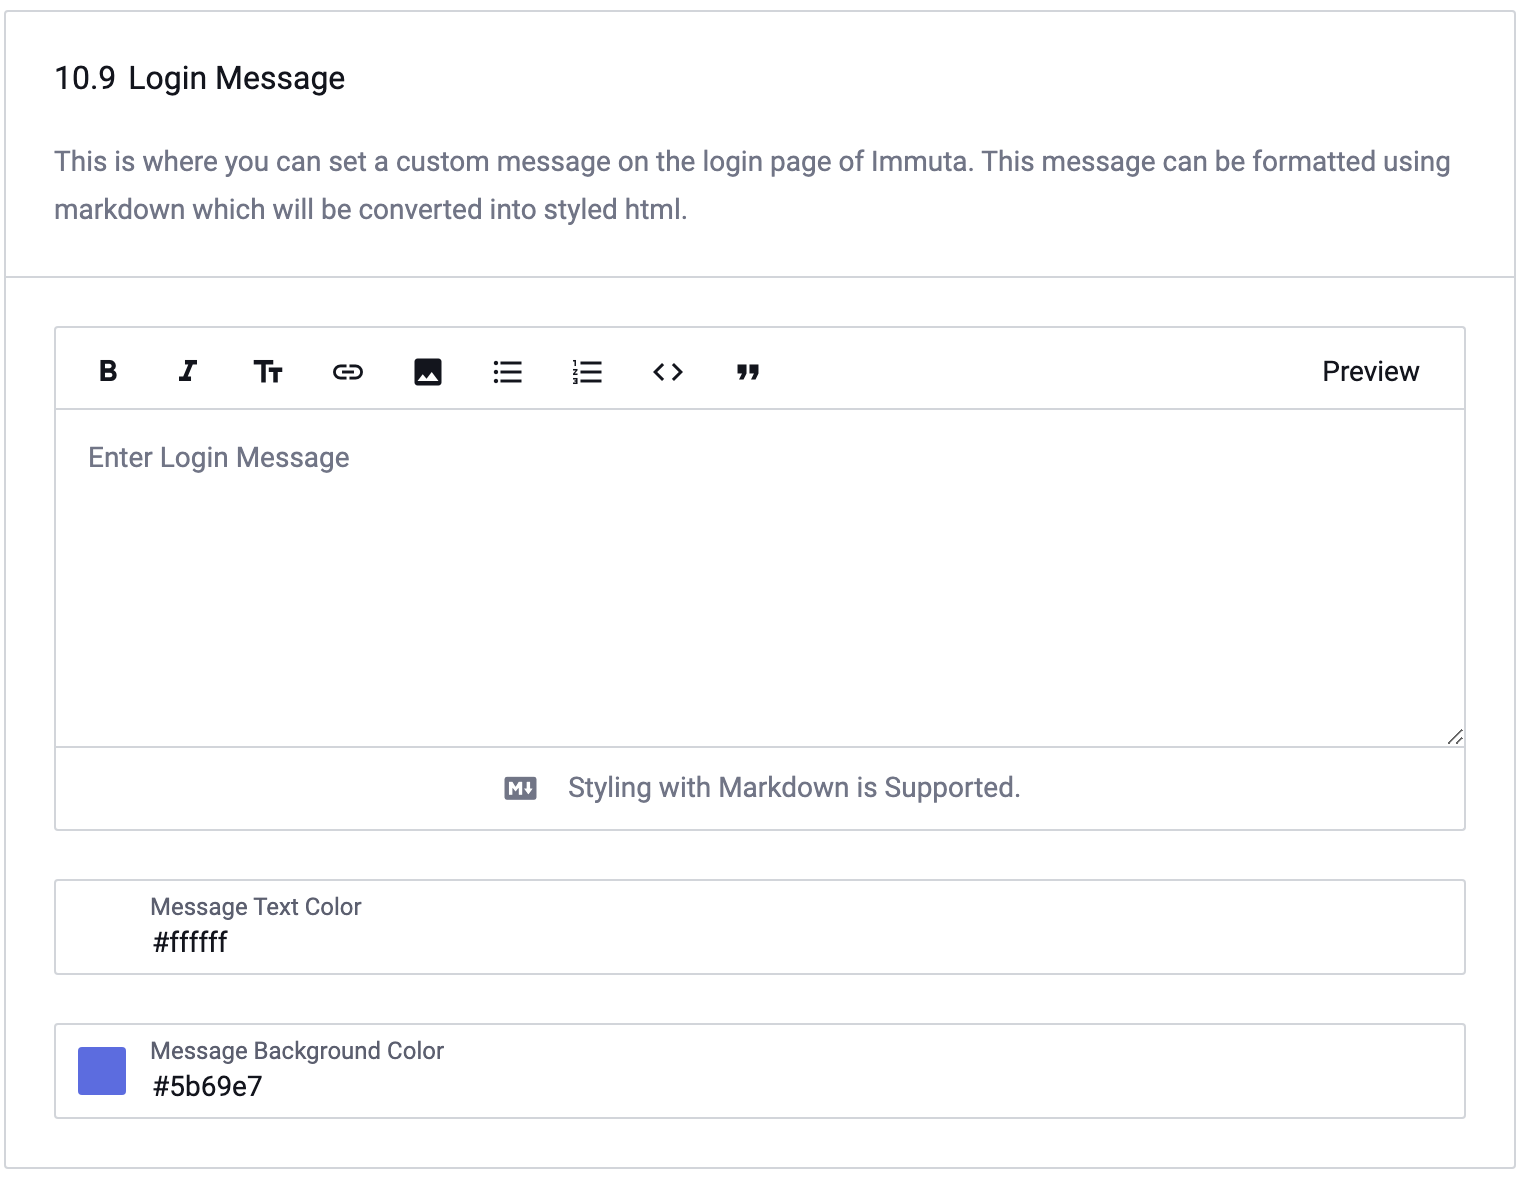
Create Custom Login Message
To create a custom message for the login page of Immuta, enter text in the Enter Login Message box. Note: The message can be formatted in markdown.
Opt to adjust the Message Text Color and Message Background Color by clicking in these dropdown boxes.
Generate System API Key
- Click the Generate Key button.
- Save this API key in a secure location.
Prevent Automatic Table Statistics
Without Fingerprints Some Policies Will Be Unavailable.
Disabling the collection of statistics will prevent the Immuta Query Engine cost-based optimizer from correctly estimating query plan costs. Additionally, these policies will be unavailable until a data owner manually generates a fingerprint:
- Masking with format preserving masking
- Masking with K-Anonymization
- Masking using randomized response
To disable the automatic collection of statistics with a particular tag,
-
Use the Select Tags dropdown to select the tag(s).
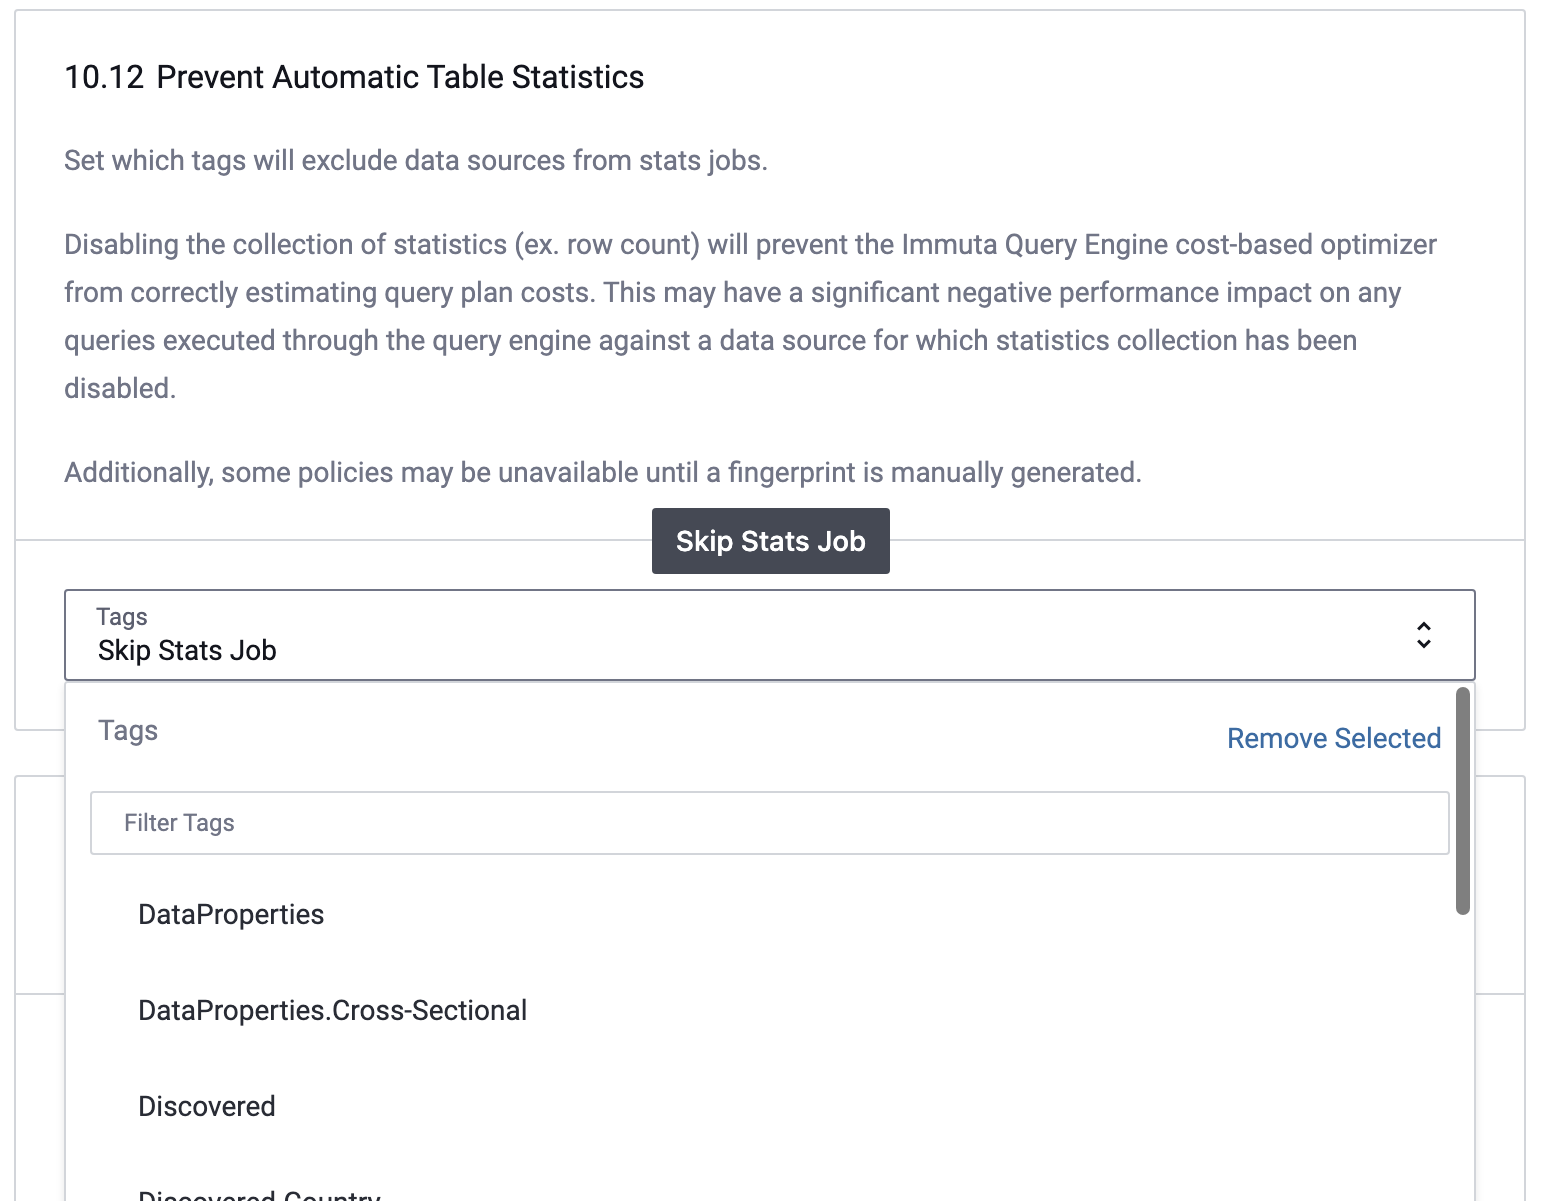
-
Click Save.
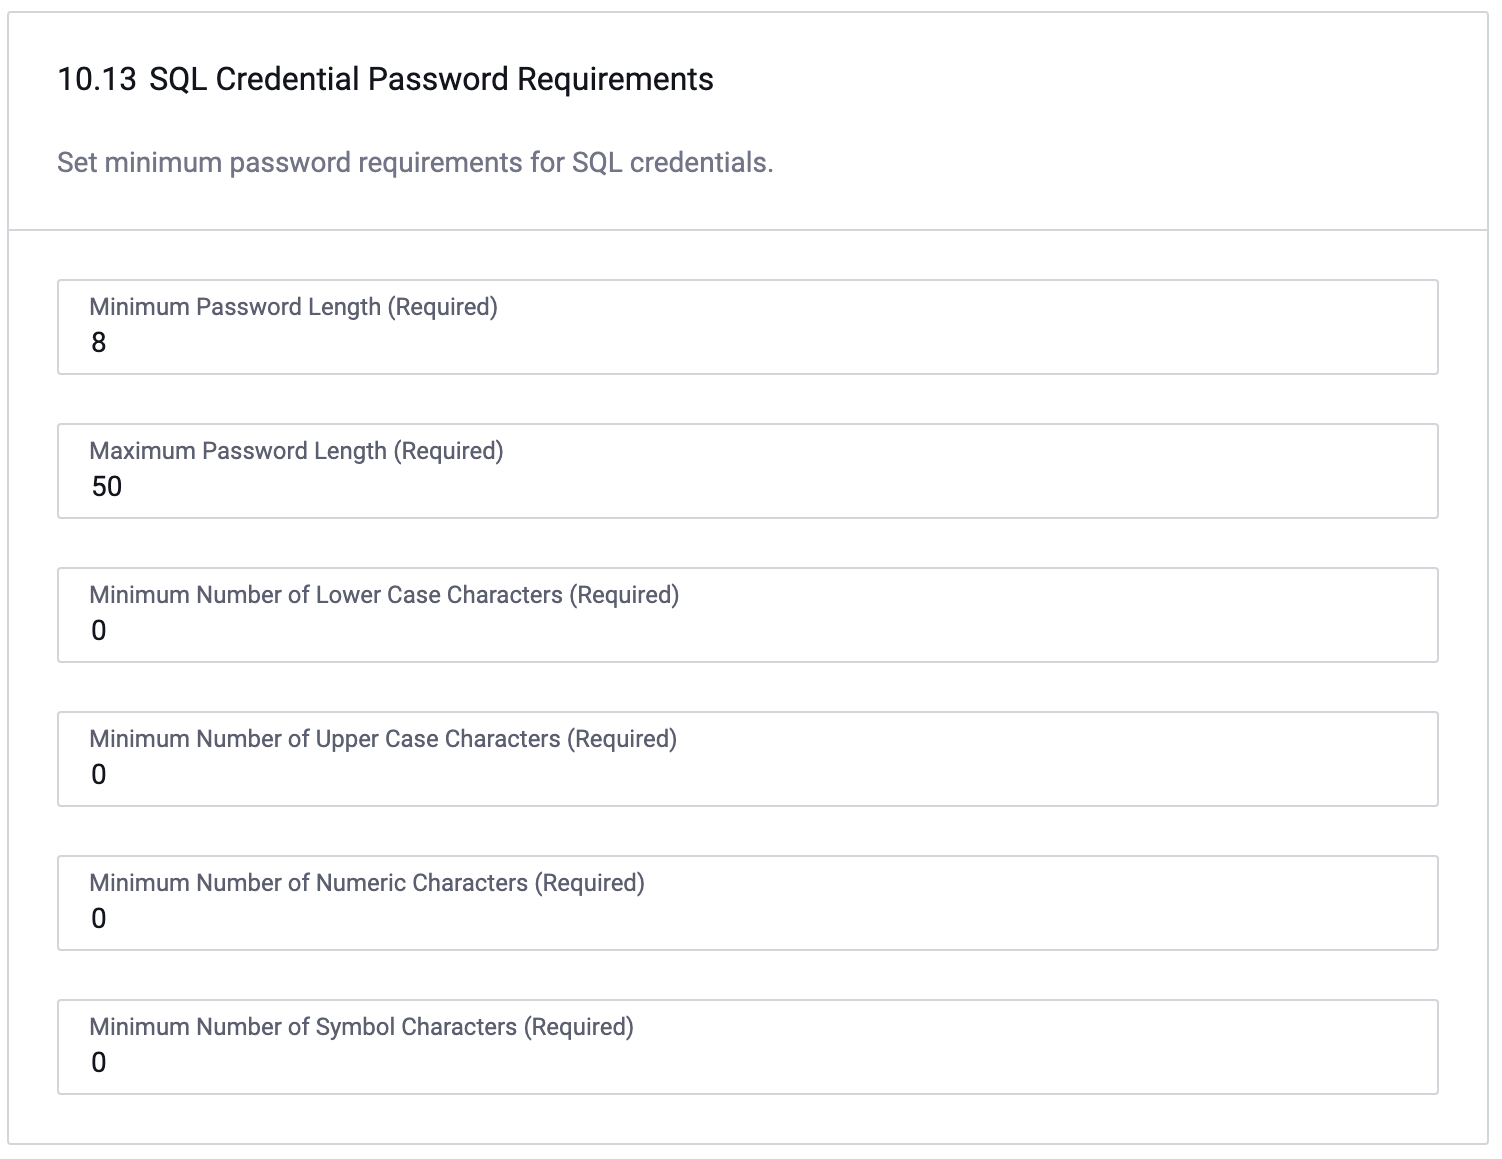
SQL Credential Password Requirements
Users can add password requirements for SQL credentials in this section, including minimum length, maximum length, and minimum number of symbols, numbers, uppercase, and lowercase characters. This will set password requirements for any new SQL credentials or any updated passwords. Previous Query Engine accounts will not be subject to the newly applied password restrictions.
To ensure that users are not easily compromised, minimum password requirements have been added as default. The password requirements can be changed to fit certain standards.
Advanced Settings
Preview Features
If you enable any Preview features, please provide feedback on how you would like these features to evolve.
Policy Adjustments
- Click Advanced Settings in the left panel, and scroll to the Preview Features section.
-
Check the Enable Policy Adjustments checkbox.
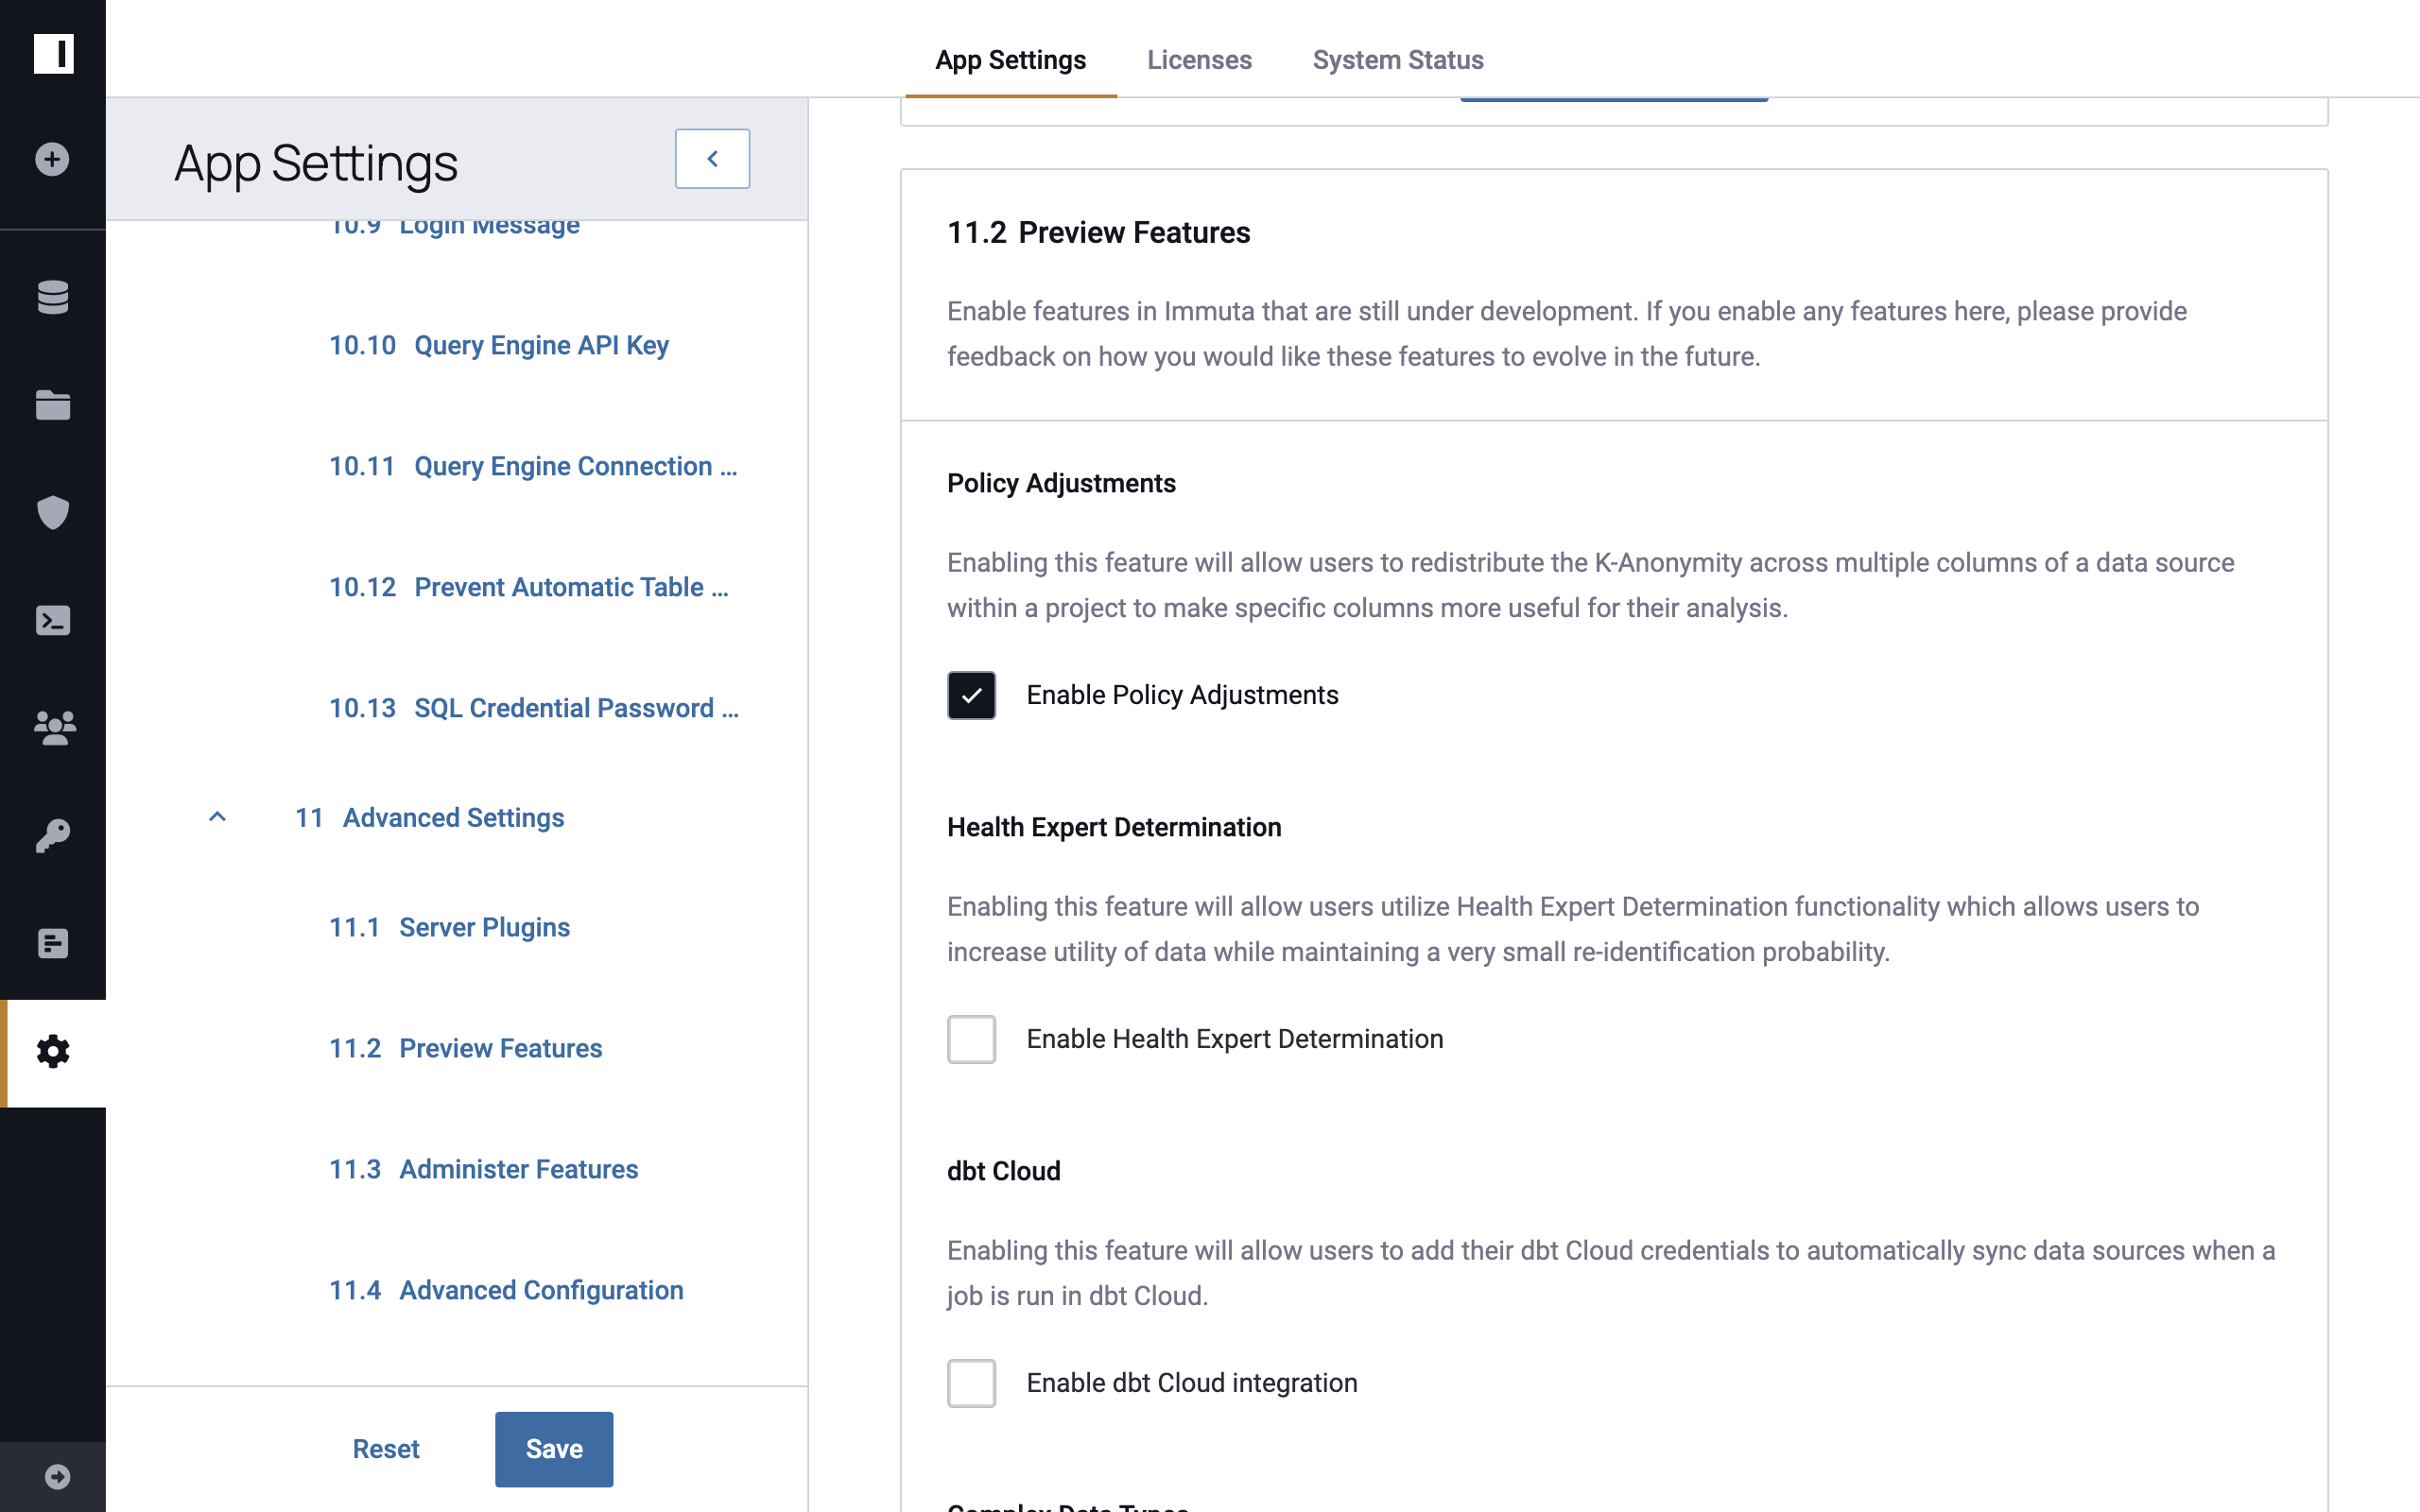
-
Click Save.
Health Expert Determination
-
Click Advanced Settings in the left panel, and scroll to the Preview Features section.
-
Check the Enable Policy Adjustments checkbox.
-
Check the Enable Health Expert Determination checkbox.
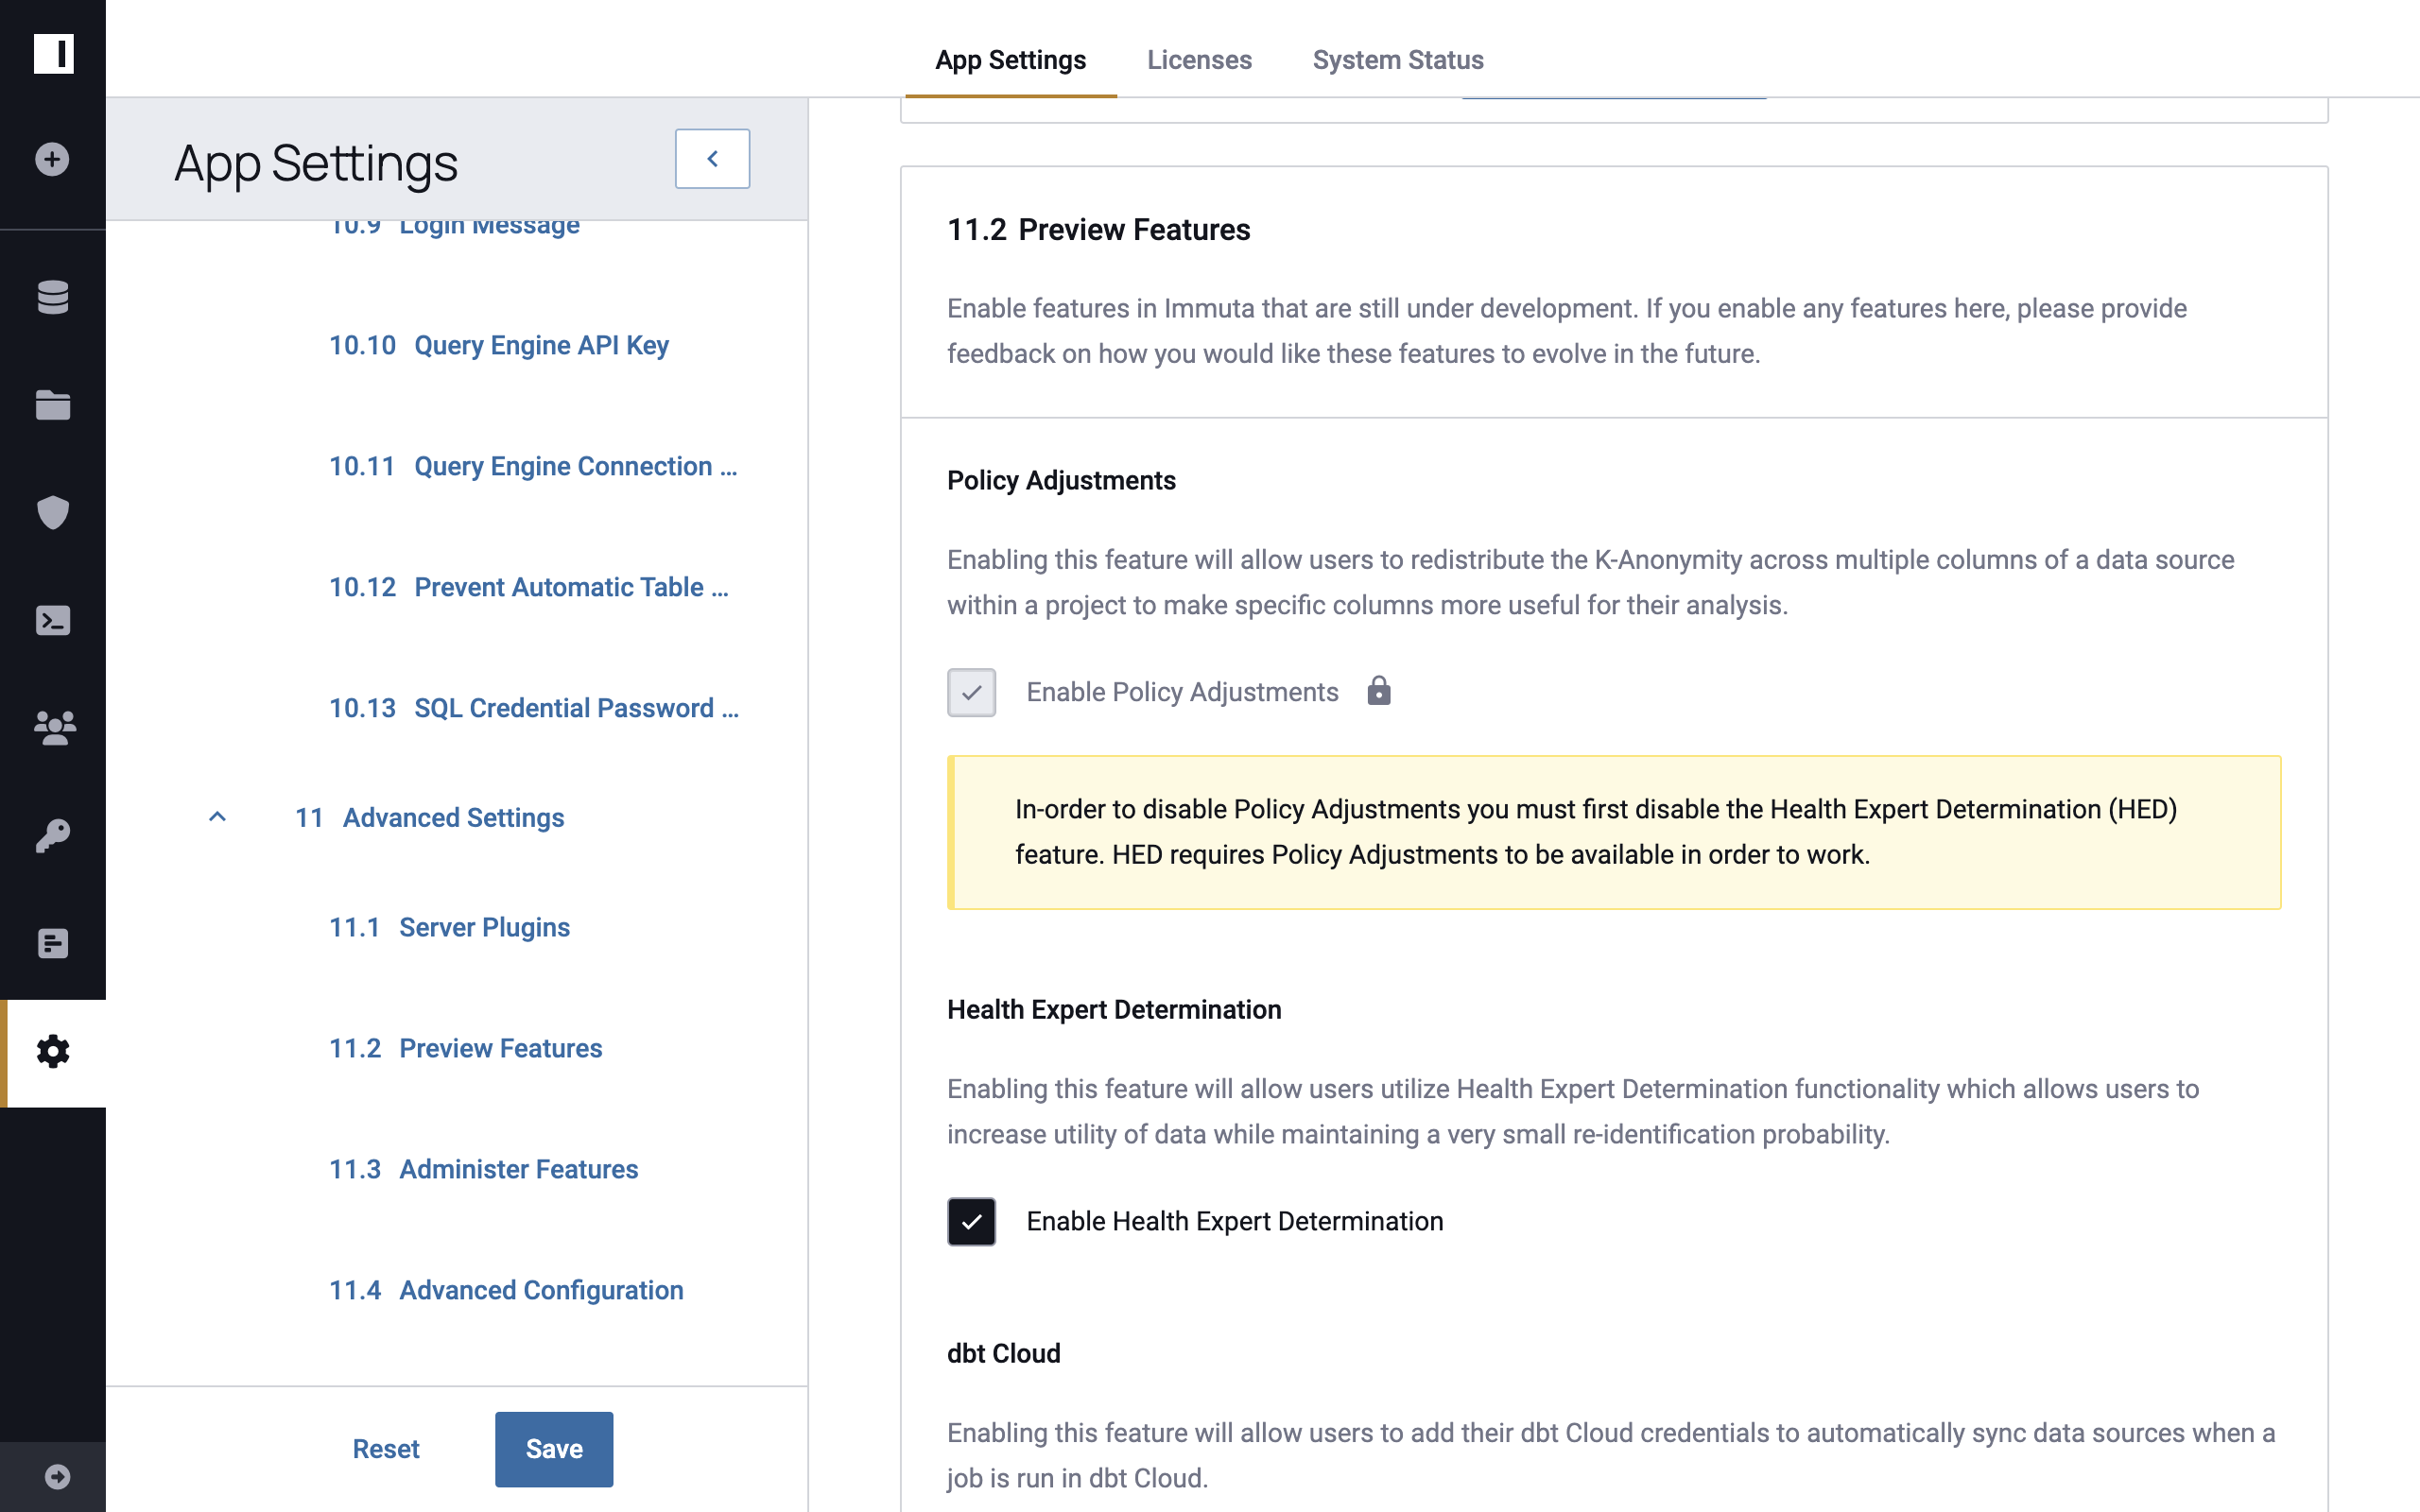
-
Click Save.
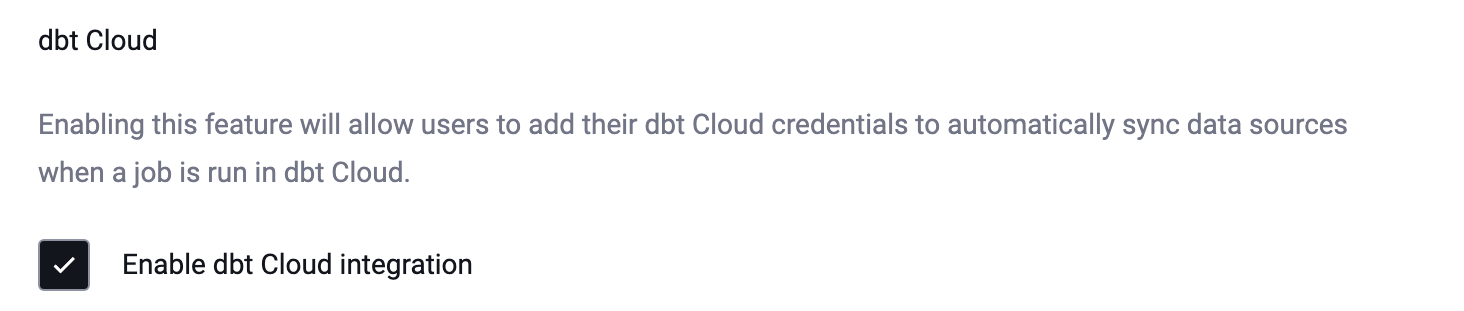
dbt Cloud
- Click Advanced Settings in the left panel, and scroll to the Preview Features section.
-
Check the Enable dbt cloud integration checkbox.
-
Click Save.
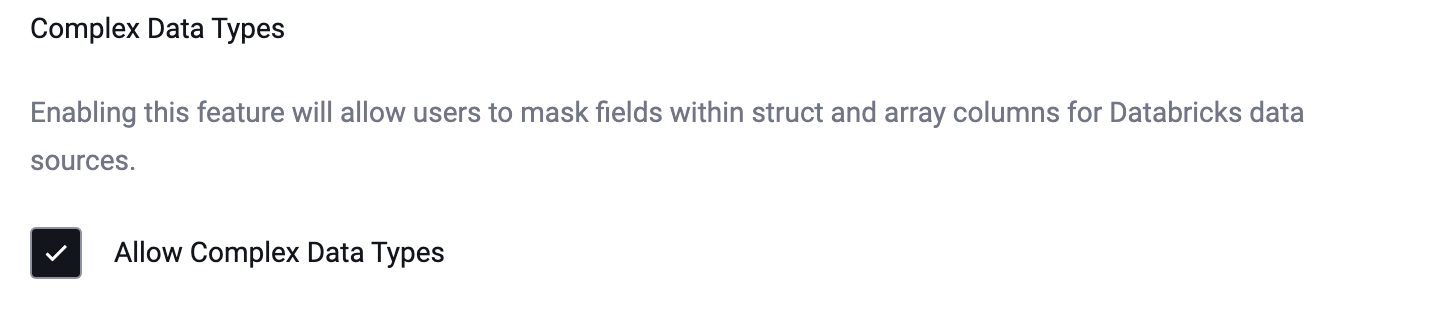
Complex Data Types
- Click Advanced Settings in the left panel, and scroll to the Preview Features section.
-
Check the Allow Complex Data Types checkbox.
-
Click Save.
Enhanced Subscription Policy Variables
For instructions on enabling this feature, navigate to the Global Subscription Policies Advanced DSL Tutorial.
Tag Enhancements
- Click Advanced Settings in the left panel, and scroll to the Preview Features section.
- Check the Enable Tag Enhancements checkbox.
- Click Save.
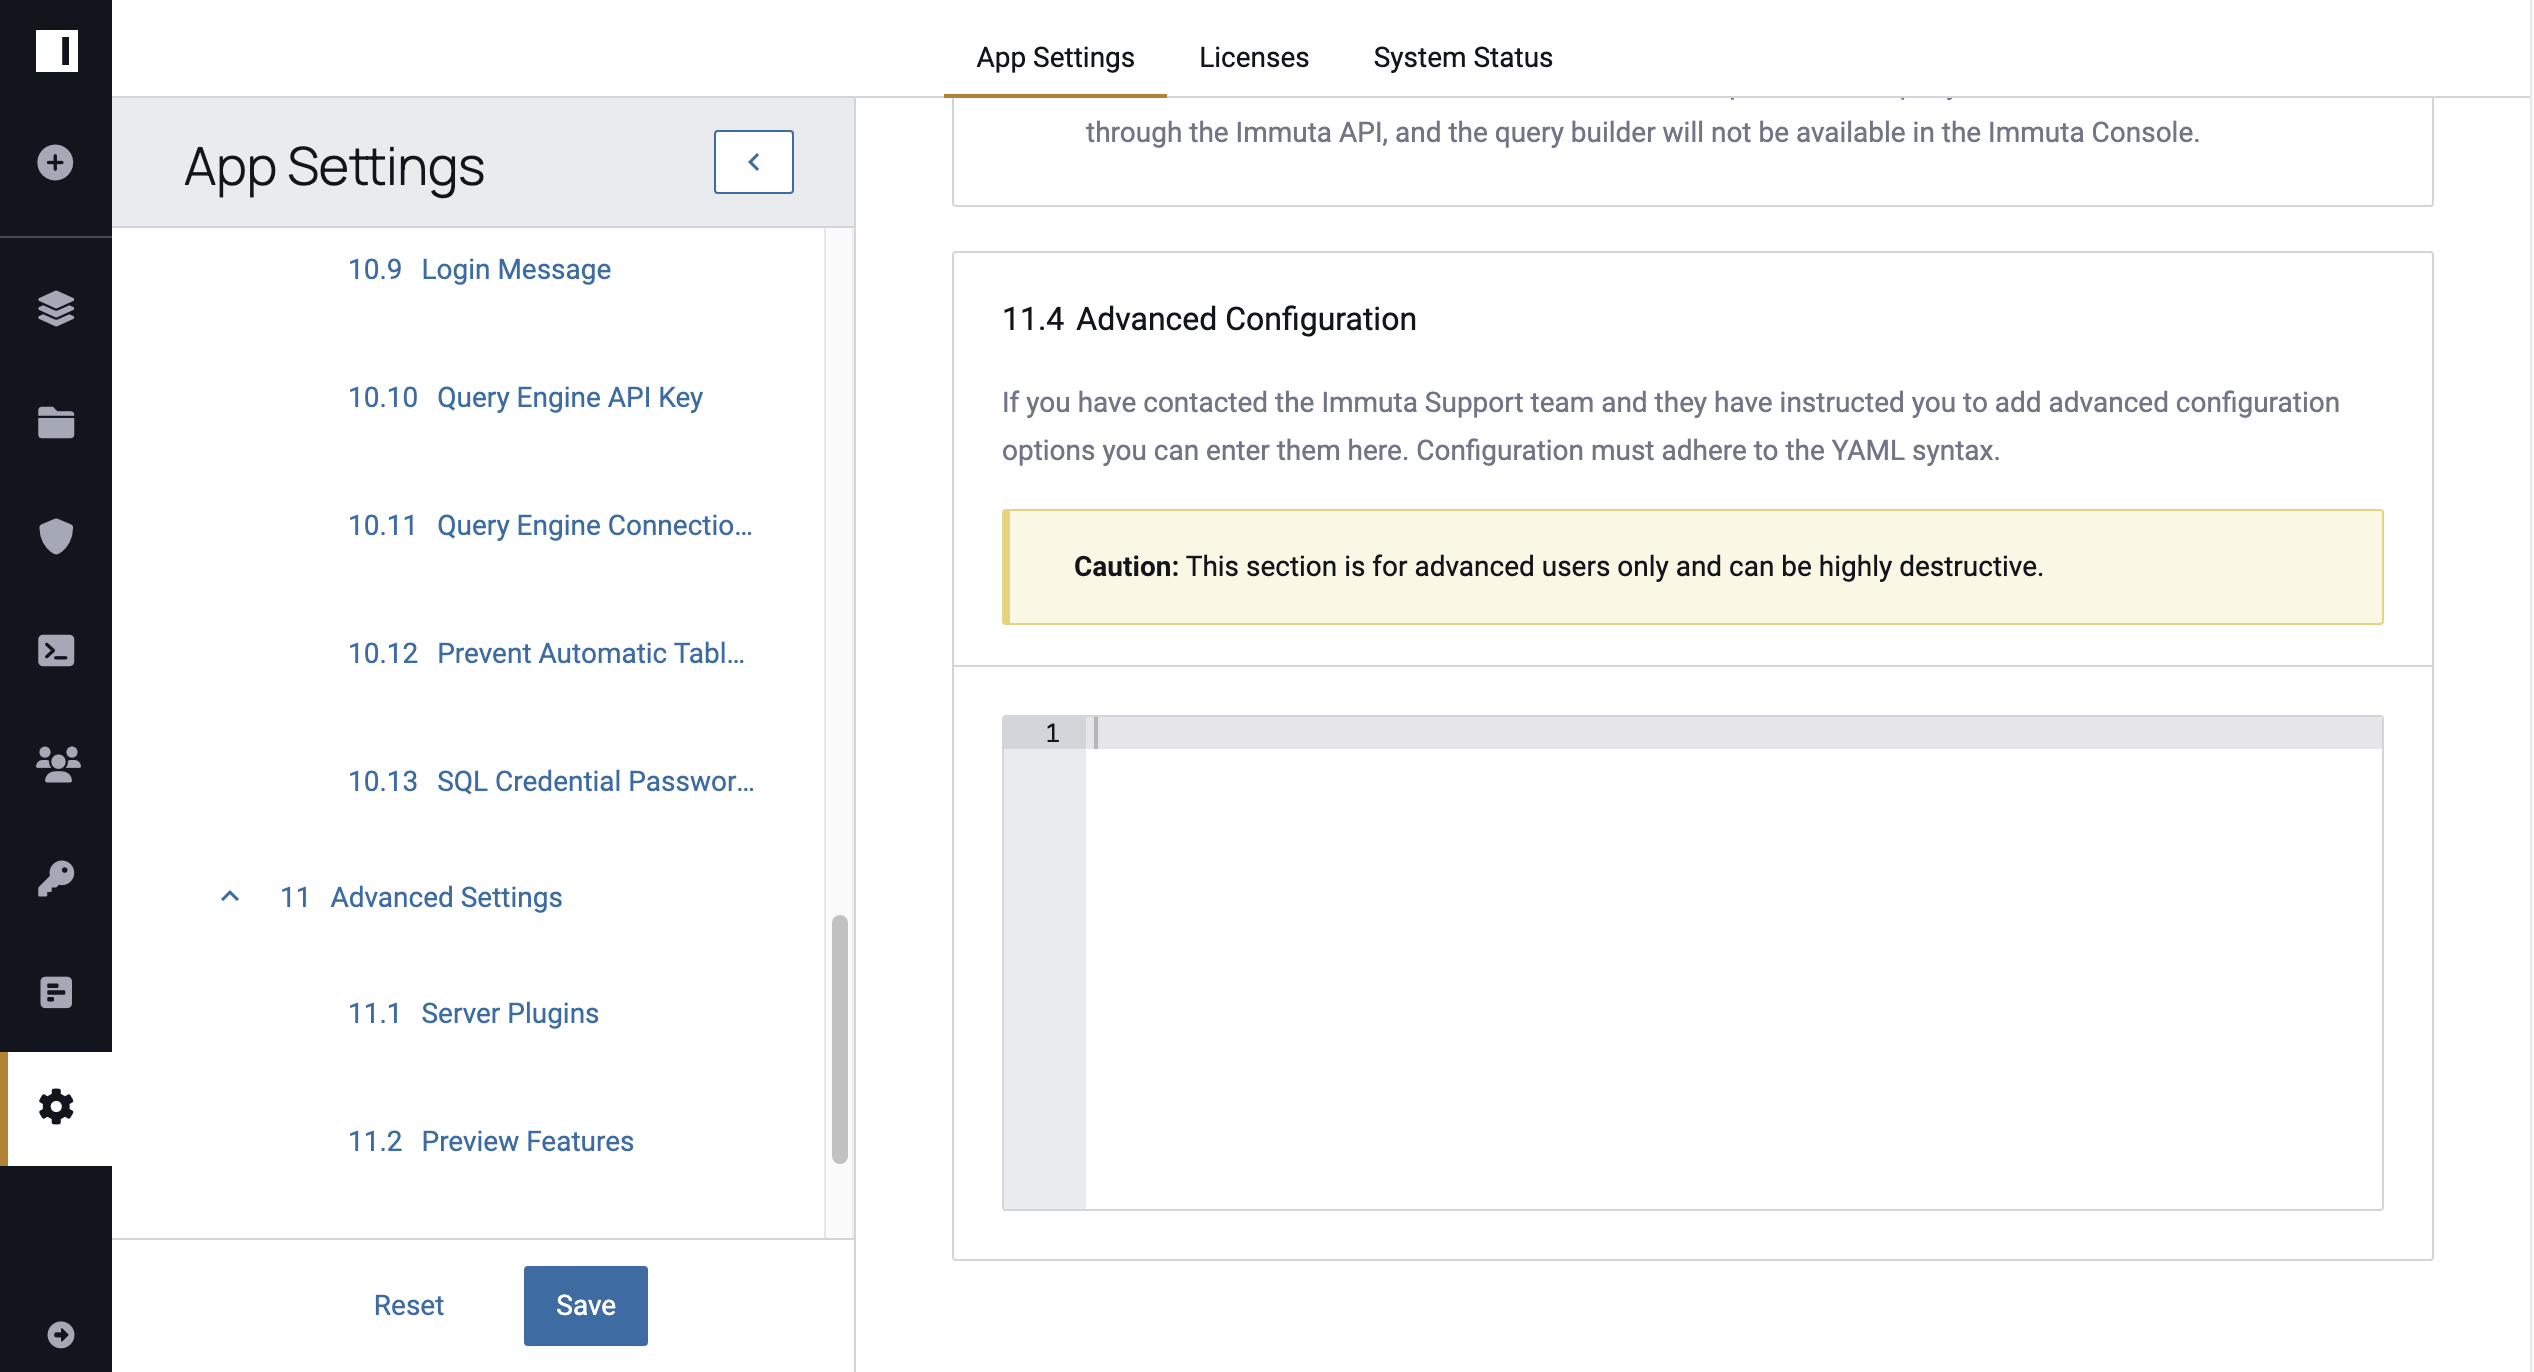
Advanced Configuration
Advanced configuration options provided by the Immuta Support team can be added in this section. The configuration must adhere to the YAML syntax.
Update the K-Anonymity Cardinality Cutoff
To increase the default cardinality cutoff for columns compatible with k-anonymity,
-
Expand the Advanced Settings section and add the following text to the Advanced Configuration:
plugins:
  postgresHandler:
    maxKAnonCardinality: 10000000
  snowflakeHandler:
    maxKAnonCardinality: 10000000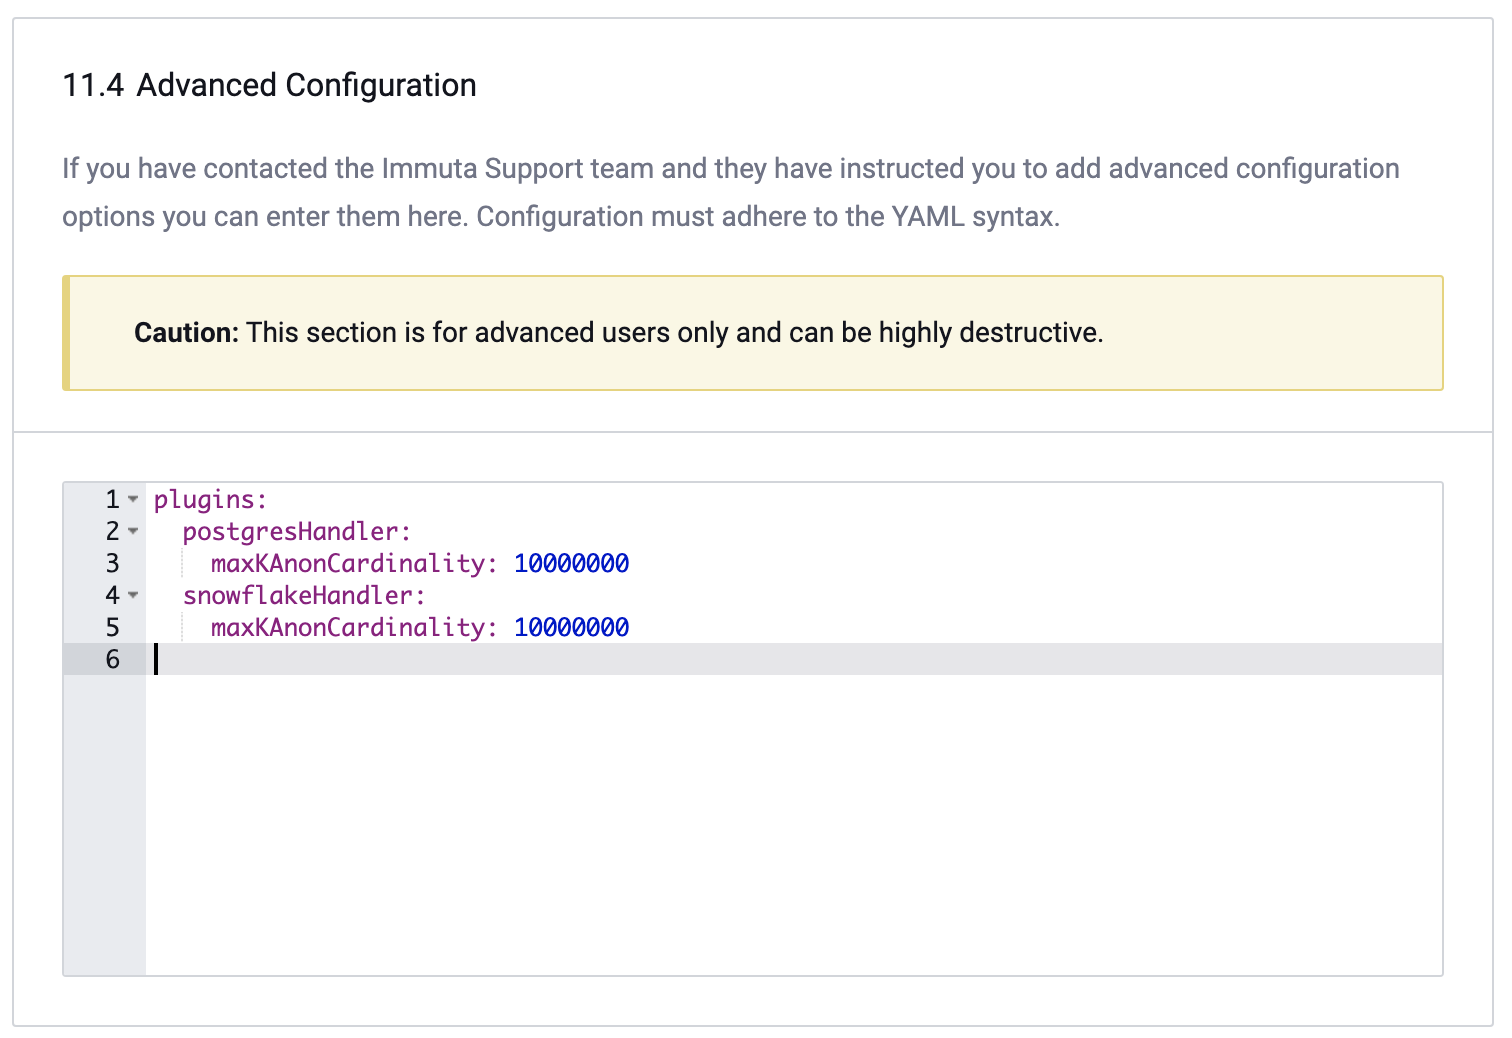
-
Click Save.
- To regenerate the data source's fingerprint, navigate to that data source's page.
-
Click the Status in the upper right corner.
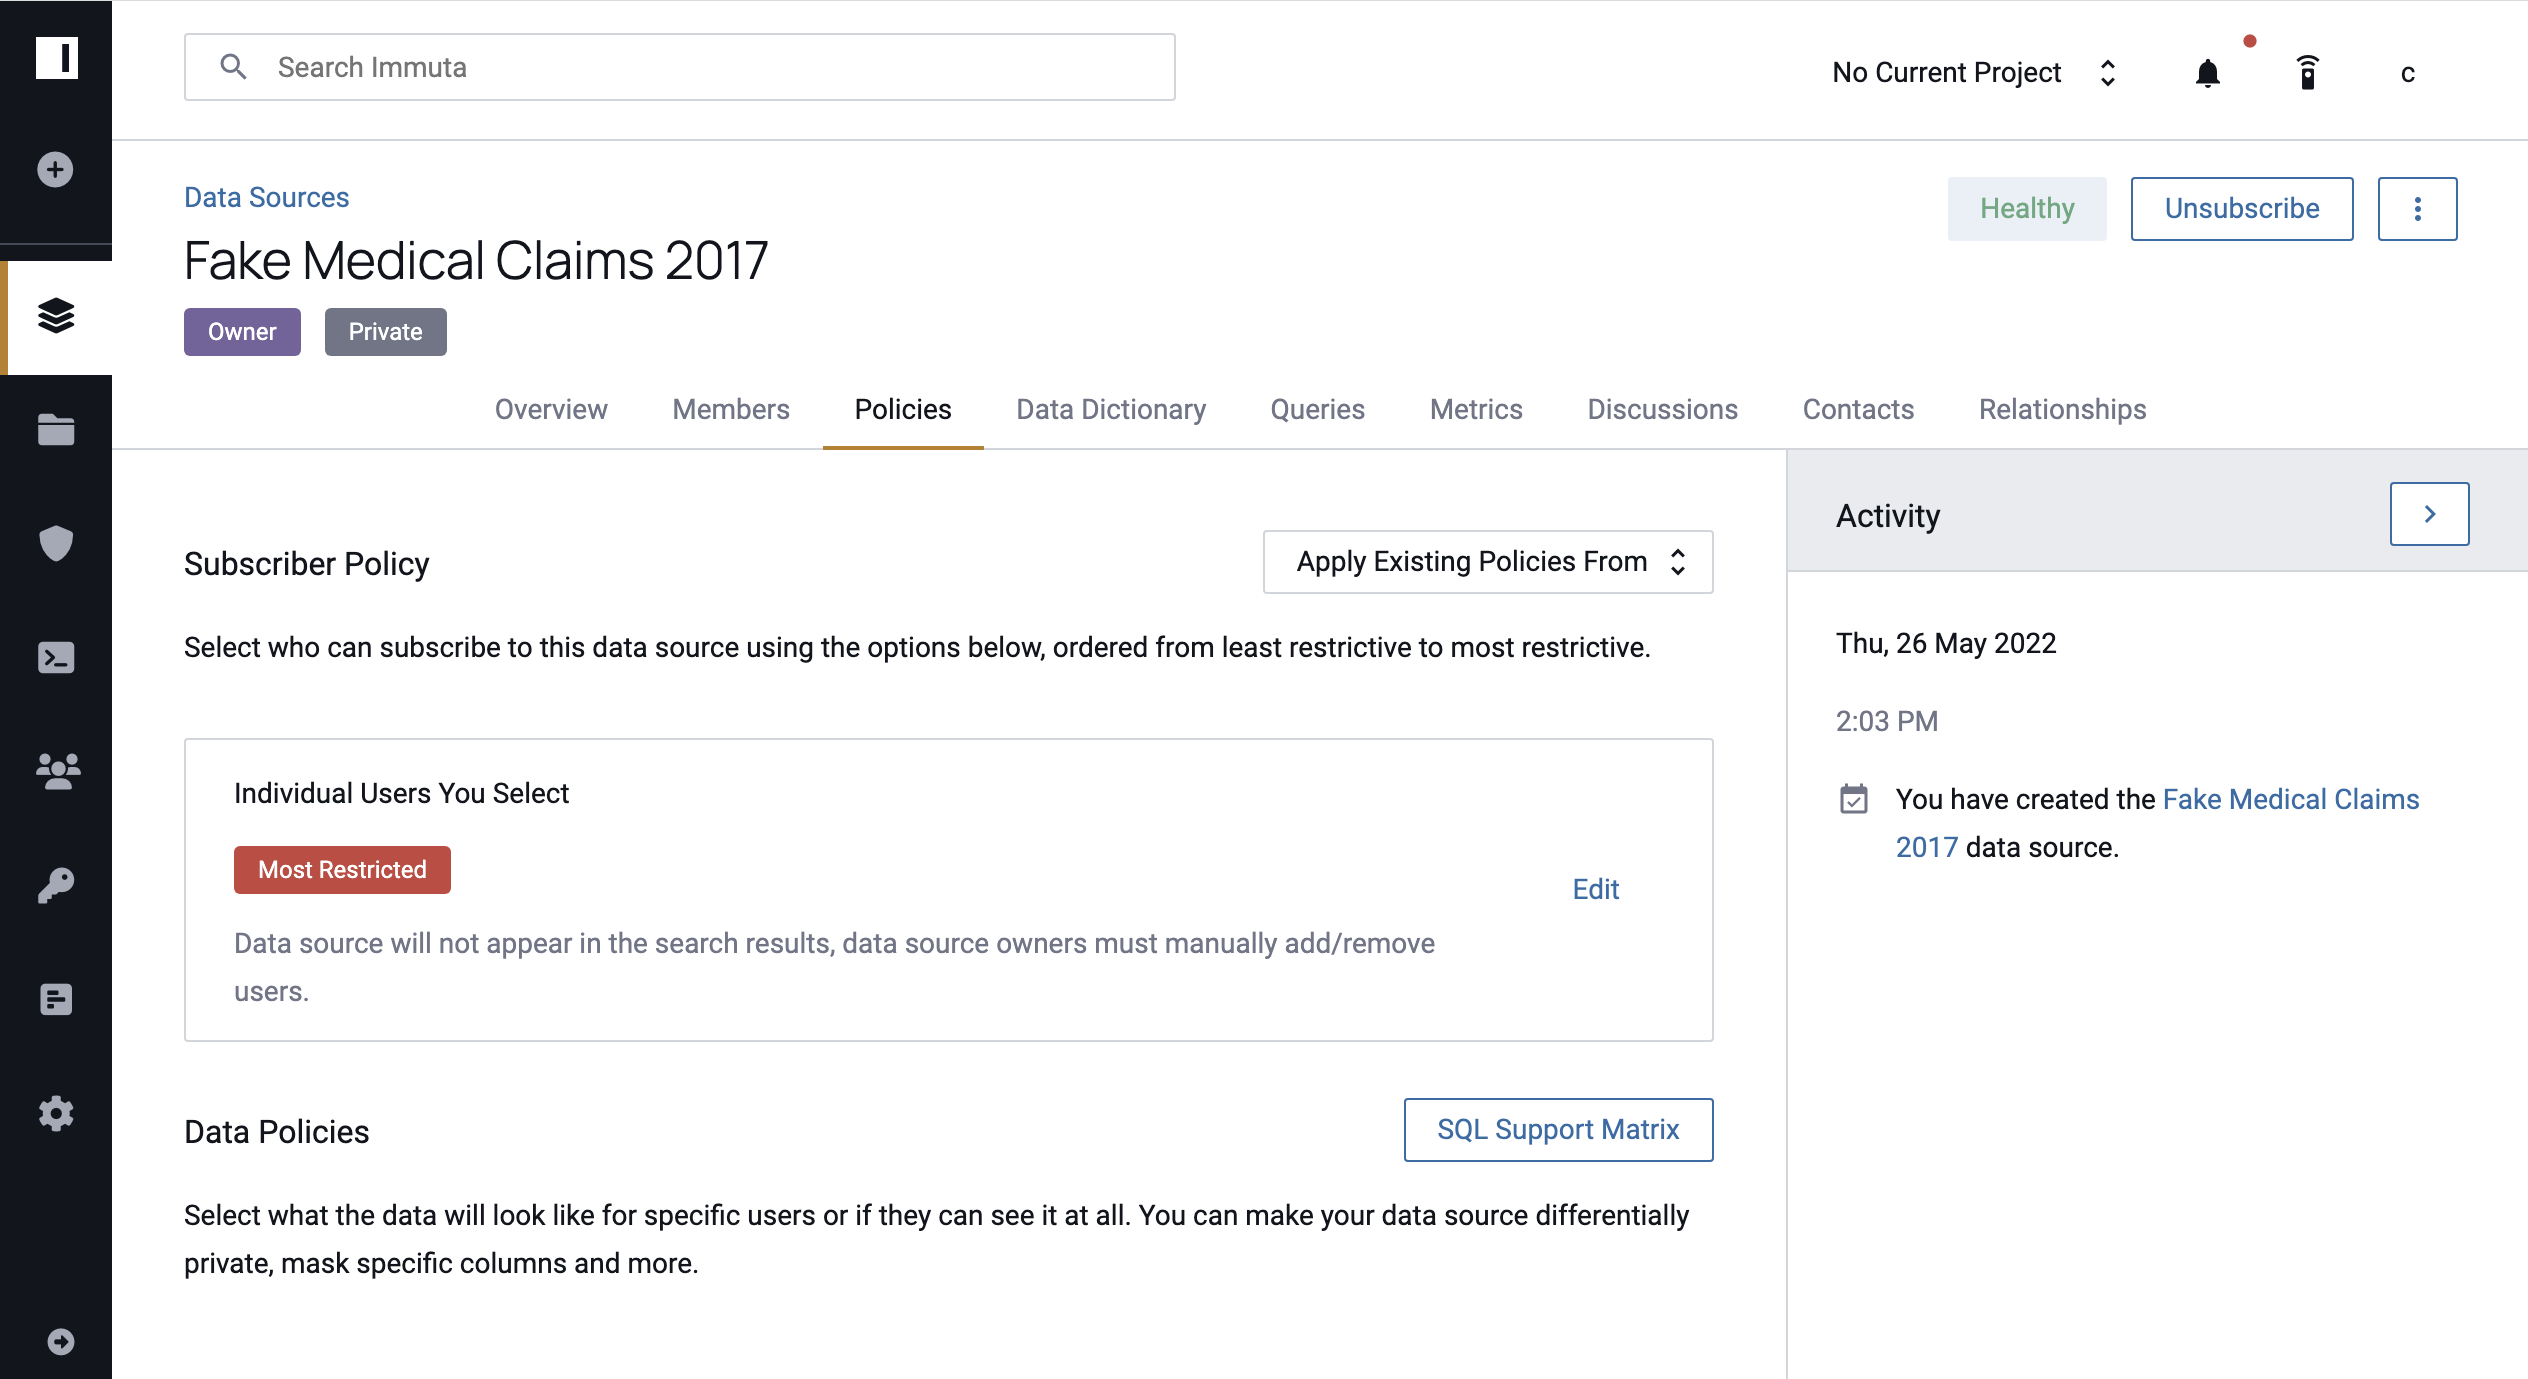
-
Click Re-run in the Fingerprint section of the dropdown menu.
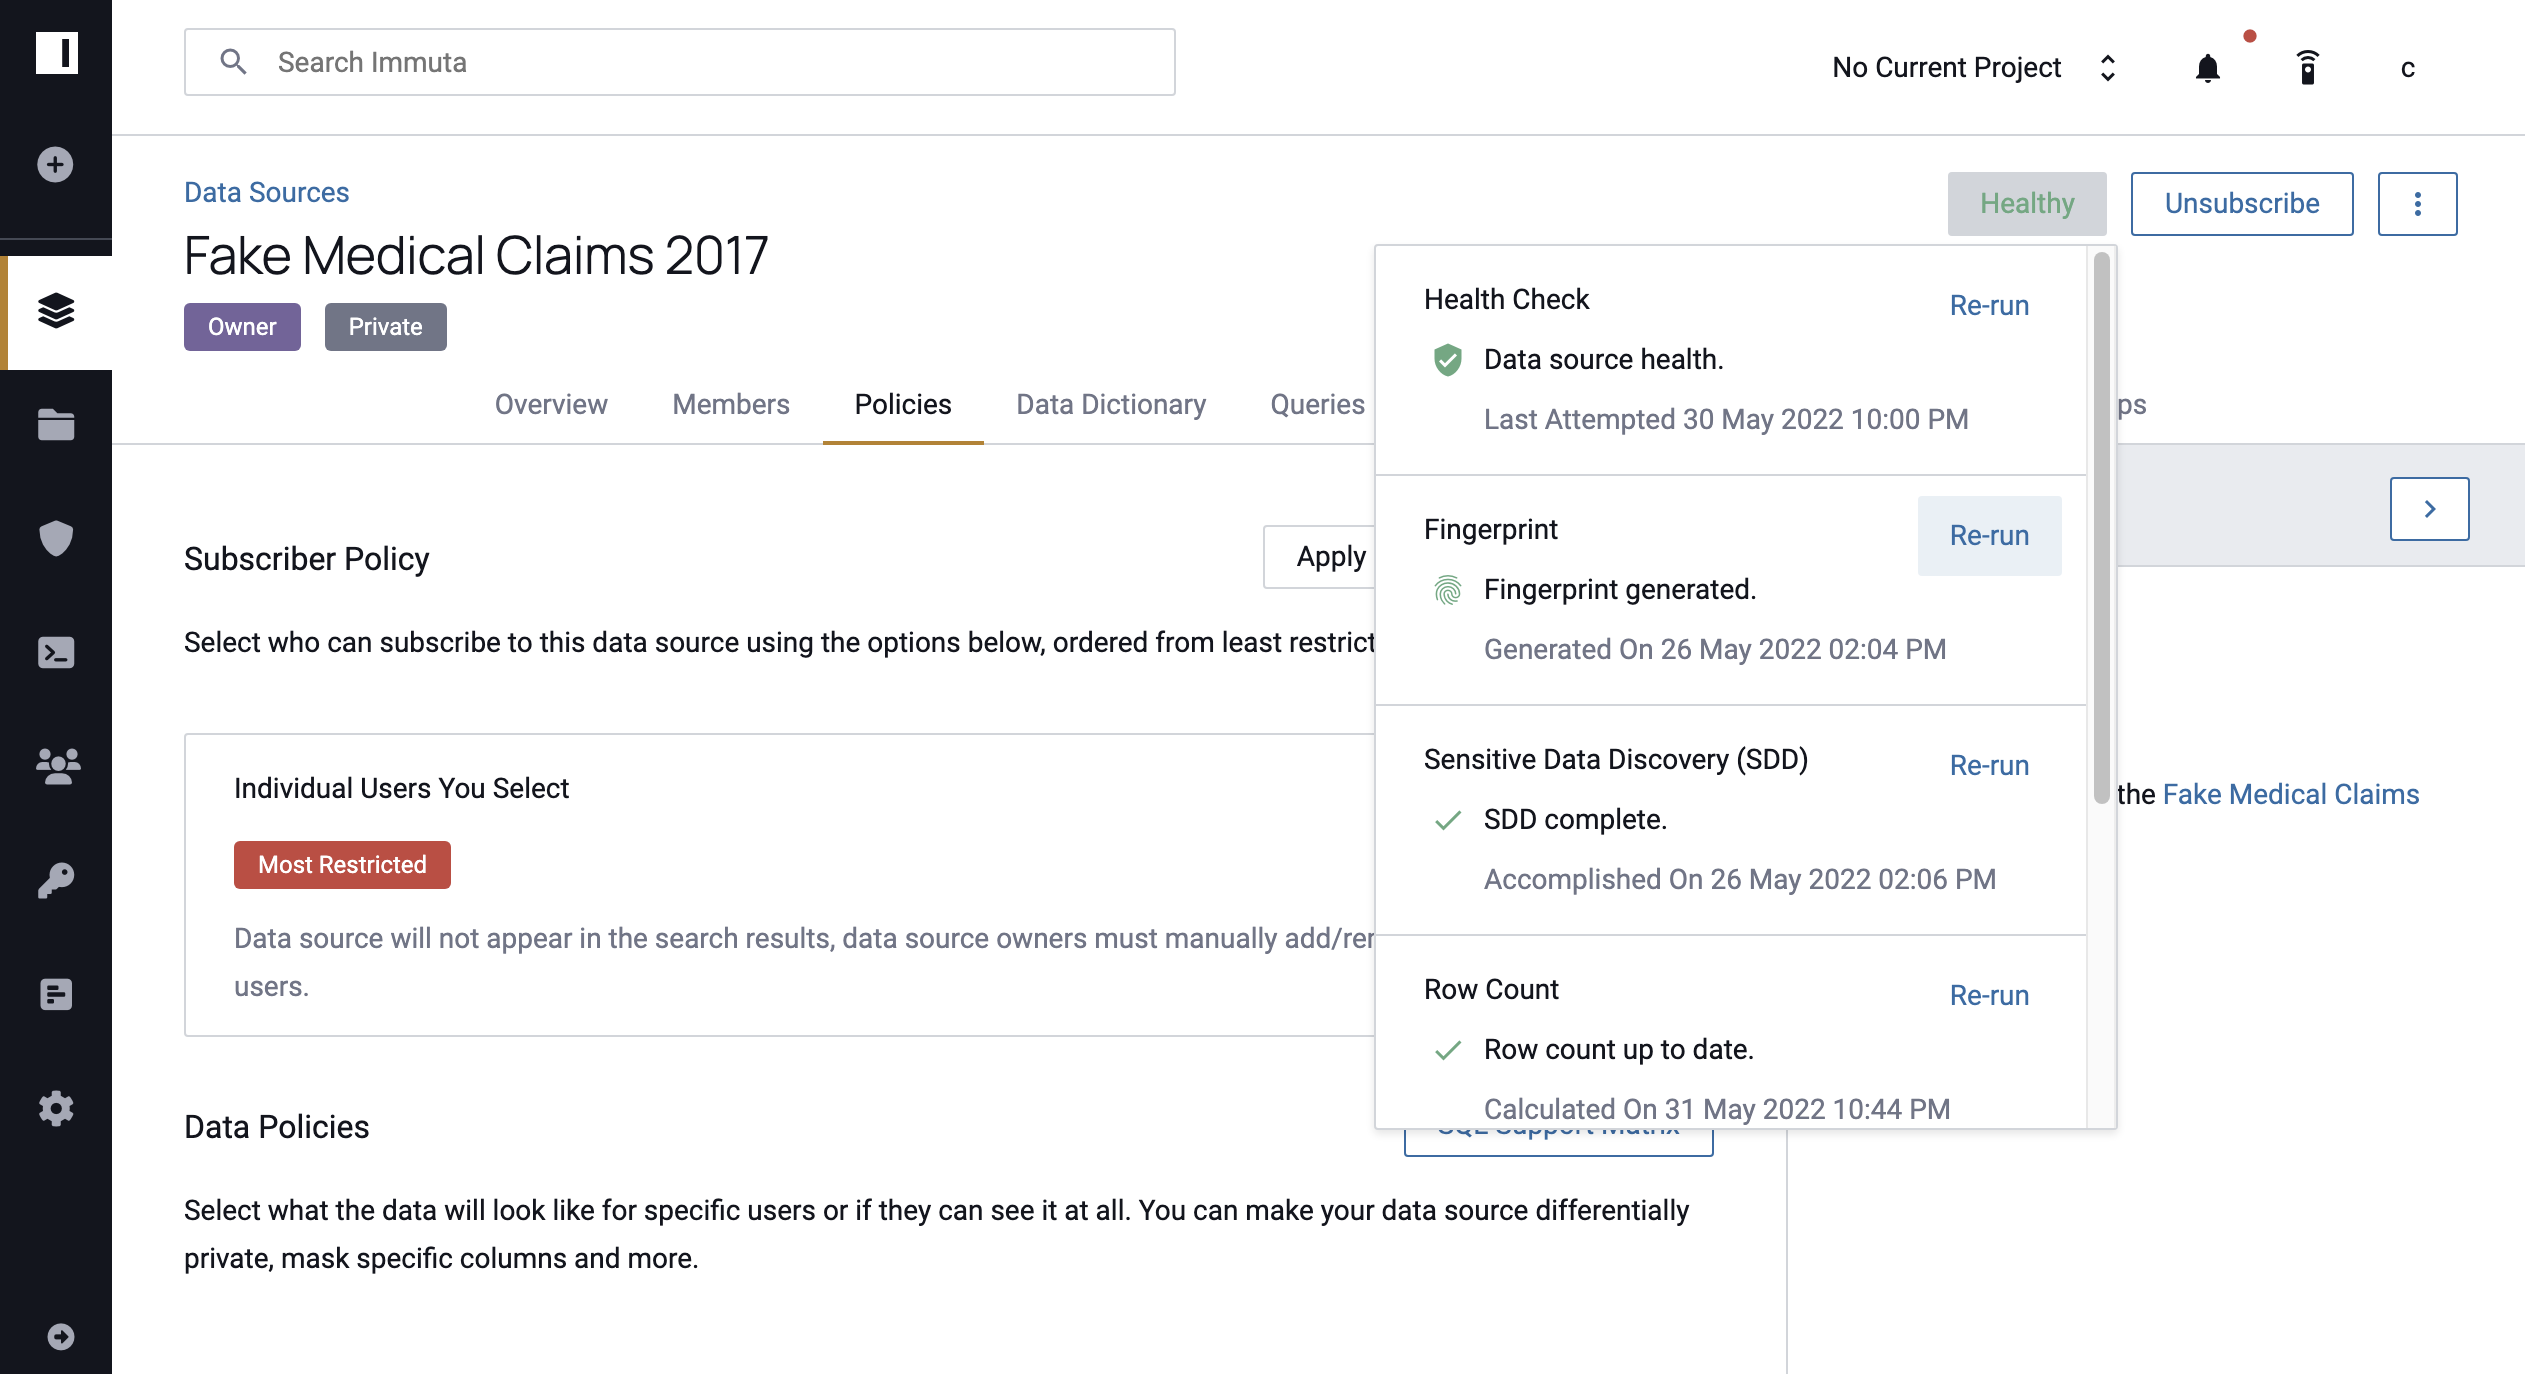
Note: Re-running the fingerprint is only necessary for existing data sources. New data sources will be generated using the new maximum cardinality.
Update the Frequency of Snowflake Query Audits
-
Expand the Advanced Settings section and add the following text to the Advanced Configuration with the new frequency of the cron job. For example use
*/30 * * * *for the queries to run every 30 minutes.schedule: nativeSqlQueryAudit_Snowflake: 'your-new-frequency' -
Click Save.
Update the Time to Webhook Request Timeouts
-
Expand the Advanced Settings section and add the following text to the Advanced Configuration to specify the number of seconds before webhook requests timeout. For example use
30for 30 seconds. Setting it to0will result in no timeout.webhookIntegrationResponseTimeout: 30 -
Click Save.
Administer Features
The Query Engine grants Immuta user accounts proxied data query access to Immuta data sources through the Immuta API and the Query Editor in the Immuta UI.
Application Administrators can turn off the Query Engine to ensure data does not leave a data localization zone when authorized users access the Immuta Application outside data jurisdiction.
To disable this feature,
- Click Advanced Settings in the left panel, and scroll to the Administer Features section.
-
Select the Disable radio button and click Save.
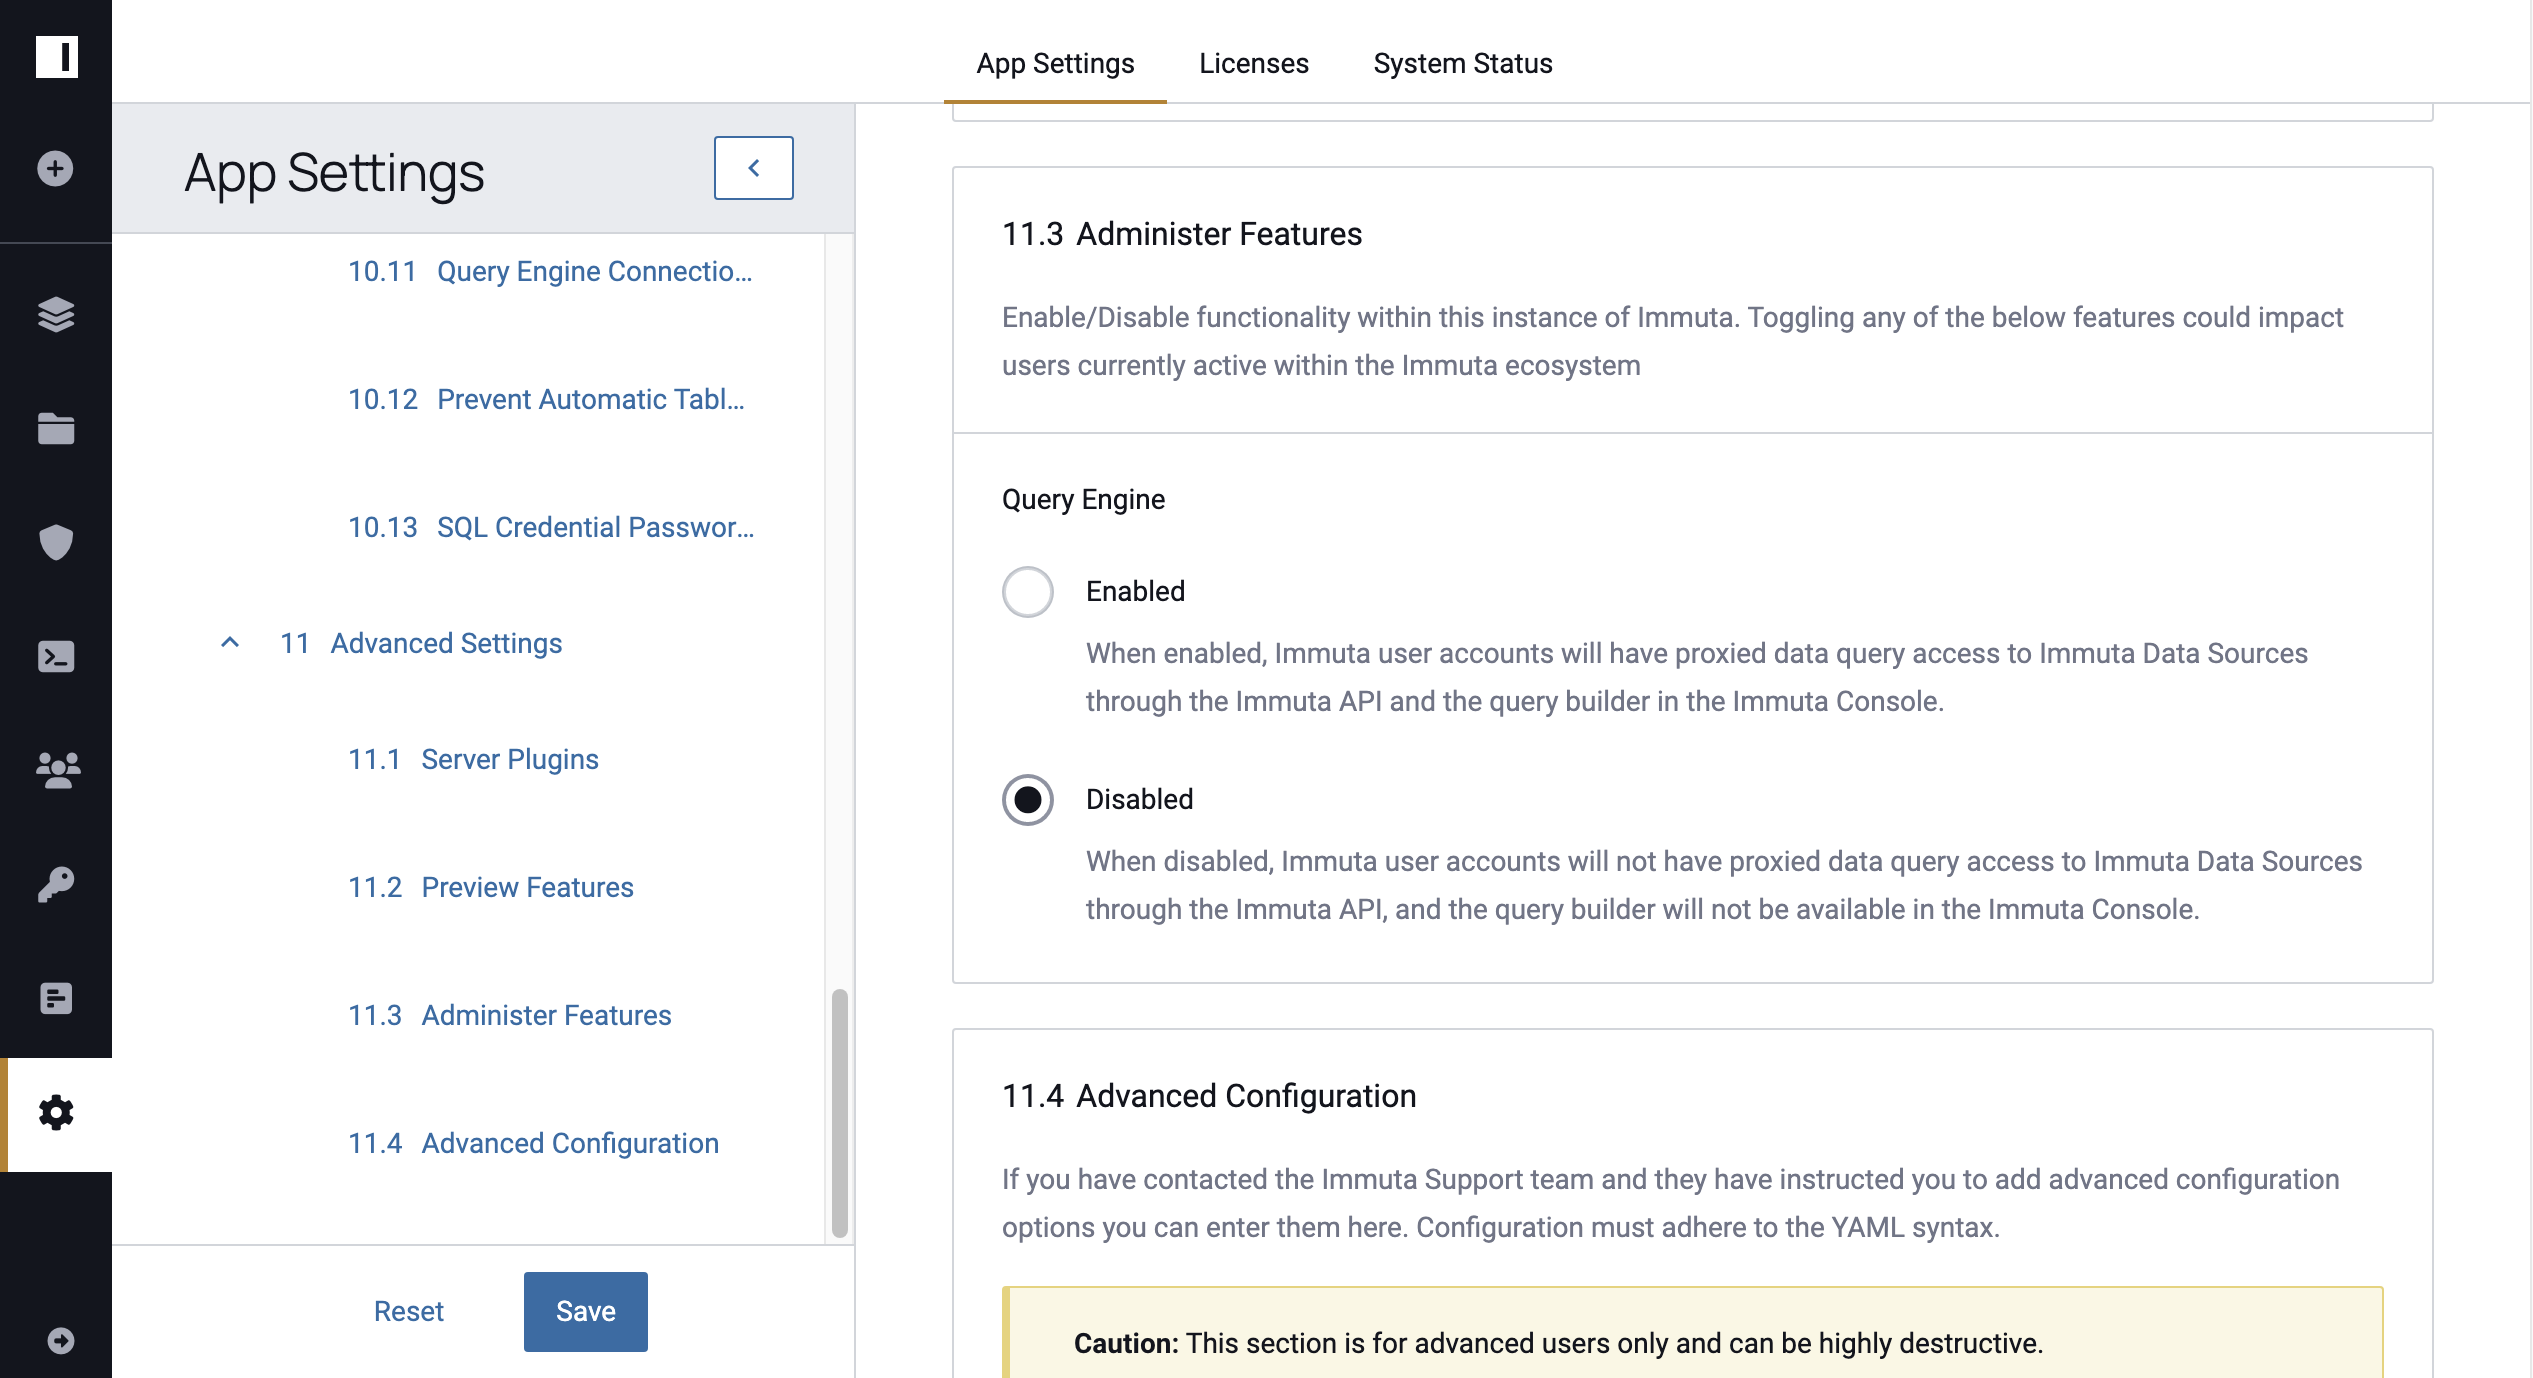
-
Click Confirm to deploy your changes.
Deploy Configuration Changes
When you are ready to finalize your configuration changes, click the Save button at the bottom of the left panel, and then click Confirm to deploy your changes.